A cultivator can be one of the best tools on your homestead for prepping new planting areas and keeping existing crop plots free from weeds that steal nutrients and hydration. Cultivator maintenance is typically overlooked by many farming enthusiasts, and the machinery ends up not taken care of and working in a less-than-optimal way. So, of course, we need a guide on cultivator maintenance!
What You'll Learn Today
Cultivator Maintenance For Small Machines [Video]
A garden size cultivator is typically a push-behind tool that may or may not be motorized. We’ll assume we are maintaining a motorized unit since they have more maintenance overall. Here are the main factors of maintaining your garden cultivator:
- Clean the air filter regularly
- Always check the soil quality before cultivating to ensure your machine is up for the task. Hitting damaging soils is a surefire way to ruin your tines.
- Clean your tines before and after use to maximize the productivity of the garden cultivator.
- Clean the gas cap (and all other caps) before opening to refuel, as dirt and debris can easily fall into the tank and damage the engine.
- Remove and replace worn-out tines when necessary.
- Lubricate and service the engine on your garden cultivator as needed.
These few steps will go a long way in ensuring that your garden cultivator stays productive for years to come on the homestead.
How Do You Start The Cultivator?
When starting a garden cultivator, it’s best to ensure the tines are off the ground by leaning the machine back slightly. Once you have fired up the machine, you can slowly let the tines make contact with the ground and dig in a bit. To get more depth, pull back on the unit to make the tines reach further in the ground to your desired depth.
If your machine has a choke or primer, you’ll need to follow the instructions that came with the equipment to ensure a proper starting cycle.
How To Unfreeze A Cultivator
If your engine is running but the tines are moving, you’ll have to inspect multiple parts of the machine to find and resolve the issue. Here are some of the common causes:
- Drive belt
- Idler assembly
- Engagement cable
- Transmission
- Shear pins
Each garden cultivator will be different, so you may need professional guidance to work out the problem(s). Check your owner’s manual if you wish to work on it yourself and locate replacement parts, if necessary.
If the motor itself has seized up, you may need to use an anti-seize solution as directed by the specific product purchased. This can be an easy fix that requires little-to-no experience.
Maintenance For Tractor Cultivators
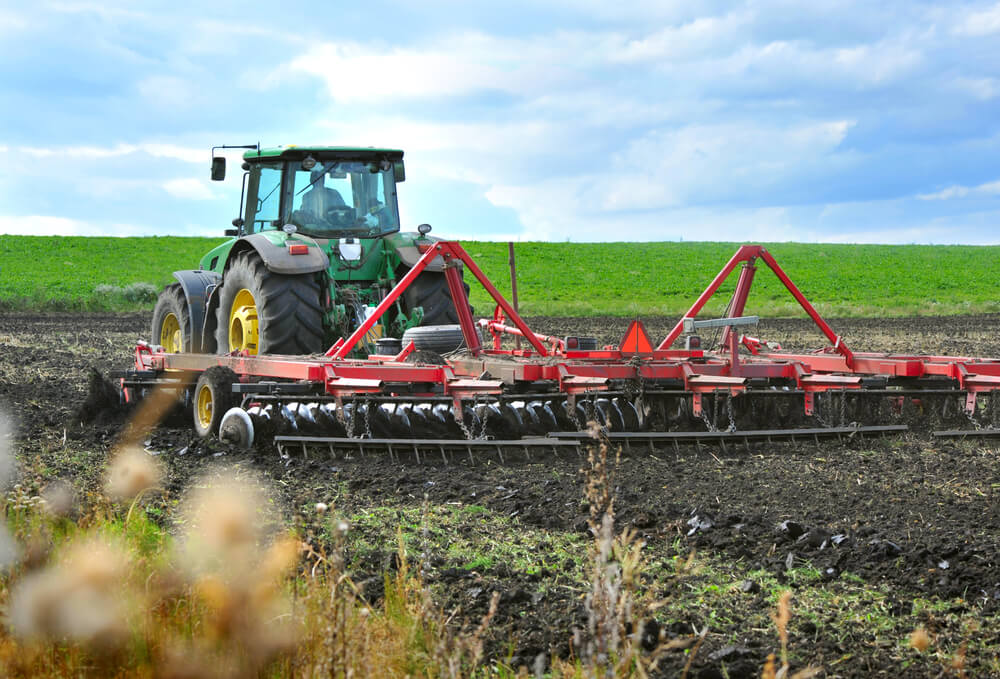
Maintaining tractor cultivators is much like a garden cultivator, except there are typically fewer motorized parts. Many tractor cultivators are simply dragged behind the tractor instead of attached to the PTO of the tractor. Regardless, here are the main factors for tractor cultivator maintenance:
- Repair or replace damaged or worn-out tines.
- Don’t cultivate deeply on a first pass, as they can reduce the lifespan of the tines.
- Avoid using in extremely compacted and/or rocky soils.
- Keep moving parts lubricated and free from rust.
That’s about all that is needed to ensure that a tractor cultivator lasts for years to come. The tines can be readily damaged if you drive too quickly through tough plots of land, so slow and steady is the way to go if you want to ensure your machine lasts for as long as you’ll need it!
How To Set Up A Field Cultivator
Setting up a field cultivator comes down to the depth you want to cultivate, the speed you want to drive, and the quality of soil that is going to be cultivated. Rocky and compacted soils that aren’t flat will require less depth and slower speeds for the first few passes.
The flatter the ground, the faster you can drive. The flat ground also typically means that you can cultivate deeper as well.
The best course of action is to make multiple passes with each pass at a larger depth for the sake of the cultivator’s longevity.
How to Replace The Blades On A Farm Disc Cultivator
Whether you are using a disc harrow or a field cultivator with tines, you’ll inevitably need to replace them when they are worn-out. Some harrows and cultivators require that you take off entire axels while others have individuals discs/tines that can be replaced much easier.
The exact process will depend on your specific unit, so consult your owner’s manual or research the specifics of your machine online for more guidance.
Final Words On Cultivator Maintenace
Cultivators can be a large expense for homesteaders on a budget. This means that ensuring they are working for years to come is the best way to get a return on the investment (unless you want to make your own DIY cultivator).
Many of these cultivator maintenance tips in this article are easy to carry out, don’t take much time, and aren’t necessary to repeat often. Use them and keep your machinery working like new if you want to be able to cultivate our land as needed!