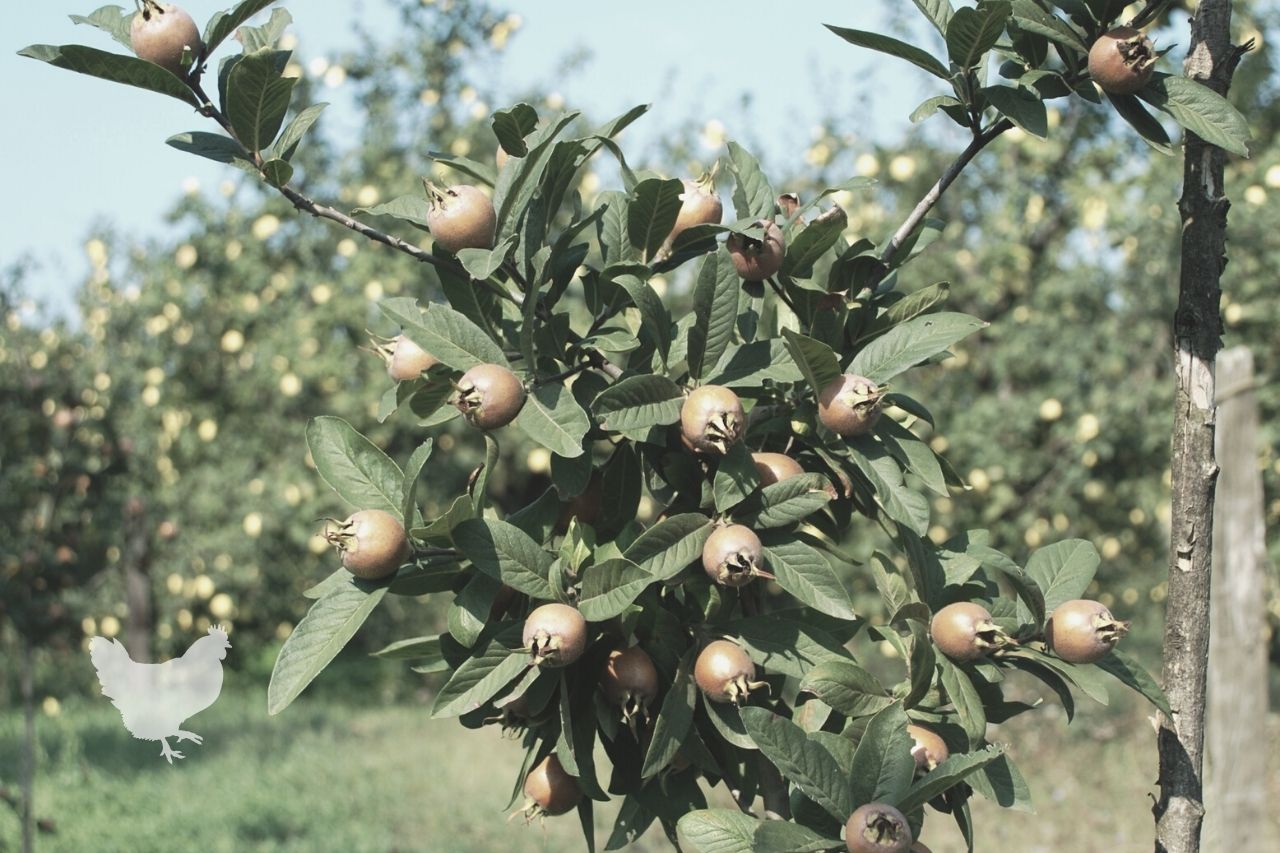
The Medlar is an ancient fruit-bearing tree with attractive large white blossoms. The fruits ripen in winter and can be enjoyed during the festive holiday season as jams, jellies, or medlar cheese. Related to pears and quinces, the medlar tree is adaptable to a wide range of climates and soil conditions. Here we will look at how to grow a medlar tree.
What You'll Learn Today
Do Medlar Trees Grow In The US?

It was once thought that the medlar tree originated in Germany, but later it was discovered that these trees have a more of a Mediterranean heritage and come from eastern Turkey.
Medlars have been cultivated for centuries in Persia and more recently in other parts of Europe, particularly Germany and the United Kingdom.
Due to their ability to adapt to many different growing conditions, medlars can be grown in many areas of the US.
This ancient fruit is enjoying renewed popularity due to its unusual taste and ease to grow, even in smaller spaces.
Discover more about the Medlar tree in the US in this video:
How Fast Do Medlar Trees Grow?
The medlar is a fairly slow-growing tree with a small, compact growth habit. It will typically reach around 20 meters in height, but dwarf varieties are available and topping can also reduce its reach.
The medlar can live to be very old, but most will last for 30 to 50 years or as long as 300 years, depending on how optimal their growing conditions are and the overall health of the tree.
What Zone Does A Medlar Tree Grow In?
Medlar trees grow in USDA Zones 5 through 8 but they require winter chill time in order to fruit, so are not suited to tropical climates even though they prefer a position in full sun.
These trees have thrived for centuries in Europe and parts of Asia and enjoy rich, moist soil and a position where they are protected from high winds.
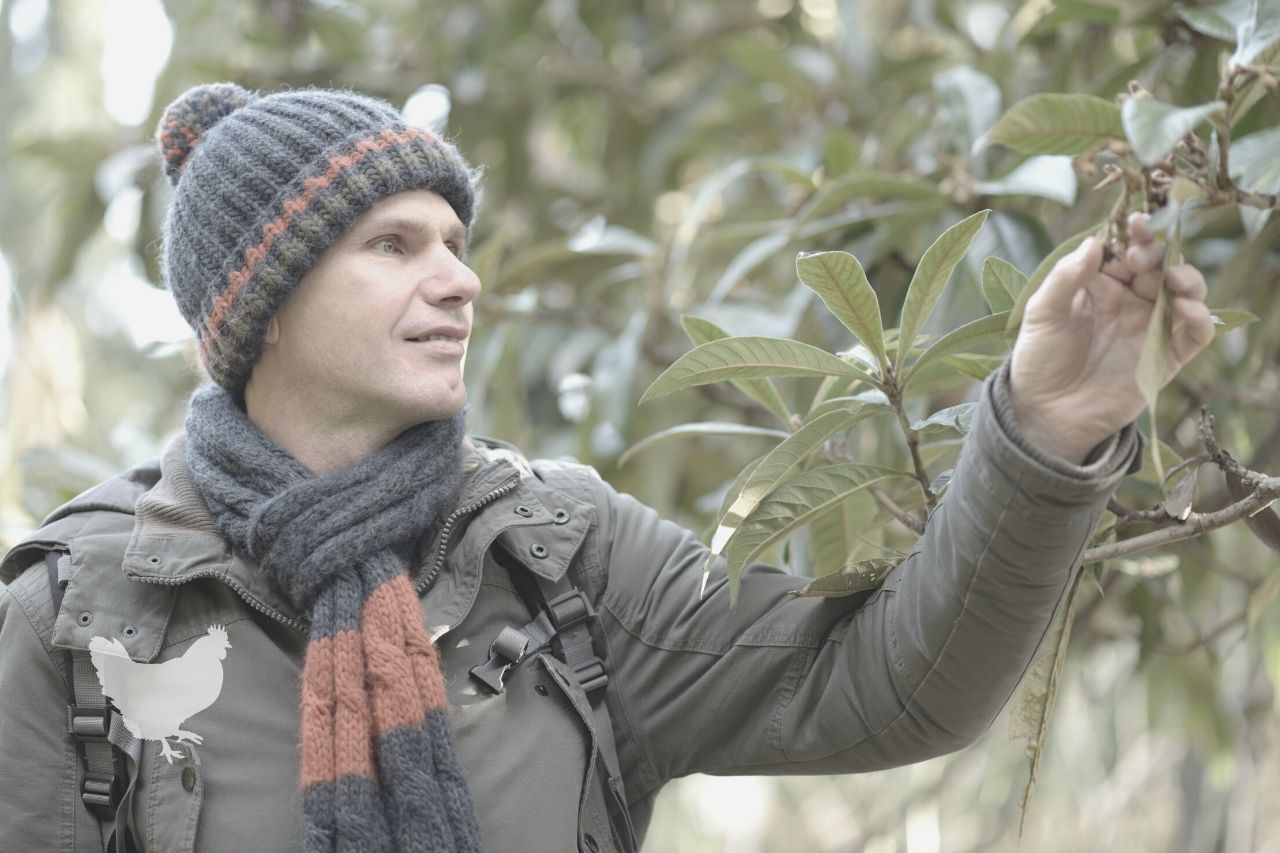
How To Grow A Medlar Tree From A Cutting?
Most commercially grown medlar trees are grown using cuttings grafted onto rootstock. It is possible to grow your own medlar trees using cuttings of summer softwood.
How To Take Cuttings
- Green cuttings should be taken from the tree in summer.
- Select a healthy branch with several good buds/nodes on it where new growth can develop.
- Using a sharp, sterilized pair of pruners, loppers, or a saw, cut the branch off cleanly using an angled cut.
- Trim the top of the branch off straight across, so that it is two to three feet in length and retains as many buds as possible.
- Dip the bottom few inches of the slanted cut end of your branch into rooting hormone, it can be helpful to peel off a little of the bark on one side before doing this. The rooting hormone comes in either a powdered or liquid form.
- It can be beneficial to soak the bottom of the branch for a few hours before applying the rooting hormone, particularly if you’ve cut the branch later in the season.
- Plant the branch in a good quality potting soil in a medium-sized pot and keep the soil moist but not saturated at all times.
- Leave the branch (or branches if you’ve planted lots) in the pots for several months.
- You can check to see if roots are forming by gently brushing away the soil from around the bottom of your cutting with your hands.
- The following spring, once the cutting has grown a healthy set of roots and new leaves are appearing on the branch, it can be transplanted to a larger pot to grow on or planted directly where you wish to grow your tree.
The advantage of growing trees from cuttings is that they are identical copies of the parent tree and will have the same growth and fruiting qualities.
How To Grow A Medlar Tree From Seed?
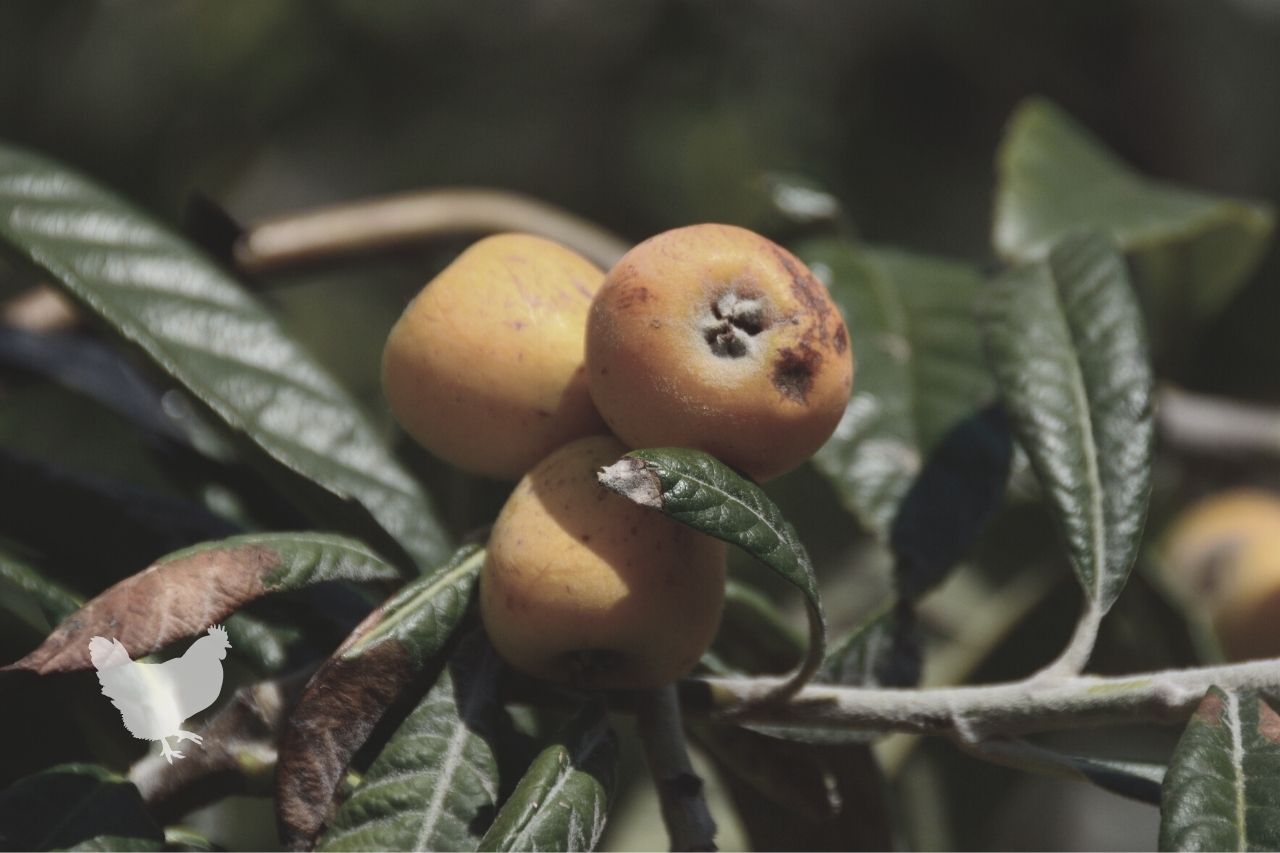
It can seem like a simple solution to just take the seeds out of a medlar fruit and grow a new tree straight from these.
Each medlar fruit contains five, large, round seeds. The problem with medlars is they usually require two winter seasons of stratification where the seed is kept at a cold temperature for several months. This is to mimic the seeds going through the wintertime.
Most other fruit seeds only require one stratification period and some none at all.
The shell of a medlar seed is also very tough and hard to germinate.
If following a double stratification period, and you do manage to germinate some seeds, it will take many years for them to grow into a large enough tree to give fruit.
Medlar seedlings that are several years old can be used as rootstock for various medlar varieties to be grafted onto.
How To Graft A Medlar Tree?
The most common rootstock used for grafting medlar scions (cuttings) is Quince, Pear, or Hawthorn. Each has pros and cons.
- Quince is a fairly reliable rootstock and different varieties of quince allow the production of trees suitable for various graphical locations due to weather and soil types.
- Pear rootstock produces the largest trees.
- Hawthorn is good if you want to grow a tree that is drought tolerant, but it does tend to send out a lot of suckers.
- Medlar rootstock can be beneficial for producing semi-dwarf varieties.
Medlar trees grown on their own roots, reach around 23ft in height and about the same width. Usually, this is too tall for most yards, so medlar trees sold by commercial growers are grafted onto dwarfing rootstock.
Rootstock is the lower part of the tree and its roots which affect how the tree grows. For dwarfing rootstock, either quince or hawthorn are used. The upper part of the tree is a cutting taken from the required variety of medlar.
The rootstock dictates the overall size of the tree. Normally, grafted medlar trees grow to around 10ft with a width of 13ft, this is a more practical size for most gardens.
There are various different ways of grafting fruit trees, bud grafts are the most usual for this type of tree.
Grafting lets you choose a hardier rootstock that is more tolerant of your climate and soil conditions while still benefiting from the medlar variety of your choice.
1. Tool you will need
Tools you will need for grafting:
- A sharp knife. A small pocket knife works well.
- Hand pruners with sharp, clean blades
- Your rootstock of choice, potted up and ready to grow on
- A freshly taken cutting from this year’s growth, selected from the tree you want to propagate. Ensure your cutting is the same thickness as your rootstock for the best results
- Grafting tape
- A label with the name of your grafted variety and the date written on it to apply to the tree
2. Remove a branch from the tree
In late summer, select a branch from the current year’s growth and make a clean cut to remove it from the tree. Next remove the leaves, leaving the stems on the branch.
3. Select a healthy bud
Select a healthy bud (stem, you’ve just removed one of the leaves from). Make a 45° cut an inch below the bud at a downward angle. The depth of this cut should be to the depth of the bark and no deeper.
Next, make a second cut an inch above the bud. This should be on the same downward angle as the first cut and only as deep as the bark.
This time keep cutting down behind the bud until reaching the first cut you made, effectively removing the bud from the branch.
You have now cut a “chip” out of our branch.
4. Create an identical chip
It’s now necessary to create an identical chip cut out of your rootstock for the chip you’ve just made to fit into. Do this by grasping your chip by the leaf stalk and holding it up against the rootstock. Look for a suitable position where it will fit. Don’t ever touch the cut you made, only the leaf stalk.
Make your first cut at the same 45°angle. Offer up the chip and see where to make the top of the cut. Just like you did before, slice downwards to make an identical cut your chip will fit into perfectly.
5. Place the chip into the cut
Place the chip into the cut you’ve made in the rootstock and using the grafting tap secure the top and bottom of the chip before cutting off the leaf stalk. Then continue wrapping it with the tape. You want to ensure the cambium layer from both pieces is firmly pressed together.
6. Remove the tape
The following spring, remove the tape to check that the graft has taken.
You can make several grafts onto the same rootstock giving more chance of success. If more than one graft has taken, choose the healthiest one and prune off the rest.
Conclusion
Growing medlar trees from seed can be challenging. They are difficult to germinate and take many years to grow into a fruit-bearing tree. You also can’t guarantee how productive the tree will be, as it won’t take on the same qualities as the tree from where the seeds came.
Using a cutting to grow a new medlar tree is a good option, cuttings are fairly easy to root and will produce a carbon copy of the tree from which they were taken. They will however take longer to establish than cuttings grafted onto rootstock.
The most reliable way of growing a medlar tree is by grafting your chosen variety onto a hardy rootstock that tolerates the climate and soil conditions where you live. They mature faster and give fruit more quickly than trees grown from seeds or cuttings.
Discover our other articles about the ancient medlar and a huge variety of other interesting fruit trees on our website.