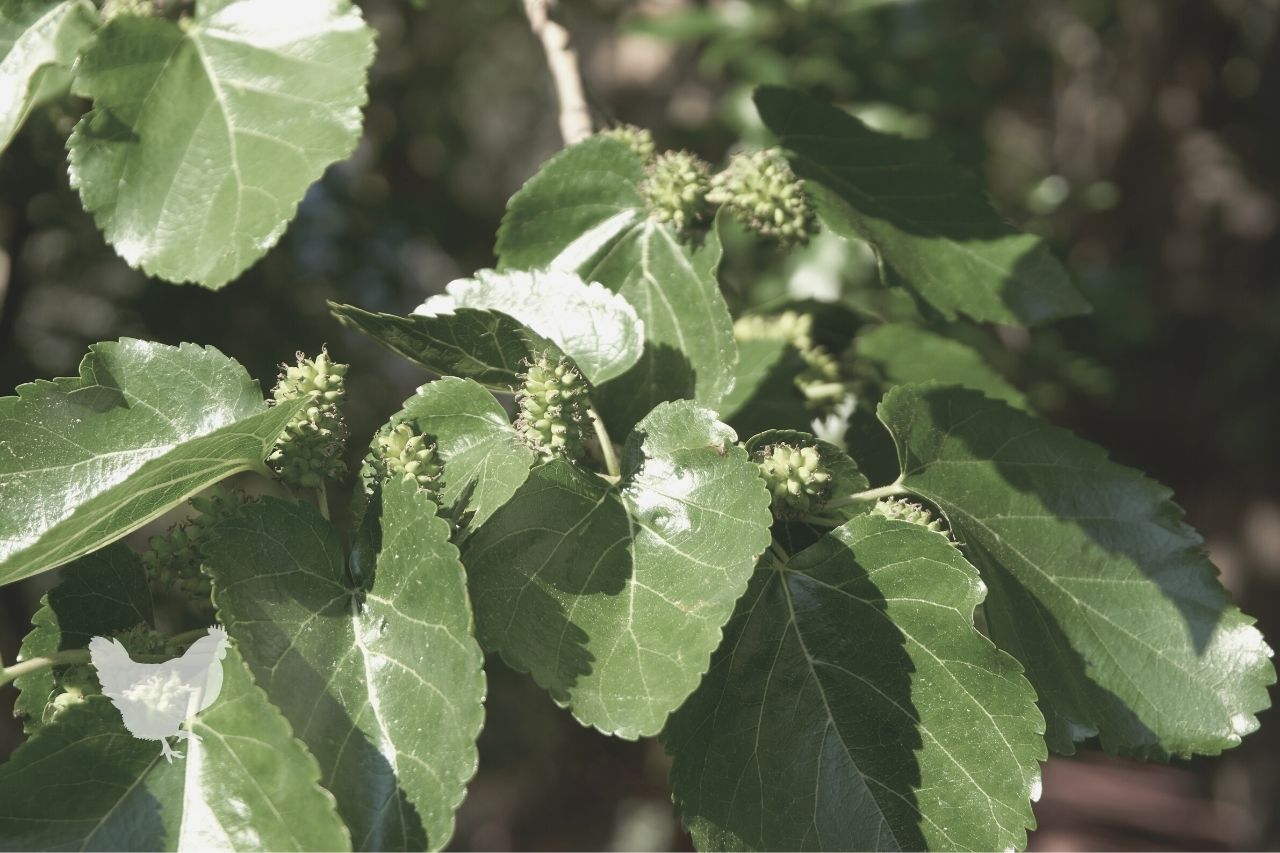
Mulberry trees were commercially grown in China to raise silkworms, but they are far more than just worm food! Their delicious berries make great eating, and the leaves can be cooked and eaten too. Let’s take a look at how to grow a mulberry tree so you can start enjoying them for yourself.
What You'll Learn Today
How To Grow A Mulberry Tree From A Cutting?

Generally, mulberry trees are fairly easy to propagate from cuttings. There are, however, a few rules you need to follow to give yourself the biggest chance of success.
- Firstly – Don’t try to root a mulberry cutting taken from a fruiting tree. The cutting will still be trying to produce fruit and will put its energy there rather than into making roots. Try propagation just after the tree has finished fruiting for better results.
- Secondly – Pick a suitable species of mulberry. Not all are easy to propagate.
Some of the more ornamental types, such as the Pakistan long mulberry with its very long pendulous fruit, are very hard to grow from cuttings.
Even the native Red mulberries can be a bit tricky. Generally speaking, white mulberries are the easiest. So easy it seems, that many people say they just cut off a branch and stick it straight into the ground, and usually it roots.
I’ve never actually tried this, so I can’t say one way or the other if it’s true or not. But hey, it is certainly worth a try!
That’s all very well, but there are ways to make success more likely.
- Prepare some pots filled with potting soil or seed starting mix and water well, so it’s damp.
- Cut a branch off between ¾ and ½ of an inch in diameter and six to eight feet long. This should be recent, but not green growth.
- Chop the branch into one-foot lengths, ensuring there are some leaves on each length you use to propagate.
- Dip the bottom end of each piece into rooting hormone powder – you can do several at once. Make sure you do this to the right end.
- Using a tool, make a hole in the middle of every pot of four inches deep and plant a stick into each pot. Lightly tap down the soil around the stick.
- Using a spray bottle, water again around the base of the stick.
- Make a mini-greenhouse by putting a clear plastic 1-gallon bag over the top. Use a rubber band around the pot to keep the bag from flying off.
- Place the pot in a light place that is protected from the sun. If the leaves die, then the cutting is dead.
- Spray the soil liberally with water a few times a week or as necessary to keep it moist.
- After a month, if the leaves are still green, then your cutting has taken root, and you can remove the bag. Now put them into a position in half sun. Keep watering them regularly.
- If you’re fortunate and all of your cuttings take, you can give some away to friends.
How To Grow A Mulberry Tree From Seed?
Mulberry trees can be grown from seed, but you’ll need to be prepared for a pretty long wait until your seed-grown tree bears fruit. Depending on the variety, it will be four to ten years before you see a single mulberry.
If you want to harvest fruit quicker than this, you can either try propagating a cutting or just buy a young mulberry tree from a gardening store.
How to grow a mulberry from seed
- Pick – Pick a nice, ripe mulberry from a tree.
- Squish – Squish the fruit in a fine-mesh strainer and rinse under water to wash away the pulp, leaving only the seeds.
- Dry – Take out the seeds and place them on a paper towel to dry completely.
- Lay out – Take a fresh sheet of paper towel and lay out your seeds onto it, leaving a good gap between each seed.
- Moisten – Fold the paper towel over the seeds several times and moisten it until it’s entirely damp but not sopping wet.
- Bag – Place the paper towel into a sealable plastic bag and close it.
- Refrigerate – Put the bag into the refrigerator for 90 days – this causes a process called stratification and is necessary to let your seeds know it is time to sprout. The seeds think that winter has passed and spring is here.
- Remove – Carefully take the seeds out of the plastic bag and unwrap the paper towel. Check to see if any have sprouted.
- Choose your container – You can plant your seeds in a wide variety of containers, from yogurt pots to eggshells, providing they are two to three inches deep. Just ensure that whatever you choose it’s sterile.
To do this, soak them in nine parts water to one part bleach for around 10 minutes, then rinse with clean running water. Seedling starter kits or seed trays are also available.
- Plant – Plant an individual seed in the center of each container. Ensure your container has a few drainage holes in the bottom, then fill it with a sterile potting soil or seed starting mix, which you can buy from garden stores.
Never use soil from your yard; it isn’t sterile and can carry disease organisms, weed seeds, and could be too hard for the tender roots of you seedlings.
- Depth – Cover your seeds with ¾ of an inch of soil and tamp down lightly.
- Water – Seeds don’t like chlorinated water, so unless you have filtered or rainwater, you’ll want to remove the chlorine. This can be done by simply putting water in a wide topped tub, or even just a glass, and leaving it out uncovered overnight. The chlorine will dissipate from the water.
- Watering – With a spray bottle, lightly wet the soil immediately after sowing, then keep it moist by spraying a couple of times daily. You can keep the seed pots under clear plastic or in a seedbox to help retain the moisture. The soils should be damp, but not wet, at all times.
Overwatering can kill your seedlings or promote disease. Once the first leaves start to appear, remove the coverings. Be careful not to splash any water onto the seedlings. You can make this easier by placing your seed pot into a container of shallow water so it can absorb the liquid, rather than watering from above.
If you purchased a seed starter kit, it might contain a wicking mat that will wick moisture into the seed’s soil from a reservoir. Allowing your seeds to become too wet or too dry is a death sentence for them.
- Warmth – Your seeds need to be warm to germinate. The temperature needs to be kept to around 78°F. Special heat mats can be used for this. They are waterproof, and you simply place them under your seed pots to keep the soil warm. Once germinated, the baby plants should be kept between 65°F and 70°F as they grow.
- Fertilizer – Once the second set of leaves starts developing, give them a feed of liquid fertilizer once a week. This should be diluted to half its usual strength, as shown on the packaging. After four weeks, full strength fertilizer may be used until they are transplanted.
- Light – Light is essential for plants to survive. They rely on it as an energy source as we rely on food. If there isn’t sufficient light, the seedling will become leggy and weak.
Try placing them in a south-facing window or provide artificial light if necessary. They will require 14 to 16 hours of sunlight in 24 hours. Turn the pot a ¼ turn daily to prevent them from leaning towards the light.
- Air circulation – Another essential requirement is sufficient air circulation to maintain air movement. This does two things, it encourages a solid stem to develop, and helps prevent mold and diseases.
- Repotting – As soon as your seedling starts looking too big for its pot, replant it into a larger one. Use the same type of soil.
- Transplanting – Before transplanting your seedling to its final growing place outside, ensure you acclimatize it to its new surroundings.
- Harden off – Before planting your seedlings outdoors, they need to go through a process called “hardening off”. This is just a matter of allowing them to get used to exterior conditions. It will enable your seedlings to withstand all kinds of weather without problems.
If you don’t harden them off, they can get scolded by the sun or destroyed by wind or rain.
- First, stop feeding and don’t feed them again until you plant them outside. Expose your seedlings to outdoor conditions gradually over the period of one to two weeks.
- Each day increase the length of time you leave them in their pot outside. At the same time, reduce the amount of water you are giving each day.
- To begin with, put them somewhere sheltered out of the wind and direct sunlight. Bring them in at night for the first few nights. Each day make the location you put them a little more exposed until eventually, they are where you intend to plant them forever.
- Ensure you check the weather forecast and if the temperature is going to drop under 35°F, put them under cover. Finally, plant your seedlings in the evening, preferable on an overcast day when there is no risk of freezing temperatures.
You can continue to protect the seedlings from extreme weather by using a plastic gallon bottle with the bottom cut off. Pop it over the seedling like a mini greenhouse – make sure to secure it if there are high winds.
How To Plant A Mulberry Tree?
Mulberry trees come in various shapes and sizes, some native and some imported into the United States. The trees are fast-growing and bare fruits that can range in color from white to black.
Be aware that the planting of mulberry trees is forbidden in some places such as Phoenix, Arizona, Texas, and El Paso, due to the high level of pollen the trees produce. Many areas don’t like the sticky red, or black juice of the berries create, which stains the sidewalk.
If you want mulberries for their sweet, juicy fruits, then the native red mulberry Morus rubra or the southwest Asian black mulberry Morus nigra are good types. They come in a range of different cultivars, from dwarf to weeping.
Planting Mulberry Trees
- Select the perfect location. Ideally, you are looking for somewhere in full sun that’s ten to fifteen feet or more away from any structures. Also, avoid planting them where they overhand driveways, walkways, or sidewalks as the fruit will stain and make a huge mess.
- Clear approximately four feet in diameter around the place you want to plant the mulberry.
- Spread four to five inches of mature compost over the site. Using a garden fork, turn it into the soil to a depth of approximately 12 inches. Break the dirt up and mix the compost well in.
This will help to lighten up the soil and allow the roots to spread out and grow more quickly. It also adds nutrients and helps improve drainage. If your soil is sandy, you can also add some peat, or if heavy clay, mix in something like chopped hemp or straw.
Mulberries grow best in rich, loamy soil that holds moisture but has good drainage.
- If you have a bare-root tree, soak it in a container full of water for one to six hours before planting.
- Dig a square hole in the center of your prepared area, twice as wide as the container or four times as wide as a bare root tree. Look carefully at the base of a bare root tree to see where the original soil line was and dig the hole to that depth. For a potted tree, dig a hole to the depth of the pot.
- If the tree is grafted, ensure you don’t put the graft point under the soil.
- With a garden fork, loosen the dirt at the sides of the hole.
- After removing the tree from its container, place the tree in the hole. On a bare-root tree, spread out the roots after cutting off any stray, straggly ones.
- Ensure the tree is facing the way you want it. It can be easier to get someone to help you do this.
- Mulberry trees are very fast-growing, and they are often shallow-rooted; for this reason, it’s safer to stake them into the ground when they’re young. Stakes can be added at the side of the hole to ensure stability. Refill the hole with soil, tamping it well down with your feet. Be careful not to damage roots or leave any air gaps.
- Create a soil rim around the edge of the hole of at least two inches in height. This creates a bowl where water will be retained and directed towards the roots.
- Give the tree a deep watering.
- Spread a good layer of mulch all around the base of the tree. This can be lawnmower clippings, wood chips, or other compostable organic matter. This will help keep the soil moist and warm.
In this video, you can see a whole range of reasons why it’s so good to plant mulberry trees:
When To Plant A Mulberry Tree?
The best time to plant mulberry trees is in fall, although you can also plant them in early spring after hard frosts have finished, providing you keep them watered regularly.
By planting in the fall, the trees have a chance to start growing roots. Soon they go dormant, making it unnecessary to water them, and they get a good start the following spring.
Where To Plant A Mulberry Tree?
Although it’s possible to grow a mulberry tree from a seed or cutting, commercially, they are usually grafted onto rootstock like other fruit trees and rose bushes.
You want to choose a sunny location, protected from the wind. This is because mulberry trees often don’t grow very deep root systems and can be blown over.
They need warm, fertile, well-drained soil and should not be put near paths, driveways, or sidewalks due to fruit staining. Keep away from any underground pipes and cables and the foundations of buildings.
A standard mature mulberry tree can grow very tall and, depending on variety, will require around 15 to 30 feet of space around the tree.
- White mulberry will grow in zone 3b to 9 (Note: it used to be illegal in some US states).
- Red mulberry in zone 5 to 9
- Black mulberry in zones 6 to 10 (dry zone 6, not wet zone 6)
Although they are relatively drought resistant, they will require watering if weather conditions are very dry.
How Fast Do Mulberry Trees Grow?
Mulberry trees are considered to be very fast-growing and can put on 10 to 12 feet of growth in six years for some cultivars.
If you grow your tree from seed, it will take a minimum of 4 years before you see a single fruit. However, it can take much longer than this, and ten years is not unusual.
For faster growth and fruit production, it’s better to plant a propagated branch or a grafted tree.
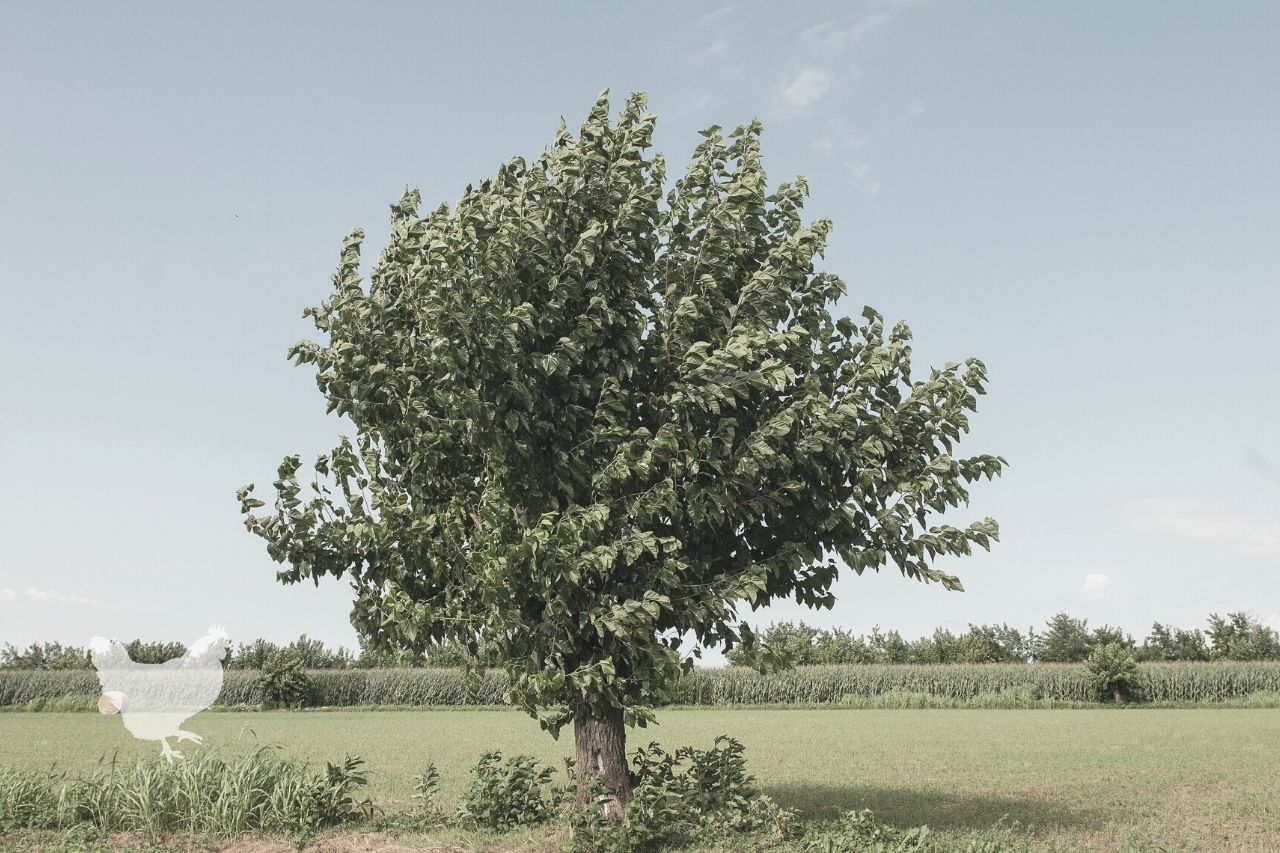
How Tall Do Mulberry Trees Grow?
The height of your mulberry tree will depend on which variety you choose.
While some black mulberry varieties can grow to a huge 70 feet or more, white mulberries will only reach around 30 feet. Our native red mulberry can grow almost as tall as the black variety.
There are dwarf and weeping mulberry trees or those which are kept in check with heavy pruning, such as pollarded trees. These can be maintained at much smaller heights for easy berry harvesting.
Although mulberry trees grow rapidly while they are young, they slow down as they age.
Here is an excellent guide to help you choose the perfect mulberry tree for your situation and requirements.
Conclusion
Many types of commonly found mulberry trees are easy to grow from seed or propagate from cuttings. They mature pretty fast and, at maturity, may even reach heights of 70 feet or more.
Choosing the right spot for your mulberry tree is critical, particularly if you want it to bear good quantities of fruit.
Mulberry trees require:
- Sunlight
- Wind protection
- Rich, loamy soils that are moist and well-draining
- Water
For more articles about mulberry trees, and much more, take a look at what else is available on our website.