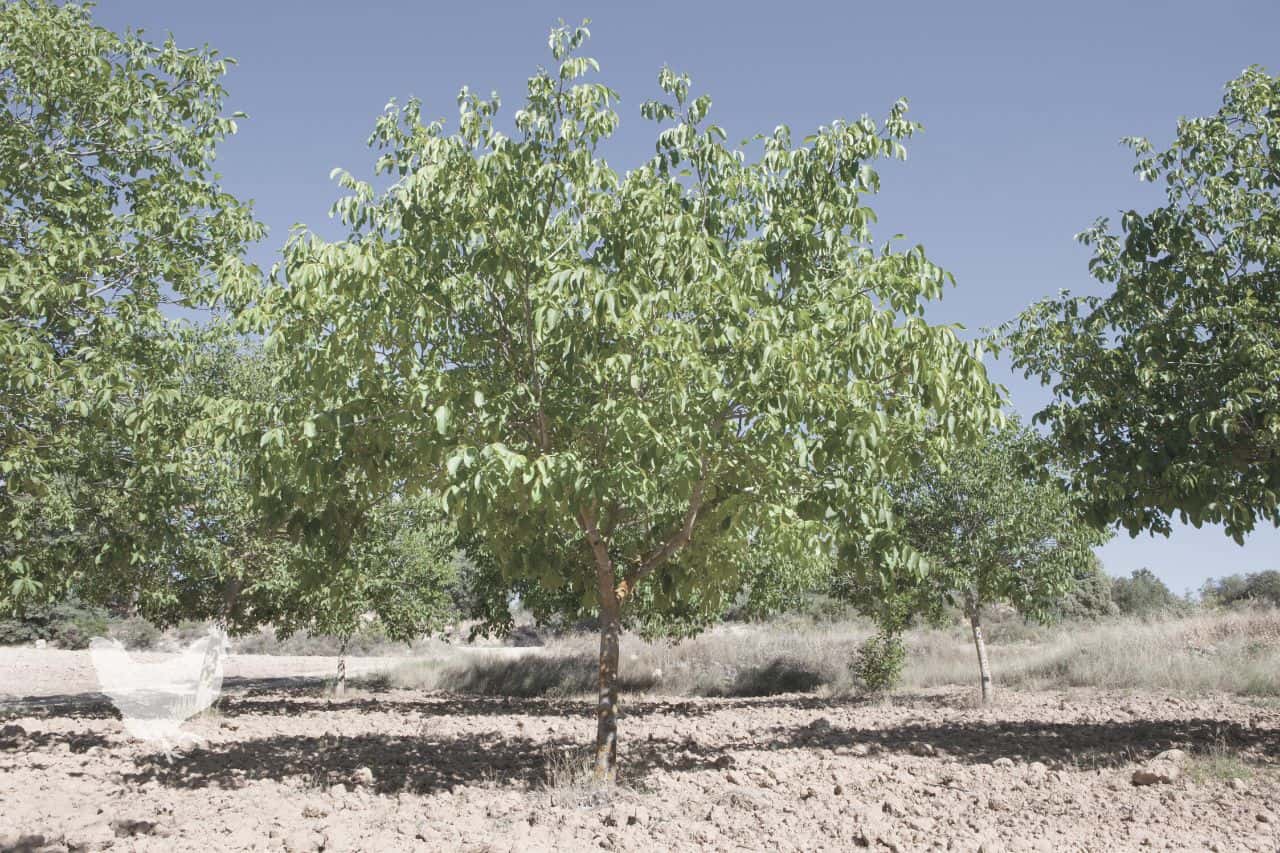
Walnuts are easy to grow, providing you have the right conditions. A rich, fertile soil, the right kind of temperate climate, and sufficient rainfall. In the United States, walnuts can be raised in hardiness zones 4 to 9. The trees grow at a medium rate and black walnut trees may reach over 100 feet in height. Let’s take a look at how to grow a walnut tree of your own.
What You'll Learn Today
How To Grow A Walnut Tree From A Nut
Growing a walnut tree from a walnut can be fun and rewarding. They are fairly easy to sprout and can be grown from a nut you buy from a store or collected directly from a tree.
1. Remove Husk
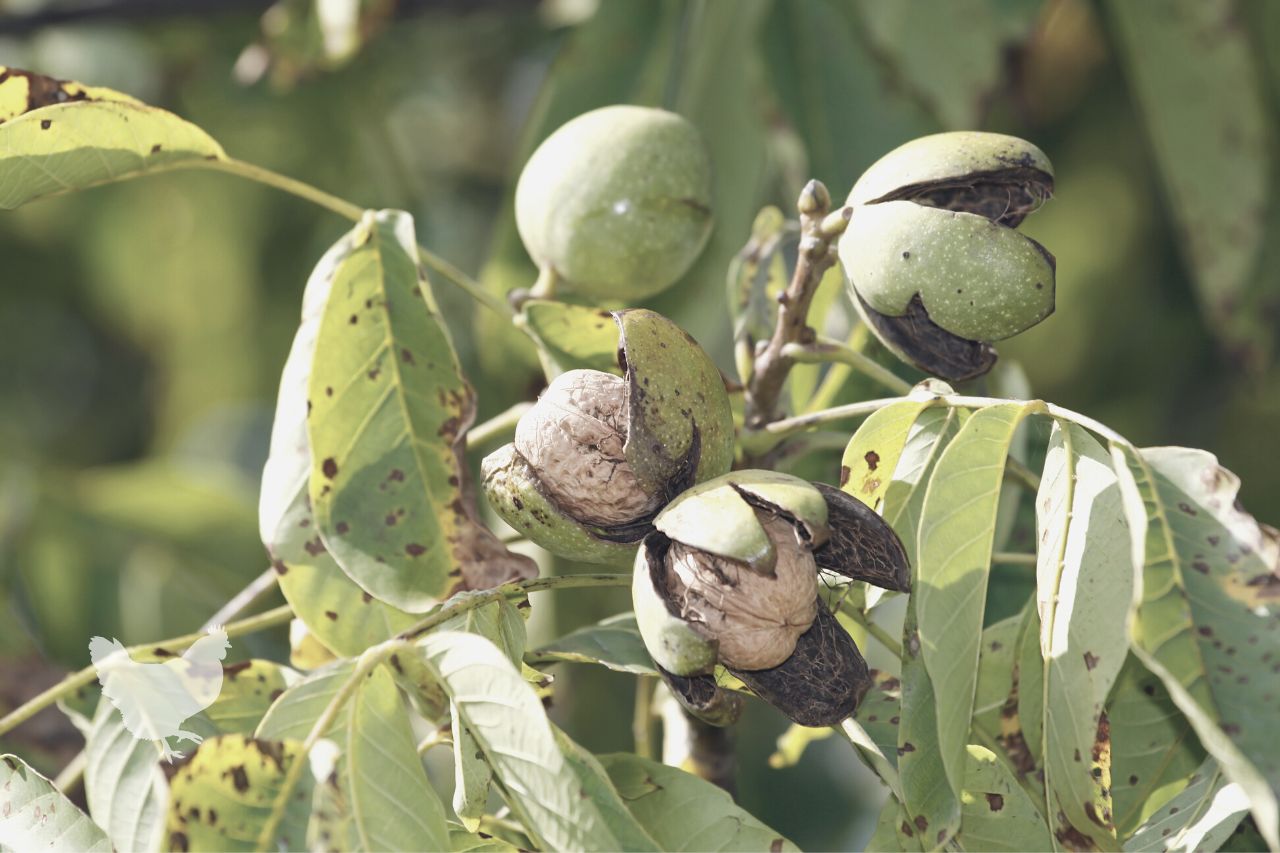
If you get a fresh walnut from a tree, it will be covered in a green husk. This needs to be removed from the walnut to leave the nut inside its hard shell.
When removing the husk, remember to wear gloves and protect your clothing as the juice from the husks will stain your hands and clothes and can be very difficult to remove.
To de-husk your walnuts, soak them for several days in a bucket of water. This will help to soften the fibrous husk and make it easier to peel.
Use a sharp knife and score deeply around the entire circumference of the nut then from top to bottom. You should then be able to peel the husk off.
2. Soak Overnight & Stratify
Once the husk has been removed or if you bought your whole walnuts from a store, you’ll need to soak them again overnight. The following day, wrap each nut in kitchen paper, place them in a container with a lid, spray the paper until it is wet, close the lid and place them into the refrigerator for three or four months.
Check them from time to time to ensure the kitchen paper is still moist but isn’t showing any signs of mold. If it is, replace it with fresh paper.
This will stratify your nuts and mimic them going through a cold winter. Not doing this will significantly reduce germination rates.
3. Roots Appear
Once your nuts are stratified, remove them from the refrigerator and very carefully peel off the paper towel to prevent damaging any tender roots. You should see that the nut has split open and a root shoot is growing out from it.
4. Pot Up
In a largeish pot, put coco peat and a small amount of vermiculite mixed with a small amount of chicken poop fertilizer. Water well before making a small hole in the top of the soil to place the nut. Make sure the shoot is pointing downwards and leave the top half of the nut above the soil.
Spray the nut with water and do this frequently to prevent the soil from becoming dry.
5. Leaf Buds & Planting
Within a few weeks, you should notice the nut splitting open and a shoot with tiny green leaf buds appearing.
Once your baby walnut tree has grown for its first year, you can plant it out in a sunny position with fertile, well-draining soil.
If planting more than one walnut tree, make sure to put them no closer than 12 feet apart although 15 feet is preferable.
Ensure you water the young trees frequently and try not to let the soil around them dry out, as this will cause them to become stressed and reduce their growth rate.
In this video, you can see how to grow walnut trees from nuts:
How To Grow A Walnut Tree From A Cutting
Growing walnut trees from cuttings can prove very tricky, and often the cuttings will fail to root and grow. However, this doesn’t mean it isn’t worth a try.
The beauty of growing a tree from a cutting rather than a nut is that the resulting tree will be a clone of the one the cutting was taken from.
It’s also a really economical method of growing lots more trees.
It generally takes longer for cuttings taken from hardwood trees, like black walnuts, to produce roots compared to cuttings from softwood trees. It’s probable that not all of your cuttings will take root, so ensure you have plenty to give yourself the greatest possibility of success.
If you’re lucky enough to end up with too many for your own needs, they make great gifts for friends or family.
1. Take Cuttings
Cuttings should be taken when the tree is dormant and not actively growing. This is from when it has dropped all its leaves in winter to before it starts growing new leaves in spring.
2. Healthy Tree
Ensure the tree you take cuttings from is really healthy with no signs of disease. The branches you choose should be from the previous season’s growth.
3. Where to cut
You want to cut around two feet of branch, so look for one with plenty of nodes along its length. Five or six is ideal, but four will do.
Find a node at around the right distance along the branch and make a clean, straight cut directly below the node, so the node itself forms part of the cutting. At this point, make the cut an inch to two inches below the node.
Ensure you sterilize your chosen cutting implement before making the cut. This can be done with rubbing alcohol or Lysol, which won’t rust your blade. Sharp hand pruners or a knife work well.
4. Soaking
Soak the bottom four inches of your cutting in water for four days. The cutting should be placed in the water immediately, as soon as you cut it.
5. Prepare Your Pot
After the four days, prepare the pot you’re going to plant your cutting in. Fill it with a mix of coco peat, perlite, and just a sprinkling of chicken manure compost. Mix them together and water well.
6. Aspirin
A tip here is to add a soluble aspirin tablet to the water. This is believed to inhibit mold and fungus growth.
7. New cut
Next, cut the bottom of the cutting off. Again use a clean, sharp blade to do the job. Make the cut directly below the node.
The reason for this is that the area of tissue around the node is the most likely to form roots.
8. Remove Bark
Scrape away one inch of the bark and cambium layer from the opposite side of the cutting to the note and dip it in a strong tree rooting hormone powder. Then immediately plant into your prepared pot, being careful not to rub off the rooting powder.
The cutting should be placed about three inches down into the soil. Make the hole before putting the cutting in, then firm the soil around it.
9. Keep Moist
Keep the soil moist without drowning the cutting by misting the soil with water daily.
10. Give Plenty Of Natural Light
Place in a position that gets plenty of natural light, but is out of direct sunlight, and sheltered from cold.
11. Leaves Appear
Eventually, you should see the nodes begin to bud up and eventually produce leaves. This is a good indicator that your cutting has rooted.
12. Get Established
Keep it moist in the pot until it is well established and has leafed out well.
13. Plant Out
The following spring, you can plant it out in the position where you want it to grow. This should be in full or semi-full sun. Introduce it to the area for over a week in its pot, so it gets used to the new location. This will help avoid planting stress.
How To Propagate A Walnut Tree
An easier way to propagate a walnut tree may be to use air layering. This is a technique that forces the branch of a growing tree to produce roots. You then cut the branch off and plant it to turn it into a new tree.
Air layering works best while the tree is actively growing from late spring to mid-summer.
What You Need For Air Layering
- A strip of strong, clear plastic sheeting to wrap around the branch
- Coco peat
- Perlite
- Chicken manure compost
- Water
- Foil
- Tape
- Zip ties
- Choose Your Cutting – Find a branch that is two or three years old and is healthy and strong with plenty of leaf growth.
- Point Of Cut – Choose a point along the branch where the frequency of leafing has become more spread out.
- Make The Cut – Find a healthy-looking leaf sprouting from the branch and cut it off from where it is growing out of the branch. Directly above this, using a sharp, clean knife, make a cut in the bark all the way around the branch, then do the same two inches further up.
- Peel The Bark – Next, make a cut in the bark straight along the branch that joins the two original cuts together. You should now be able to peel back the bark along this two-inch section and remove it.
- Remove Cambion Layer – Now, with the blade of your knife, scrape the area on the branch where the bark was to remove the cambion layer. You should be left with just the bare wood showing.
- Rooting Hormone – Paint the bare wood area with rooting powder or liquid.
- Plastic – Lay the strip of plastic sheet on the floor, and in the center add a mound of the peat which you have moistened thoroughly. The peat should be damp but not wet. Wring out excess water.
- Cover – Pick up the plastic and flatten the peat out a little before wrapping it around the branch you have prepared. The peat should totally cover the bald area of the branch. The idea is that the peat remains moist and does not dry out.
- Secure – With zip ties, secure the plastic at each end, ensuring there are no gaps.
- Foil – Wrap the plastic in the foil to ensure no light can penetrate.
- Tape – This can be further secured with tape if you like.
- Wait – Leave the branch for around 6 to 8 weeks before checking to see if any roots are growing under the plastic.
- Check – If there are sufficient roots, you can cut the branch off of the tree a couple of inches below them, or if there aren’t yet enough, then leave the branch for a little longer or even over winter before checking again.
- Detach – Once you’ve cut your rooted branch off, pot it up in some good quality potting compost and keep it moist but not wet and in a sheltered spot so that it can develop and grow before planting where you want it.
Note that not all air layering attempts will work, so be prepared to try several to increase the chances of success.
How To Plant A Walnut Tree
Before you spend money on planting young walnut trees, first ensure the site you have in mind is right.
Walnut trees require deep, fertile soil that has both good drainage and moisture retention. It should be sheltered from strong winds and open to full sun.
They are fairly tolerant of soil pH and can grow in a wide range from 4.5 to 8.5 providing other factors are right.
Walnuts don’t tolerate competition well, so the ground around them needs to be kept clear of grasses and weeds.
To plant a walnut tree, you will need to:
- If your tree is bare-root, then soak the roots in a bucket of water for an hour or two prior to planting. If it is potted, fill the hole you dig with water and let it soak in for a couple of hours prior to planting.
- Dig your hole. This should be square and not round to prevent the roots from balling. The hole must be slightly larger than the size of the roots.
- When digging the hole, place the displaced soil onto a tarp, piece of heavy-duty plastic, or into a large wheelbarrow.
- Mix some good quality tree planting compost into the soil, so it is well combined with the dirt you removed from the hole.
- Place the tree into the hole you have dug and return the soil. Do this gradually, ensuring no air gaps are left, and tamping the soil down every so often until you have filled the hole to the level that soil would have originally been on the trunk of the tree.
- Water in well. You may have to add more soil after watering in as it will sink.
- To make water retention better, you can use some of the leftover soil to build a ring around the tree. This will help prevent the water from running away when the tree is watered and will gradually disappear with time as the tree matures.
Allow the tree to settle for a few days before carrying out your first pruning. If it has already started to leaf or if the buds are green, then don’t prune until the following year.
How Many Walnut Trees Per Acre?
Walnut trees can be a good long-term investment. Good quality walnut wood for making beautiful furniture is in short supply and therefore demands premium prices.
However, it will take in excess of 30 years until a tree is able to command the best prices.
If you want to plant a few acres of walnuts for your retirement or for your kids’ future, then you can expect to have between 436 to 545 trees on an acre of ground.
Much depends on the site, the quality of the soil, weather conditions in your area, and so on.
It is recommended to plant bare root seedlings in early fall or early spring.
How Quickly Does A Walnut Tree Grow?
Walnut trees are not fast-growing but will increase around 13 to 24 inches per year until fully grown in around thirty years.
A sapling isn’t considered mature until it is between five to ten years of age, depending on the type of walnut.
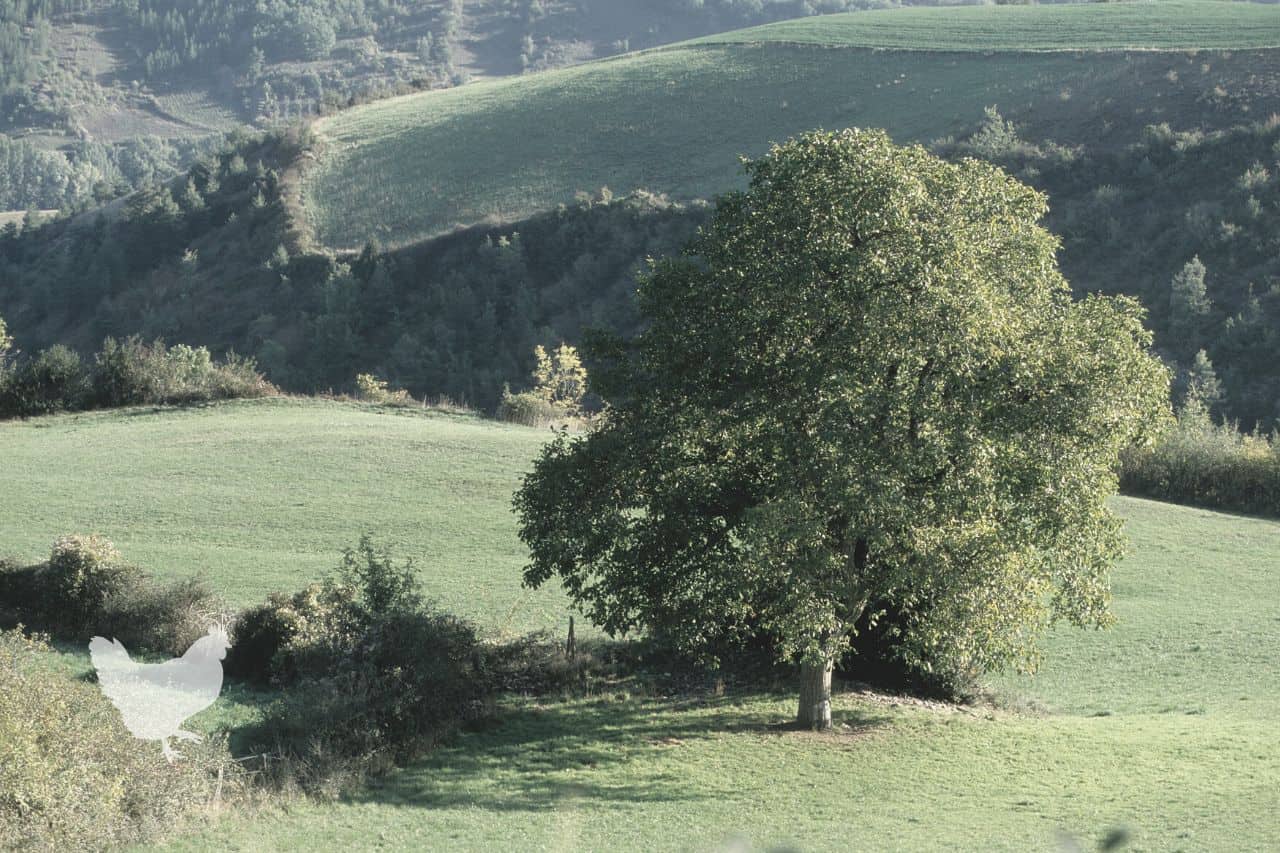
Mature trees can live for hundreds of years in the right conditions, and because they are often self-fertile don’t even require another pollinating partner tree to produce nuts.
Are Black Walnut Trees Dangerous?
Some gardeners are not too keen on growing black walnut trees as they can cause some problems.
The trees produce an organic compound called Juglone which affects other plants growing close to them.
Plants that are especially susceptible to Juglone include:
Fruits
- Blueberries
- Apples
- Peppers
- Tomatoes
Vegetables
- Asparagus
- Cabbage
- Potatoes
Flowers
- Lillies
- Petunias
- Blue Wild Indigo
Trees & Shrubs
- White Birch
- Black Alder
- Silver Maple
- Red and White Pine
- Azaleas
These plants can be damaged and even killed if black walnuts are growing too close to them.
To avoid these problems, it’s best to create a plantation of Walnut trees away from any other trees or plants which may be affected. The minimum recommended distance is a 50-foot radius.
Unusually, even though Juglone is toxic to plants, it is not so for humans.
Black walnuts can however be toxic to people if they have been infected with Penitrum A, a fungus that decomposes the green hulls of the walnuts before they are harvested. These nuts pose the risk of making anyone who eats them sick and can even be fatal for dogs.
Conclusion
There are various ways to grow a walnut tree. Of course, you could just visit a tree nursery and pick up a young sapling, but it’s often more fun to have a go at propagating them for yourself.
One of the easiest ways of getting free walnut trees is to simply dig up and re-plant any young saplings that grow from the nuts dropped by mature walnut trees.
If you don’t have a mature tree of your own, then find a friend who does and ask them if they’d mind you taking some young seedlings in the springtime.
If you want a genetic copy of a tree, you’ll need to make a clone, which can be done by using cuttings and rooting them or by grafting them onto rootstock or air layering to form roots.
To learn more about walnut trees and a wide variety of other subjects, head on over to our website to find other articles.