Quinoa is one of the most popular pseudo-grains available at any health food store. It is rapidly replacing the demand for wheat, oats, barley, and other traditional grains at homesteads where the nutritional quality of the food produced is of utmost importance. You can read all about the nutrition of quinoa here. But, it’s expensive to buy at the store and not many people grow it themselves. Do you want to learn how to grow quinoa on your own homestead, saving money and boosting the health of your household?
Here is your official guide!
What You'll Learn Today
How To Grow Quinoa
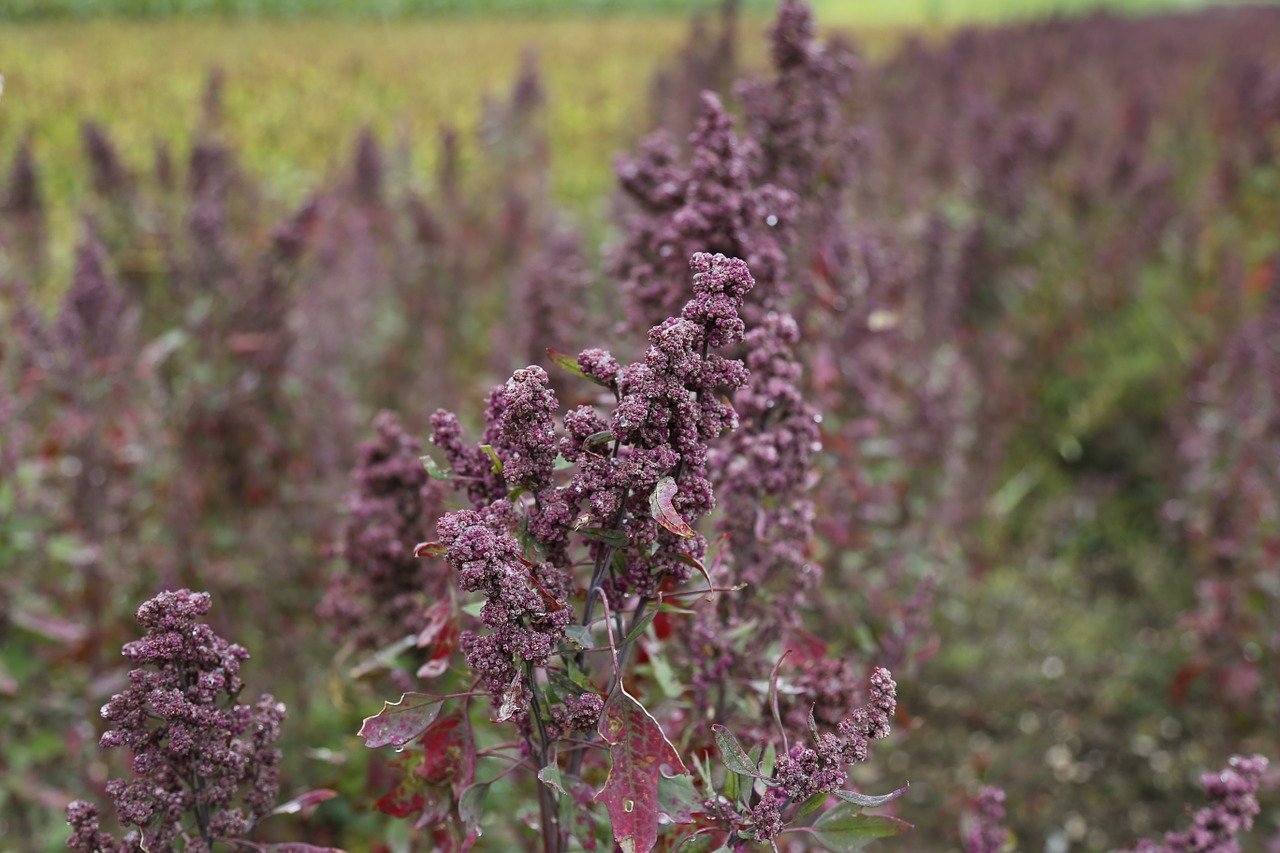
When learning how to grow quinoa, you’ll probably be surprised how easy it is. It is a hardy plant that can grow in USDA zones 3-10. Why more homesteaders aren’t growing themselves already is a mystery. After all, as long as the quinoa from the store isn’t polished, you can simply grow it from store-bought quinoa!
Here are the steps to grow your own quinoa
- Prepare your planting area by removing weeds and amending the soil with rich compost to serve as fertilizer for the quinoa and the soil life itself. It can grow in most types of soil but it will do the best in well-draining loamy soil types. Make sure the area has full sun exposure for maximum growth.
- Once your bed is prepared and the last frost of the season has passed, plant seeds about ¼ inch deep and cover with fine soil/compost. Water thoroughly and ensure the bed stays moist during the germination phase. Note – you can broadcast your seed or place it in uniform rows. Broadcasting tends to cause more waste and more work for thinning.
- Weed your quinoa bed by hand until the plants are large enough to shade out potential weeds. You don’t want weeds taking away water and nutrients from your quinoa plants.
- Thin your quinoa plants once they reach about 4 inches tall and ensure that they have enough sunlight and airflow between them to encourage maximum growth. Quinoa plants will grow to 4 ft tall in dry conditions but can reach double that size with enough nutrients and irrigation/rainfall. Each plant should eventually be spaced about 18 inches apart.
- Quinoa takes around 90-120 days to fully mature. You’ll know that the seeds are ready to harvest when the plants turn golden brown and the seed heads don’t dent easily when pinching them with your fingernails.
That’s all there is to growing quinoa. It’s an easy plant to grow and should do well if you have a fertile garden bed and the environment places nice with temperatures and rainfall. The plant is drought-tolerant but will grow larger with steady irrigation.
Sprouting Quinoa
Are you interested in quinoa sprouts? You may want quinoa sprouts to increase the nutrient content of the quinoa seeds or to grow quinoa microgreens.
The process to sprout your quinoa is quite simple. You only need your quinoa seeds, a Mason jar, and a cheesecloth or sprouting lid.
The process only takes a couple of days and is a repeating cycle of soaking and rinsing the seeds until sprouts form.
You can find our guide on how to sprout quinoa here.
Sprouted quinoa can also be planted to ensure you have maximum germination. Otherwise, sprouted quinoa can be cooked and eaten. The antinutrient content will be lowered and the quinoa will be healthier than traditional quinoa.
You can also transfer the sprouts to a microgreen tray and grow them a bit to eat those, which are also lower in antinutrients and very healthy!
Harvesting Quinoa
Once your quinoa has reached maturity, it’s time to harvest and process it to separate the seeds from the rest of the plant material.
One thing to note is that sometimes the quinoa seed heads will mature at different rates. That means that hand harvesting is a must. Harvest the seed heads that are ready and leave the others to maximize your yield.
First, you can clip off each seed head from the stalk, leaving a bit of stem on each head to be able to hold it when drying and threshing.
Once you have your quinoa clipped, you have to dry it by hanging it upside down or laying it out on drying racks.
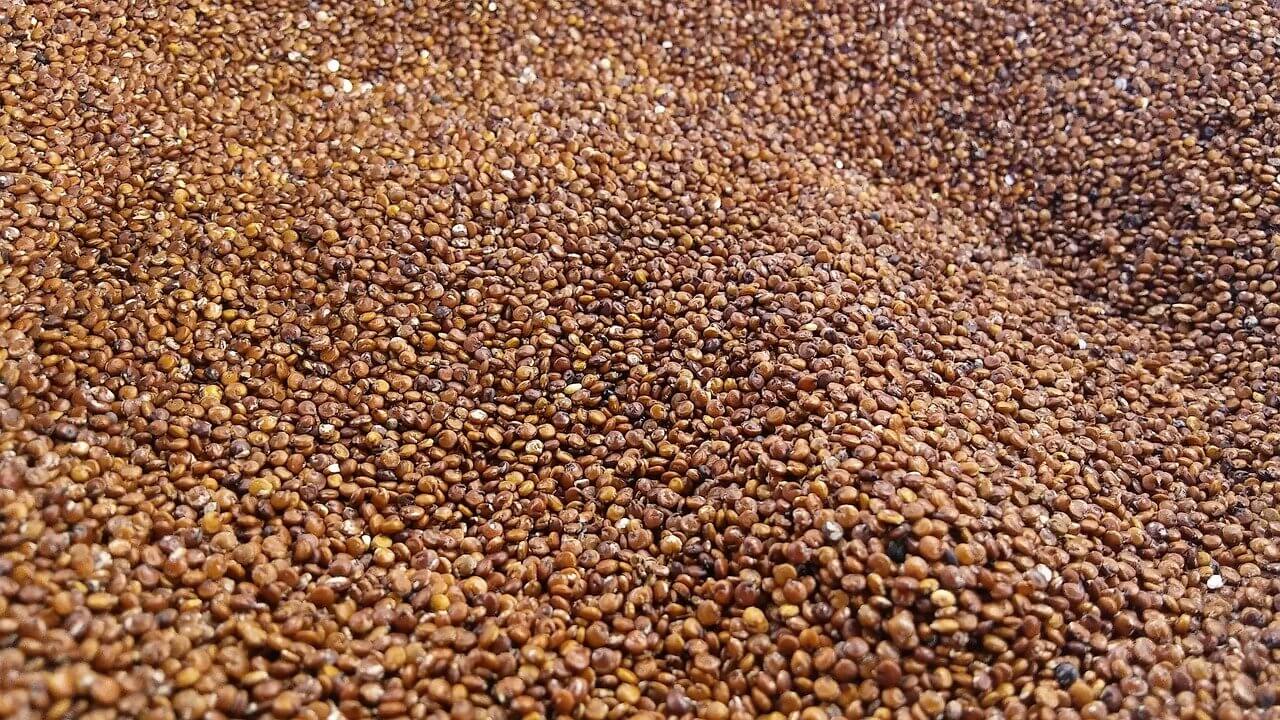
When it’s dry, you need to thresh the seeds from the plant. Get a bucket and slam the seedheads back and forth until all the seeds drop into the bucket.
Once threshed, winnow your seeds with a fan by dropping handfuls in front of the fan. The seeds will drop back into the bucket and the lighter plant material will blow away.
Lastly, you have to rinse the saponins from the quinoa that create a harsh-bitter flavor if left untreated. Rinse it under clean water until no bubbles form in the rinsed water.
You can see an in-depth guide on harvesting home-grown quinoa here.
Storing Your Quinoa
Raw quinoa has a very long shelf-life, extending years beyond what the store label probably says. Cooked quinoa lasts a few days, or longer if stored properly.
For raw quinoa, store it in a cool dry place away from sunlight. This will make your quinoa seeds last for years, although the germination rate may decline year after year.
If you want to store cooked quinoa in bulk amounts, the freezer is your best bet to make it last around 6 months.
The refrigerator can be used to store cooked quinoa for a few days as well.
If your quinoa is moldy, smelly, or slimy, it’s a good idea to just toss it. Otherwise, there is a good chance that it can last 5+ years on its own. The flavor profile may lose its potency, but it won’t be spoiled.
Read our quinoa storage guide here for more information.
What To Do With Your Quinoa
First off, quinoa is a great long-term plan for stored foods. It is a good safety net to have in the pantry for survival occasions. It’s rich in nutrients and can last years, so growing extra and storing for future needs is a given.
When cooking with quinoa, you can use it to replace many typical grains, like rice and oats. It has a slightly more unique flavor, but this can be used to create a deeper flavor profile in your recipe anyways. Plus, the healthy nutritional profile of quinoa makes it a great staple on the homestead.
You can also refine your seeds into quinoa flour and use it for baking the majority of normal baked goods. You can see our guide on how to make quinoa flour here.
Quinoa is a superfood that delivers more vitamins and minerals than many other grains and it also delivers less of the harmful antinutrients that grains are known for.
It is expensive as a replacement for grains if you buy all the quinoa you need from the store. But, you can plant your own and aside from the initial cost of the seeds, it won’t be a large expense at all.
If you are able to grow acres of it, it makes a very healthy alternative to grains for livestock feed. Your animals will be healthier and the meat you end up harvesting will be healthier as well.
The stalks of the plants can be used as straw for bedding for your livestock as well. As you know, we homesteaders have to make the most of everything we can produce on our land!
FAQs
Quinoa is still a foreign food to many, so you may have some questions about this pseudo-cereal. Our other articles on quinoa may answer your questions more in-depth, but here are a few of the most common questions about growing your quinoa.
Why Is Quinoa More Expensive Than Other Grains?
First of all, it’s not a grain. It’s not cultivated in the same areas as grains either. Instead, it is commercially produced in high altitudes, like South America and the Rocky Mountains here in the US.
You can see our article explaining the cost of quinoa and a bit about its history. Long story short: it’s not widely produced and the supply hasn’t caught up to the demand.
Luckily, you don’t have to live at high altitudes to grow your own. Remember, it can be grown in USDA zones 3-10. That’s a huge chunk of the nation where quinoa is suitable for homesteaders to grow themselves!
How Long Does It Take To Grow Quinoa?
Growing quinoa to maturity takes between 90-120 days, depending on the variety grown and the climate. It does well in temperatures above freezing but below 90 degrees Fahrenheit. That means that a spring planting right after the last frost is the ideal time to plant quinoa in most locations. You can find your last frost date here.
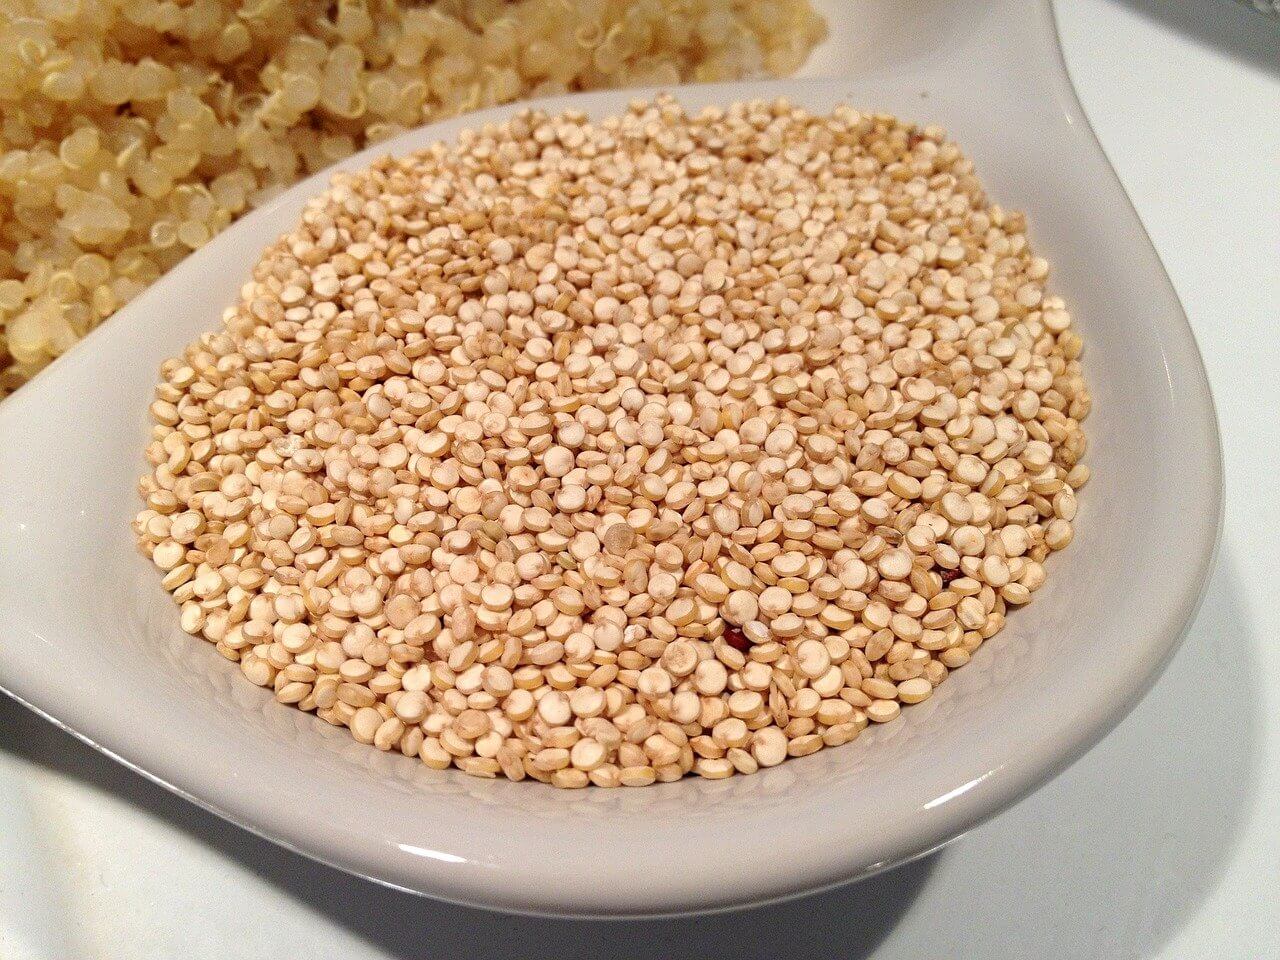
Can You Plant Quinoa From The Grocery Store?
There are 3 types of quinoa that you can get from the store. Raw and unwashed quinoa is the least processed and will still have saponins present that needs to be washed off before consumption. This kind is perfectly fine to grow.
Washed quinoa is prewashed so the saponins are removed. Unless it is toasted, it will also sprout and be suitable for growing. Toasted quinoa seeds have lost their ability to grow.
Lastly, there is polished quinoa that has been the most processed. This type of quinoa will not be suitable for planting or sprouting.
How Much Quinoa Does One Plant Produce?
The average yield per plant is about 1-2 ounces of dried quinoa seeds. However, if you have a fertile plot and ample irrigation, you can get up to 6 ounces of quinoa on each plant!
While the seeds may be expensive to buy at first, you have to consider that each of those tiny little seeds can grow you up to 6 more ounces of quinoa if you plant and grow out each seed! That works out to pennies per plant!
Ready For Home-Grown Quinoa?
Hopefully, you are now confident that you can grow your quinoa. Learning how to grow quinoa for yourself isn’t hard and you’ll probably be a pro after one season. Use this guide as your reference and start producing this healthy seed on your land to feed your family!
If you’re looking for more information on quinoa, here is an interesting article on differences between quinoa and couscous, or this one about how to make milk from quinoa.