Nuts are a valuable food resource being high in energy and full of healthy fats. As a snack, they can be a real treat, and if you’re lucky enough to have your own walnut trees, they may even be a marketable commodity. Here we’ll take a look at how to harvest a walnut tree and then dry the nuts for long-term storage.
What You'll Learn Today
How Do You Harvest And Prepare Walnuts?
If you have walnut trees, then why not make the most of them? Sure they can be a bit of effort to harvest, but it will all be worthwhile!
When to Pick Your Walnuts
Walnuts are generally ready for harvest from late summer to late autumn. In the northern hemisphere, that’s early September to early November.
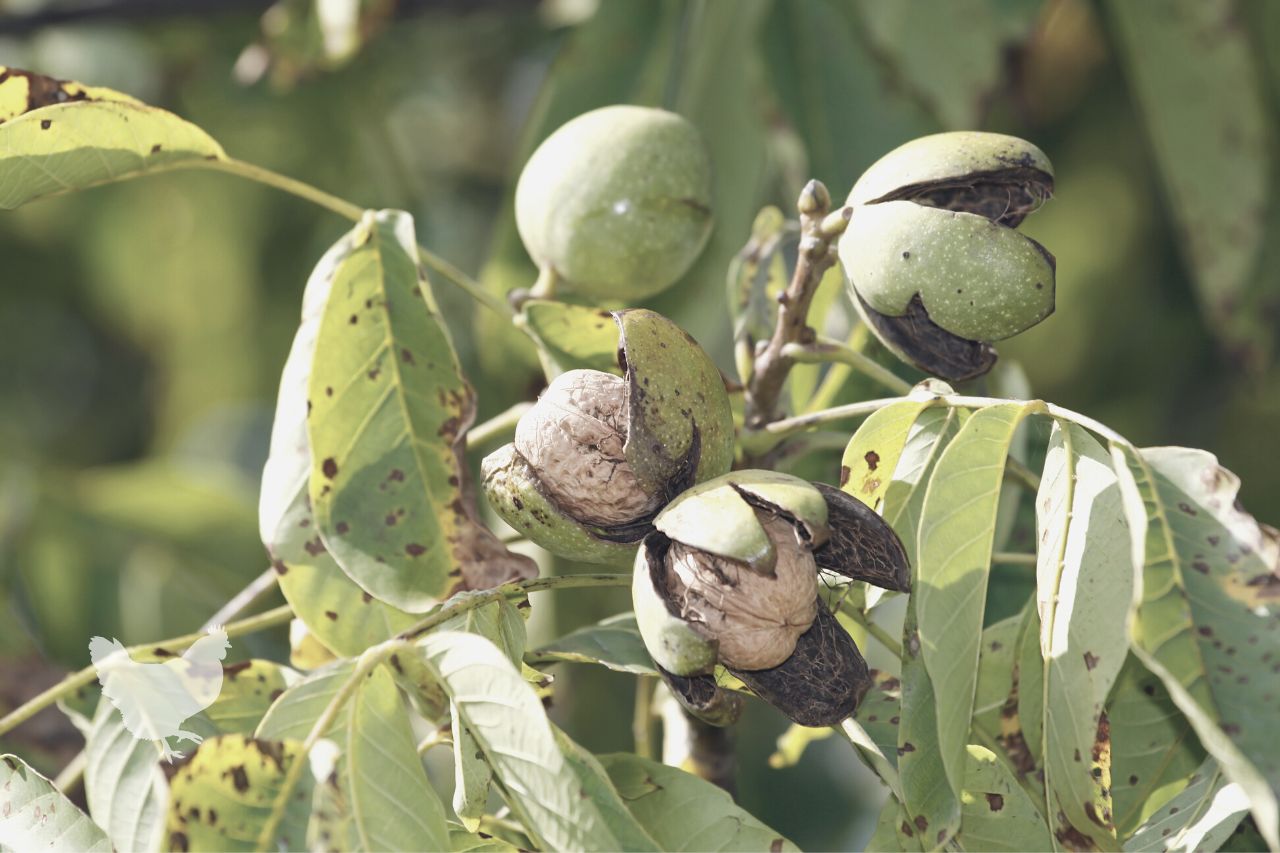
You can tell if the nuts are ready, firstly when they begin falling from the tree with a cracked casing and secondly by harvesting a few from as high up your walnut tree as possible. Break them open and look inside, they should have a brown membrane and the nut should look mature, with a nice pale brown coloration.
You should begin to harvest when you estimate approximately 85% of the nuts are mature.
The reason for not waiting until all of them are fully ripe is that you run the risk of losing the entire crop to birds, insects, and other animals, who will gladly feast on your nuts.
Another risk of waiting too long is that the husks start to blacken and become soft. This causes the nut inside to be stained and take on a bitter flavor.
If the summer has been particularly hot, and especially if your tree is still quite young, it can suffer from water stress. This is where the roots haven’t been able to access as much water as they need.
Water stress can result in the walnuts maturing much more slowly, and you may even lose the crop if winter hits before they ripen.
To prevent this from happening, ensure that you water your trees regularly, particularly in hot weather, especially while the nuts are ripening.
How to Harvest Your Walnuts
Caution must be taken when harvesting walnuts as they contain phenols that can both stain hands and clothes but may also cause skin irritation in some people.
For this reason, it is best to wear gloves and coveralls or at least old clothing.
For any walnuts that fall to the ground, you’ll need to gather them quickly to prevent them from molding or being damaged by insects.
Walnut Harvesting Process
1. Protect yourself. Cover your hands with gloves and wear appropriate clothing.
2. Check for ripeness. A handy technique for assessing this is to push down with your thumb onto the green outer casing. A ripe nut will be slightly tender.
Remember that the nuts from the highest part of your tree ripen last.
3. Shake the tree. Use a long pole to shake the branches to encourage the ripe nuts to drop off. Collect the fallen nuts immediately.
To make this process easier, you can spread old sheets out under the tree to catch the nuts, making them quick and simple to gather.
4. Remove the green outer husk. This can be done with a pocket knife or by bashing the nuts gently with a hammer. The idea is to remove the casing without breaking open the nut inside.
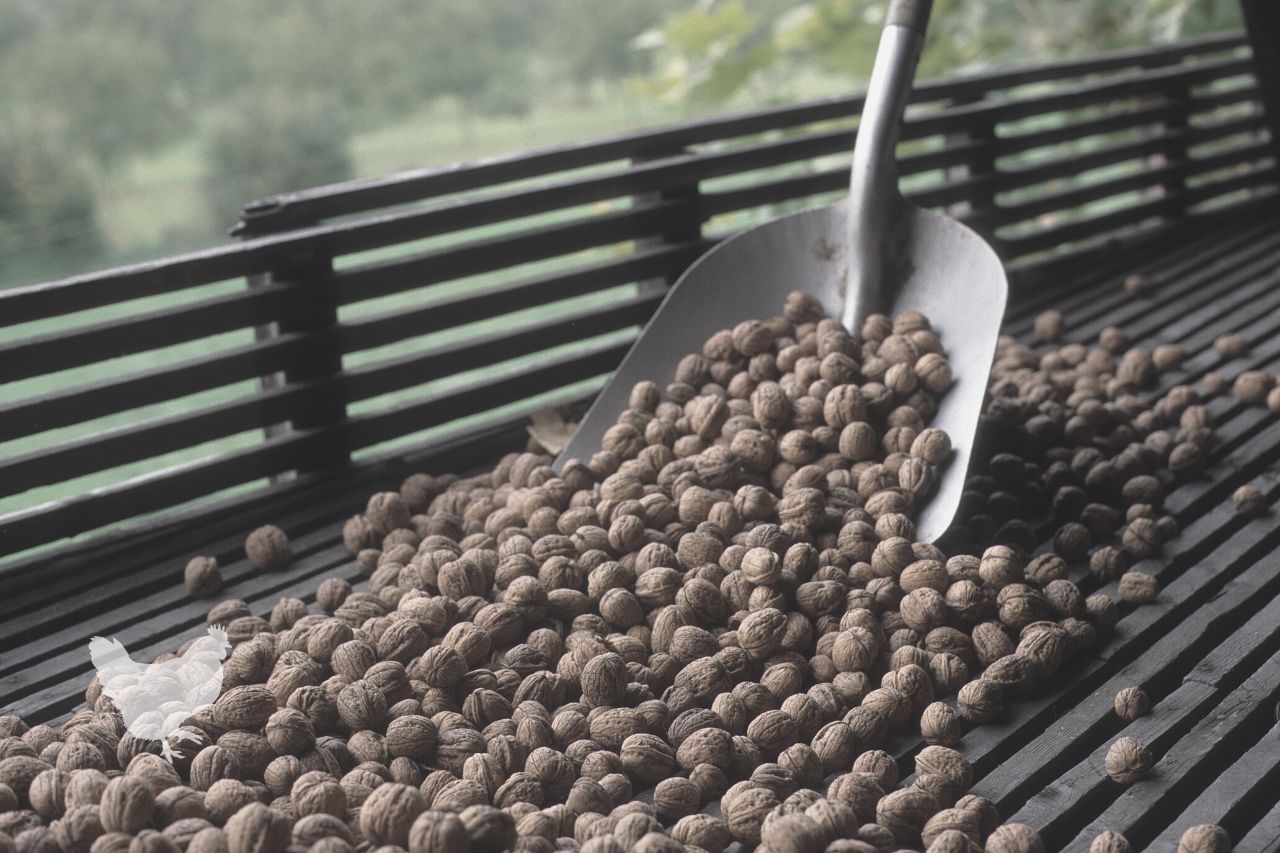
5. Clean the nuts. Once the outer husks have been removed from your walnuts, give them a really good wash to ensure they are clean.
6. Dry the nuts. Spread the nuts out on a clean surface, such as a plastic sheet, in a warm dry place, although not in direct sunlight, and leave them to dry for about a week. Drying time will depend on the temperature; the hotter it is, the faster they will dry out.
If you’re doing this out of doors, cover them with plastic netting to prevent birds from taking them. Try to turn the nuts daily to promote even drying, if you have a lot, this can be done with a rake.
7. Store the nuts. The nuts can be stored in their shell for several months over the winter, or you may prefer to remove them from their shells, so they are ready to use. To do this, use a nutcracker or a pocket knife to shell the nuts. Do make sure they are well dried first.
8. Preserve the nuts. To do this, dry roast them on a baking sheet by placing them in the oven on low heat or out in the sun, providing you give them protection from birds and insects. Store the nuts in an airtight container. They should remain good for up to a year.
Alternatively, you can also freeze them for up to a year or two.
You can learn more about drying and storing the nuts later in the article.
Is There An Easy Way To Pick Up Walnuts?
There are several methods for picking up walnuts quickly and efficiently. The most low-tech way is by simply raking up fallen nuts into piles and simply scooping the piles up into a bucket or a sack.
Slightly more high-tech methods also exist. You could make your own walnut gathering tool or use a pre-made one.
The nut wizard is an American-made, very useful gadget for collecting walnuts quickly and efficiently. It’s an egg-shaped wire cage attached to a long wooden handle, rather like a rake. You push the rolling cage over the nuts, and it collects them inside.
This is then easily emptied into a bucket by opening the cage with a specially designed metal device that comes with the nut wizard.
In this video, you can see a different nut harvester in action. This is suitable for collecting nuts if you have a large number of walnut trees.
Making Your Own Walnut Gathering Device
A simple device for gathering walnuts can be made quite simply.
Materials required:
- 1 ¼ inch diameter PVC pipe (the type used for plumbing)
- Strong fabric 2ft x 4ft
- Nylon thread
- Duct tape
- 36-inch long stainless steel rod of ¼ inch diameter
- 4-inch long piece of wood that is ½ inch thick by ½ inch wide
Tools required:
- Tape measure
- Yardstick
- Chalk stick
- Scissors
- Strong needle or sewing machine with an all-purpose needle fitted
- Hammer
- Hacksaw
- Pliers
- Drill
Instructions
1. Making the sack
- Take the fabric and lay it out flat on a table.
- Fold the fabric in half, short end to short end, so you have a 2ft square.
- Sew up each side, so that you end up with a sack with the top open.
- On the open end, fold over a 1-inch seam and sew it in place all the way around.
- Turn the sack right side out and keep it for later.
2. Cutting the PVC pipe to length
Cut the piece of PVC pipe to between three or four feet in length. To judge the right length, stand holding the pipe out in front of you at a comfortable height. You want to cut the pipe so it reaches the ground, approximately two feet in front of you.
Use a hacksaw to cut the pipe.
3. Bending the metal rod
You need to turn the metal rod into a hoop shape so that both ends meet together.
4. Placing the hoop in the bag
Take the bag and make a small slit in the middle of one of the seams you sewed. This is to make a place to insert the metal rod.
Carefully insert the rod and work it around the fabric seam until it pops out of the other end.
5. Making handles in the metal rod
You need to turn the two ends of your metal rod into handles. To do this use pliers or a solid raised surface to bend the last three inches at right angles to the hoop. When you’re finished, both handles should be pointing in the same direction parallel to each other.
6. Securing the hoop to the PVC pipe
Push the two handles you have made in the metal rod into one end of the PVC pipe.
Push the piece of wood in between the handles to form a wedge and hammer it in carefully as far as possible.
7. Wrapping the handle
Use the duct tape to firmly secure the handle to the hoop by wrapping it around in a figure of eight a few times. Then wrap a few inches along the pipe to hold everything securely in place.
8. Use your walnut scoop to gather nuts
To use, simply drag the scoop behind you, so it fills with walnuts. You’ll need a bucket or other container to empty it into once it becomes full.
How Do You Dry Fresh Walnuts?
When you’ve just picked your lovely fresh walnuts, in order to store them and keep them good for as long as possible, they will need drying.
This has to be done in two stages. The first stage is you remove the green hulls from the outside of the nuts shell. The second is after you have de-shelled your nuts if you choose to do so.
By drying the walnuts correctly, you’ll find the shells are easier to crack open, and it will also help to prevent the nut inside (meat) from becoming spoiled.
Removing The Husks
The husks were provided by nature to protect the nut, and this makes them a little tricky to remove. The aim of the game here is to remove the husk or hull without breaking the shell of the nut inside.
Various methods can be employed to do this job, from using specially designed machines to driving back and forth over them with your car!
Cleaning The Nuts
The next job is to clean the nuts. This can be done by hosing them off or placing them into a bucket of cold water to remove the dirt and juice left over from the husks.
Any that float to the surface can be discarded as they won’t have good nuts inside.
Drain the nuts well after they have been thoroughly cleaned.
Drying The Nuts
Once the nuts have been de-hulled, washed, and drained, they need to be spread out in a thin layer somewhere dry with good ventilation. You can also do this outside out of direct sunlight, providing there is no chance of rain or dew.
Place a tarp or an old sheet on the floor and spread them out. Although direct sunlight should be avoided, plenty of warmth is beneficial.
Turn the nuts every few days to help them dry evenly.
After around two weeks, they should be dry.
Checking for Dryness
To check that the walnuts have dried properly, you’ll need to crack one open to see what the walnut meat inside looks like. It should be brittle, and the membranes around it should be papery.
If any part is still rubbery, then continue to dry them for longer, as storing nuts before they are properly dried will end with them going moldy and rotting.
Once the nuts are dry, they can be stored in string bags or baskets in a cool, dry, dark place, or in the freezer, where they will keep for up to two years.
Conclusion
If you’re lucky enough to have a walnut tree in your backyard, then it’s well worth gathering the nuts once they ripen.
Walnuts are not only a healthy snack on their own; they can be included in some fantastic recipes such as Walnut Cake, one of my personal favorites.
They can also be pickled, candied, tossed into salads, added to your breakfast cereal or porridge, and even made into vegan cheese sauce!
Top tips to remember when harvesting a walnut tree are to gather the fallen nuts as quickly as possible, be careful not to crack them when you remove the hull, wash them thoroughly and ensure they are completely dry before storing.
To learn more about walnuts and how to care for walnut trees, take a closer look at some of our other walnut tree articles.