Sweet potatoes are ready when the leaves start to turn yellow, as a general rule. They will continue to grow and flourish underground while the leaves are still green, but when the foliage starts to die back, it is a sign that your sweet potatoes are ready to be picked.
You can also keep an eye on the weather and the time of year, to work out when are sweet potatoes ready – they won’t tolerate any kind of frost or freezing weather, so as long as you have harvested before the weather gets really nasty, you should be laughing. So how to harvest sweet potatoes?
What You'll Learn Today
How To Harvest Sweet Potatoes
Harvesting sweet potatoes is very similar to harvesting other types of potatoes. Basically, you need to dig down deep with a fork, as far away from the roots as you can, and try not to stab any potatoes on the way in!
If you need a little more instruction, here’s a more detailed how-to:
- If you want to, you can leave your sweet potatoes in the ground for a long time after the foliage have died back, and then dig around where the plants used to grow to find your spuds. If you are a little more keen to taste your harvested bounty, then read on!
- As the growing season continues, the leaves will start to change from their usual, creeping, ground covering leafy foliage, to a wilted, yellow, and steadily dying leaf covering. This is the first sign that your sweet potatoes are ripening underground.
- Once all the leaves have all turned yellow and started to wilt off the vine, your sweet potatoes should be just about ready – assuming that they are yellowing from ripeness not disease, and the plants have been growing for long enough.
- Sweet potatoes generally take around 100 days (ish) from planting to harvesting, to keep an eye on the calendar as well as the leaves – if you make a note of when you planted them you can work out how long they have been in the ground.
- If the weather turns frosty before you have started to harvest, you should get your sweet potatoes out of the ground immediately. These tubers won’t tolerate frost, so at any signs of freezing weather you need to whip them out of the ground at the first opportunity, no matter how well developed they are, otherwise you will lose the whole crop to rot.
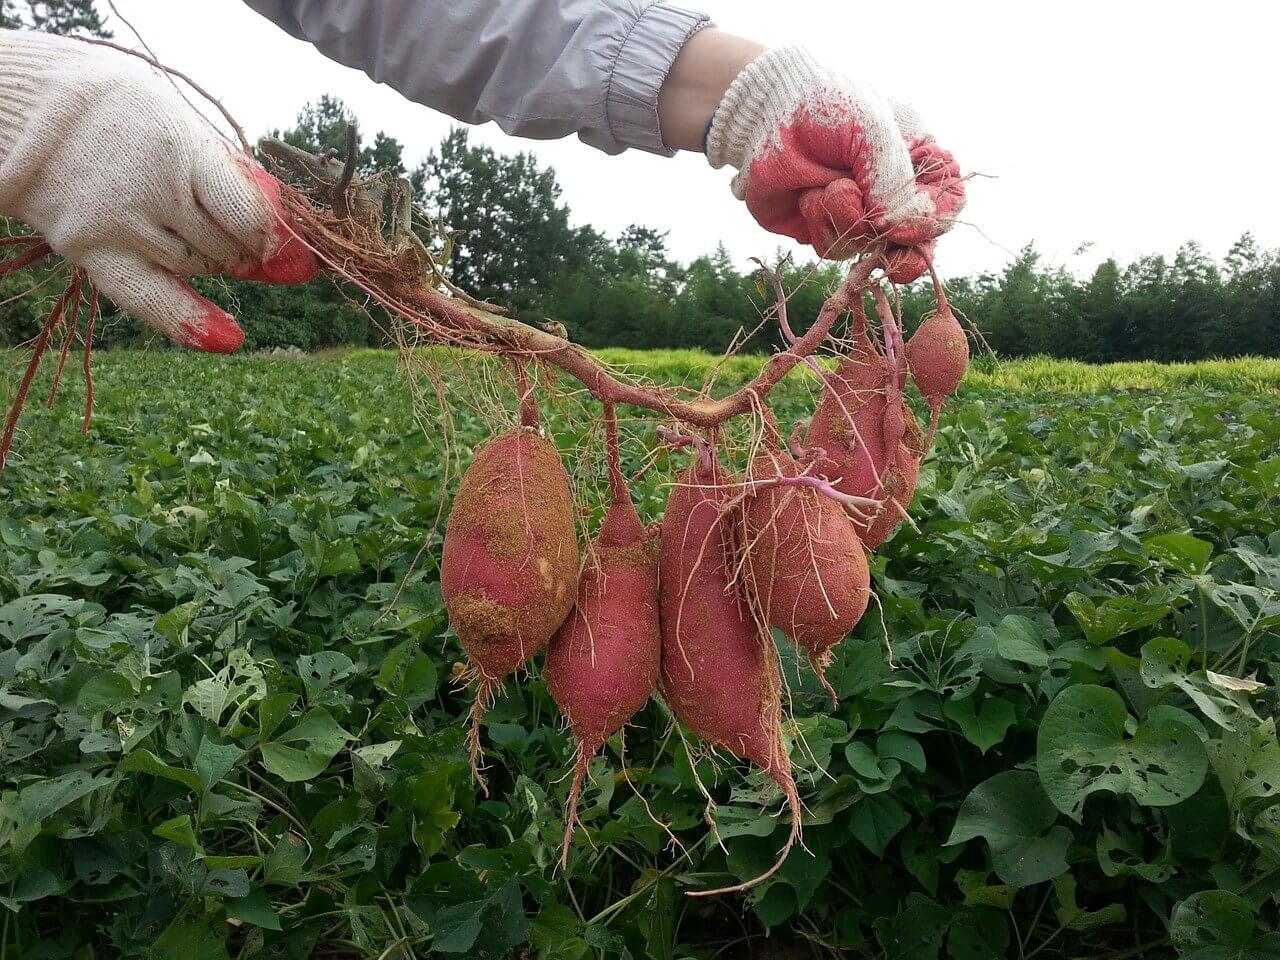
- Once you have established that your sweet potatoes are ready to harvest, then take your fork to the soil, a few feet out from the main plant. Dig the fork in deeply but gently, and lever out the soil carefully.
- As you lift the soil, you will see tubers coming out of the earth. Gently pick each one off its stem and set it aside.
- Once you have found the main crop from each plant, go through the soil carefully with your hands, as there may be small tubers that you have missed. Leaving even one small potato in the soil may mean that you end up with an unexpected plant where you did not want one next year!
When Are Sweet Potatoes Ready

The best sign to go by is the leaves changing colour from green to yellow, but you should also keep an eye on the growing season too.
- If the leaves start to yellow when the sweet potatoes have only been planted for a few weeks, then it could be a sign of an unhealthy plant, rather than a healthy crop that is ready to be unearthed.
- You should expect a growing season of around 100 days, from planting to digging up, so try to note down when you plant your slips, and work forwards from there to decide roughly when they should come out.
- If the leaves change colour and the foliage starts to wilt, and your sweet potatoes have been in the ground for long enough, you can check their progress by gently lifting just one plant, to see how the tubers are growing and if it is worth harvesting all the others.
- If there is an unexpected freeze, you should lift your sweet potatoes no matter how long they have been in the ground. Unlike potatoes, sweet potatoes cannot handle frost, so you need to lift them immediately to avoid a forkful of mush when you dig them up.
How To Cure Sweet Potatoes After Digging
Once you have harvested your sweet potatoes, you may think that you can just merrily start to add them to all your dishes straight away – but actually, there are things that you should do first, to make sure that your sweet potatoes are the best that they can be:
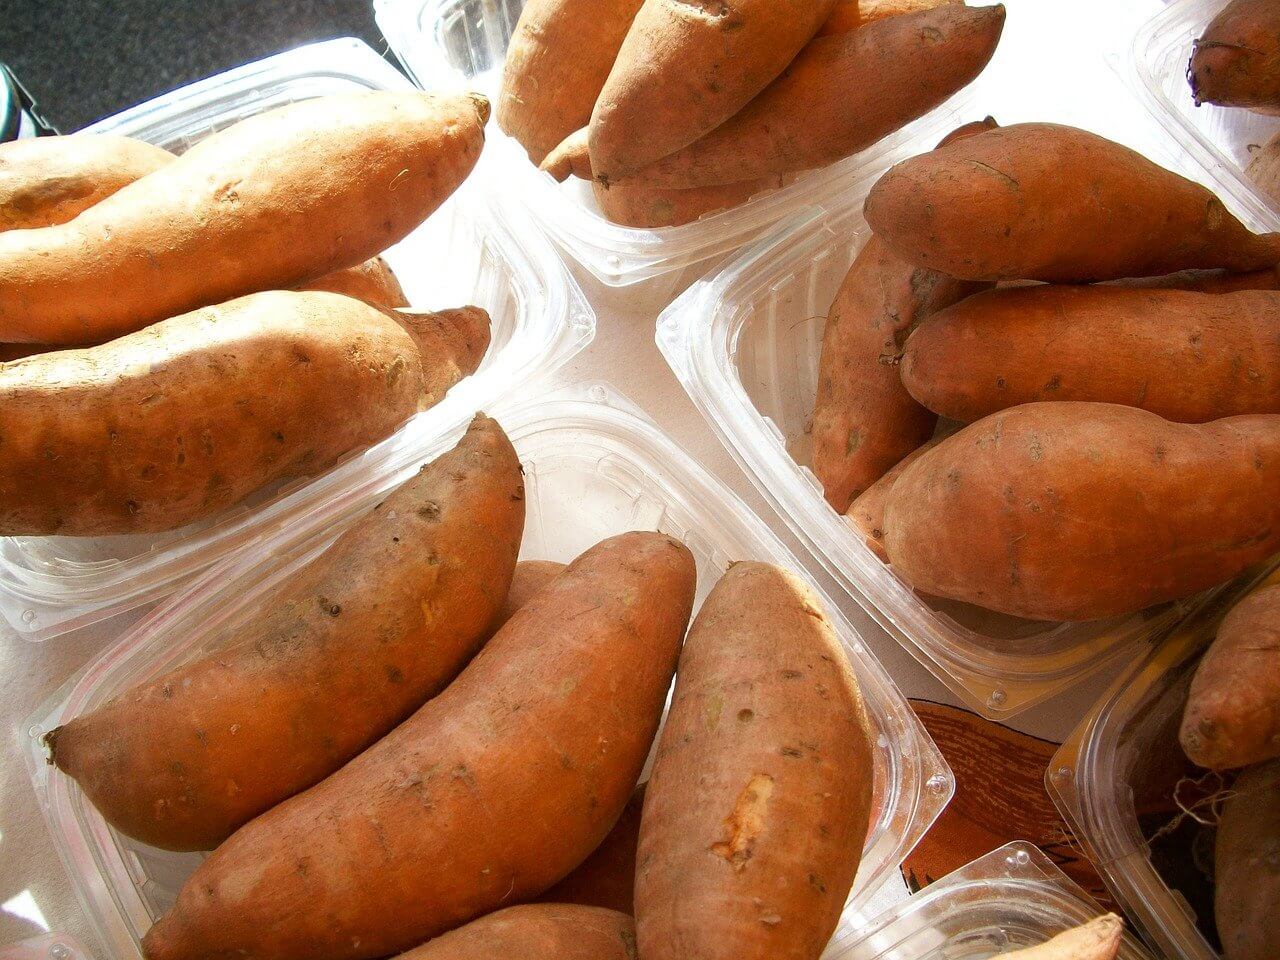
- You should start by laying all the potatoes out to dry for a few hours, after you have dug them up and cleaned off all the soil.
- After this initial period they need to be stored in a longer term place for a while, to “cure” them.
- To cure a sweet potato well, they need to be kept in a cool, dark, well ventilated area for up to a fortnight, to allow them to mature properly.
- You should store your sweet potatoes in a single layer, ideally on a bed of sand or dry newspaper, to prevent any moisture from reaching the tubers.
- Once cured, you should move your sweet potatoes to their final storage place, ideally a well ventilated place with a temperature of no more that – this should be again well ventilated, and at a temperature of no more than 15 degrees C and around 80% humidity.
Final Words
Sweet potatoes are surprisingly easy to grow, and with a little care and attention they will reward you with a good crop of delicious tubers. As long as you figure out how to harvest sweet potatoes, and the best way to cure and keep them, you can enjoy a wonderful harvest, year after year. And here are some cooking tips and recipes for sweet potatoes in your kitchen.