You can level uneven ground with the help of a cultivator or tilling equipment. A slope cannot be flattened to any significant degree by just using a cultivator, as the ground will require digging to move the earth from one area to another. In this article, we will be looking at how to level the soil using a cultivator.
What You'll Learn Today
How Do I Level Soil With A Cultivator?
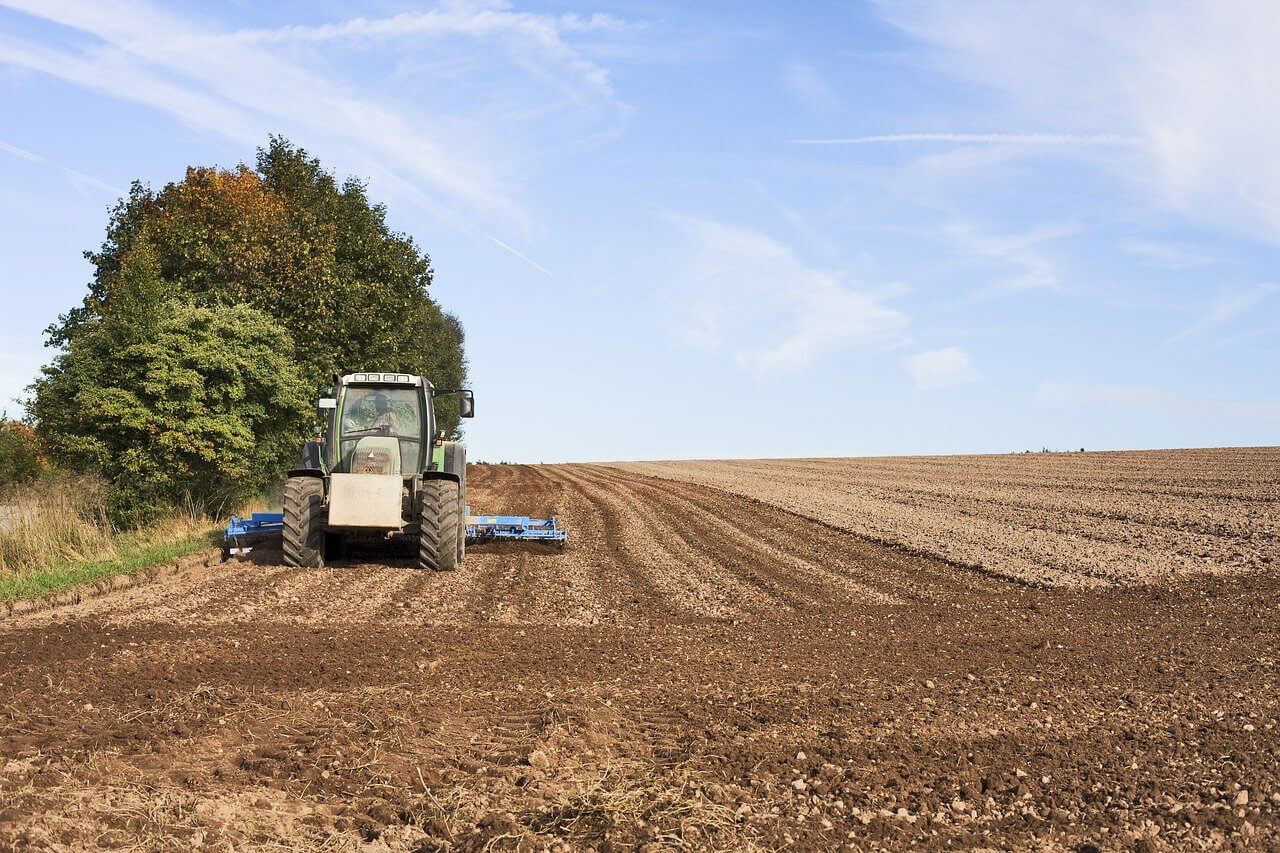
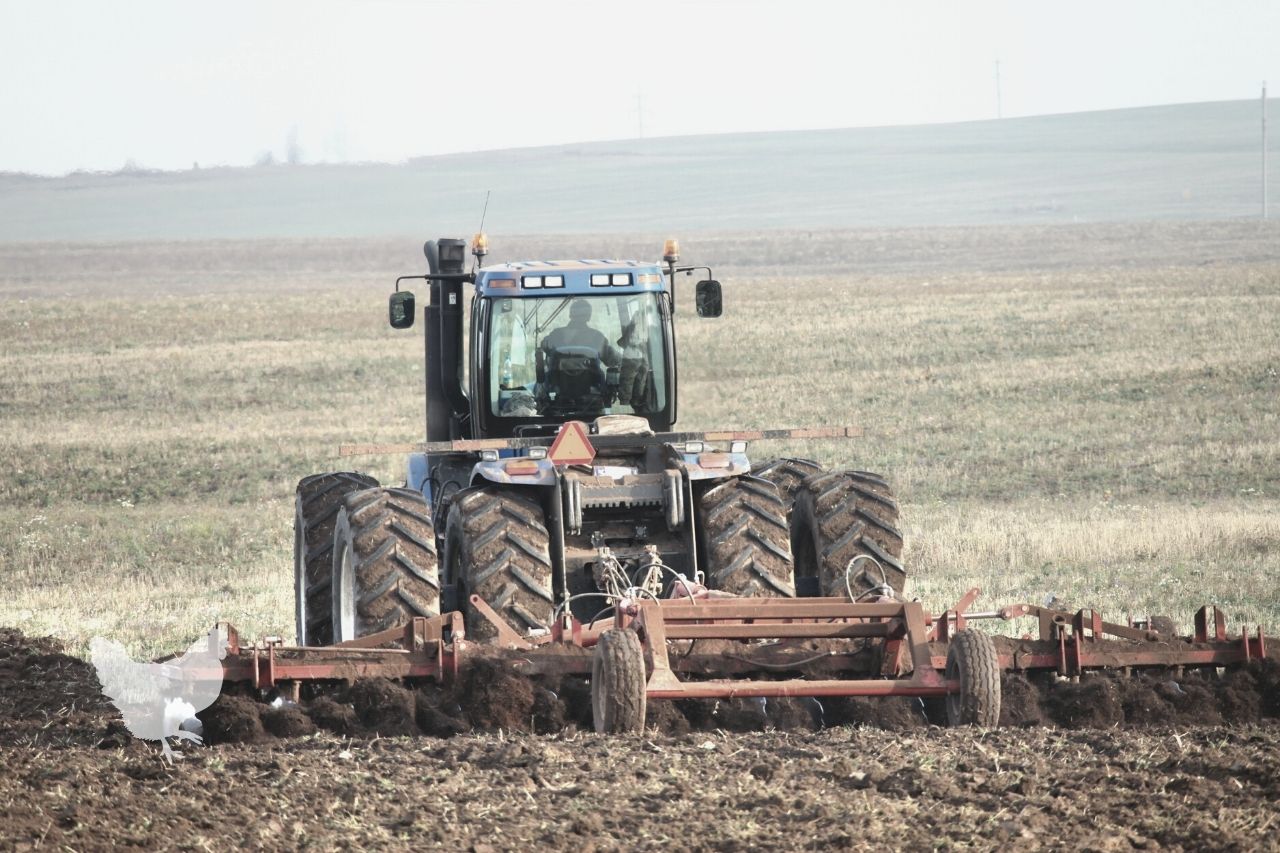
A cultivator or tiller breaks up the soil. A small motorized tiller has rotating blades that dig approximately six to twelve inches into the ground. For larger areas of land, there are a variety of different tilling and cultivating machines that can be pulled behind a quad or tractor.
Cultivators are not capable of such heavy-duty jobs as rototillers, so choosing the best tool for your situation and soil type will be necessary.
The process of leveling the soil:
- With your tilling machine (Cultivator, rototiller), make several passes over the ground you want to level. This is best done at least three times, to ensure you have turned over all the soil.
- Once this process is complete, check to see there are no obvious high points or low points. If there are, you may now have to address them by hand using a landscaping or garden rake or shovel to move the earth around. In larger areas, a digger may be necessary.
- Once you’re happy that everything is looking level, you want to make the soil finer by raking it down to a light tilth. This can be done using a landscaping or garden rake, or with harrows behind a quad or tractor.
- If you’re leveling a vegetable plot, or yard, to ensure you have everything nice and level, water the soil, as this will help to reveal any high spots or low spots.
- Once the soil is dry, use a piece of wood (approx two by four and six to ten feet or so in length) and drag it evenly over the area you want to flatten, then test it using a carpenter’s level placed onto the wood.
- If things aren’t as flat as you would like, go back a few steps and repeat the process until it is.
Can A Tiller Level The Ground?
As illustrated above, a tiller cannot move the soil enough to flatten sloping ground, but it can be used effectively to level uneven ground.
A cultivator may struggle to sufficiently break up the soil on uncultivated ground, and a machine that can dig deeper into the earth may be necessary. A rear tined rototiller may be good for the job or even a digger if necessary.
Once the ground has been loosened up, a cultivator or rototiller is a very useful tool for refining the soil and helping to aerate it ready for planting. It can also be used effectively for adding soil amendments or humus materials.
Regular tiling suppresses weed growth between plants.
In this video, you will see how to use a tiller to level the ground:
How Do I Make Sure My Ground Is Level?
As you will have seen above, you can check the ground is level by using a length of wood and a carpenters level.
Getting your ground ready to plant crops, vegetables, or maybe lay a new lawn is relatively simple but pretty hard work.
Leveling or grading ground around a property can be beneficial in helping to preserve the structure. A very slight slope should drain water away from the foundations of the building.
A lawn should be designed to slope away from your home to ensure rainfall drains away from its foundations. If the slope goes towards the house, the water accumulates in the soil around the foundations and can cause moisture buildup.
In time, this constant dampness may cause a range of problems, including weakening of the foundations or moisture seeping into your basement and potentially causing a flood.
It can also creep into wooden joists and floorboards or the framework of your home, causing risks to structural integrity.
Level ground is more aesthetically pleasing around a home, unless you put in multiple levels for planting, which adds a lot of interest.
As a general guide, the ground should slope a quarter of an inch per foot as you move away from the house. Therefore 100 feet away from the house should be two feet lower than around the base of the structure.
Before you do any kind of digging, even at shallow depths, ensure you know where any cables and pipes lie. You should also be aware of the exact location of any wells, septic systems, or water mains.
How To Prepare For The Cultivator
Once you’ve ensured that there is nothing important below ground that you may inadvertently dig up, you need to look at anything on the surface that needs moving.
- Rocks
- Branches
- Metal
- Toys
- Debris
- Saplings
- Large weeds
- Old fencing
- Roots from old trees
If the weeds are very tall or the grass is long, you should cut it before you begin using a cultivator. This is beneficial not only because you can see what is there more clearly but also because it allows air to get to the soil’s surface.
Trying to cultivate wet ground is hopeless; it turns to mud and sets like concrete. Similarly, dry or frozen ground is also not good, as it will be too hard for the cultivator to break up the soil.
Ideal conditions are for the ground to be slightly damp.
Always read the machine manual before operating it and wear appropriate safety gear.
Essential Things To Remember When Leveling Ground With A Cultivator
There are a few things you need to think about before and during leveling the ground with a cultivator, they include:
- Not overworking the soil as this can cause compaction.
- Ensuring the machine you’re using is set to the correct depth. Always aim to dig to the minimum level necessary.
- Taking regular breaks. Being overly tired can make operating machinery dangerous!
- Cleaning off the machine’s tines regularly after safely switching it off.
How can I level the ground by hand?
If you don’t have a cultivator to level the soil, how else can it be done?
Your first option is to hire one, but if that isn’t a possibility, you could get a contractor to do the job for you or, alternatively, do it by hand. This is really only suitable if you have a relatively small area to level unless you do it over a prolonged period.
How do you level the ground by hand? Let’s take a look…
Tools you’ll need:
- Garden spade
- Garden fork
- Hard tined flat rake
- Lump hammer
- Stakes
- String
- Pickaxe if the ground is hard or you need to remove roots
- Gloves to protect your hands
- Boots to protect your feet
- A long plank
- Carpenters level
- Hoe
Method:
- Peg out. Using small stakes and some string, peg out the area you want to level to clearly define the borders. Simply hammer in your stakes at the corners and then attach string to them to make an easily visible boundary.
- Clearing. Clear away any obstacles such as large weeds, coarse clumping grasses, branches, saplings, and other debris.
- Watering. If the ground is slightly damp, that’s great. If it’s dry, you’ll need to give it a good watering the evening before you start leveling. Very wet soil should also be left until it dries out a little.
- Leveling. Using your pickaxe and spade, remove any high spots of ground and place them into any low areas. You can judge this by using a long plank and a carpenters level. If you don’t own a carpenters level, you can make one.
- Take a glass jar with a lid and measure halfway up the jar, and make a level mark all the way around. To prevent it from rubbing off you can put some tape around the jar to the same mark. Your line must be even all the way around.
- Fill the jar up with water until it precisely reaches the mark you made.
- Now you can use your jar as a carpenter’s level. The water will be even with the mark when the ground is level and either lower or higher on one side when it isn’t.
- Fork it. Using your garden fork, you can turn the earth over. This step may not be necessary if the ground is easy enough to simply hoe, as in step 6 below. Use the fork to dig up any large weed roots and aerate the soil. Try not to dig down too deep.
- Hoeing. Take a garden hoe and use it to break up the soil and remove weeds as you go. You can drag mounds of dirt from high to low areas and break up any large clods.
- Raking. Next, you need to ensure the soil is broken down to a fine tilth and made as level as possible. This is done by giving it several goes over with a hard-tined rake. A landscaping rake is perfect for this job.
Ensure you wear suitable gloves when doing this kind of work, or you’ll end up with some nasty blisters! It’s hard work and can be done over a couple of days if you prefer.
Conclusion
A cultivator or tiller is an efficient tool to help you level the ground. It is also beneficial for improving soil texture by opening it up, breaking down any large lumps, and allowing you to add air.
Always try to work to the shallowest possible depth when using these types of tools. All the best nutrients in the soil are held in the top layers, and bringing up deeper, less nutrient-rich dirt is not as beneficial for your plants.
Don’t forget you can add soil amendments when using a cultivator, as this is a good way of incorporating them.
Organic soil amendments include things like compost, manure, wood ash, wood chips, grass clippings, or straw.
Inorganic soil amendments are things such as sand, vermiculite, or perlite.
Never add sand to clay soil, however, as rather than opening up the clay to allow it to drain, it will actually give you a soil structure closer to concrete!
Adding organic matter is beneficial for all soil types. It improves the soil’s ability to hold water and nutrients, keeps it aerated, and provides food for earthworms, bacteria, and fungi that all naturally inhabit the soil.