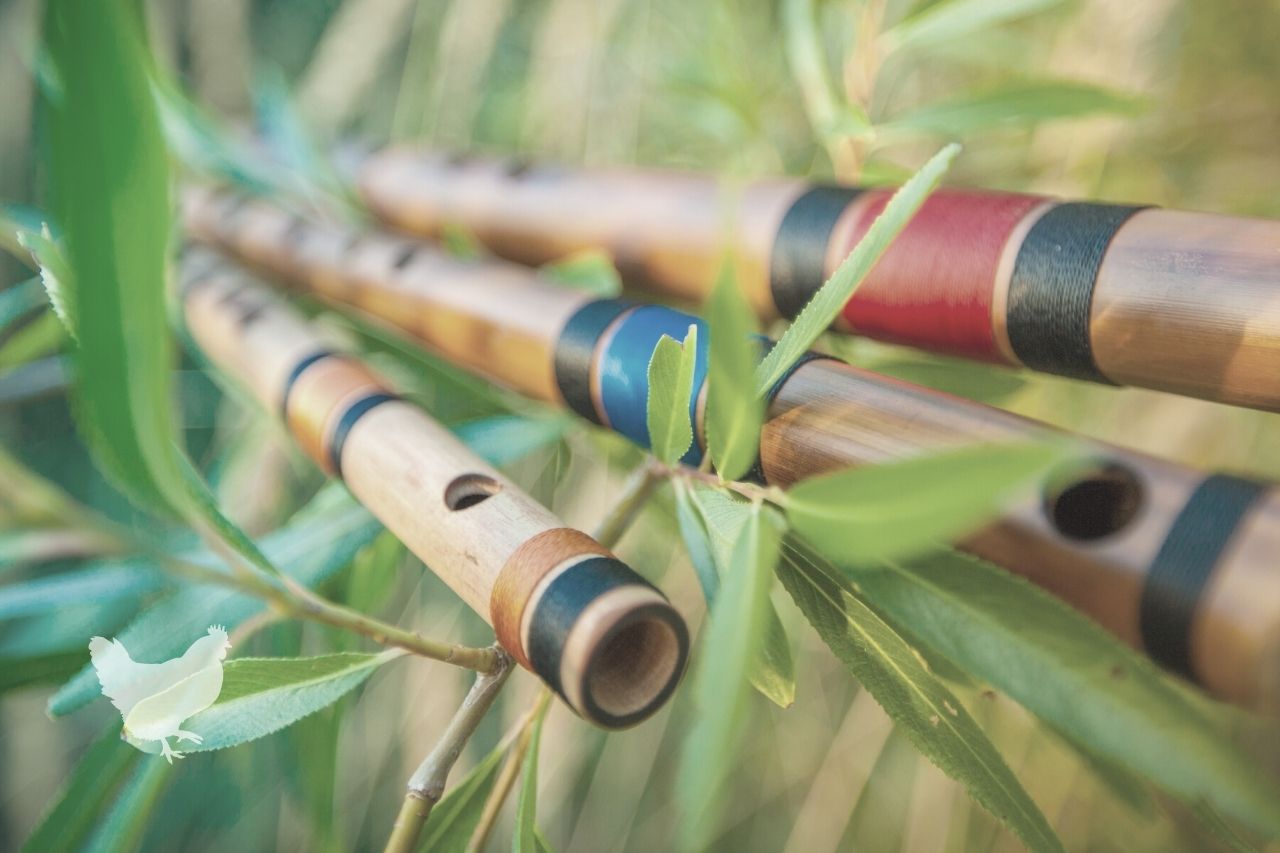
The joy of making an instrument makes the playing of it all the more satisfying. If you have reasonable DIY skills, time, and patience, then a project such as making a bamboo flute can be a real pleasure. It is a beautiful instrument to play if you have some experience. In this article, we will explain how to make a bamboo flute.
What You'll Learn Today
What Materials are Needed to Make a Bamboo Flute?
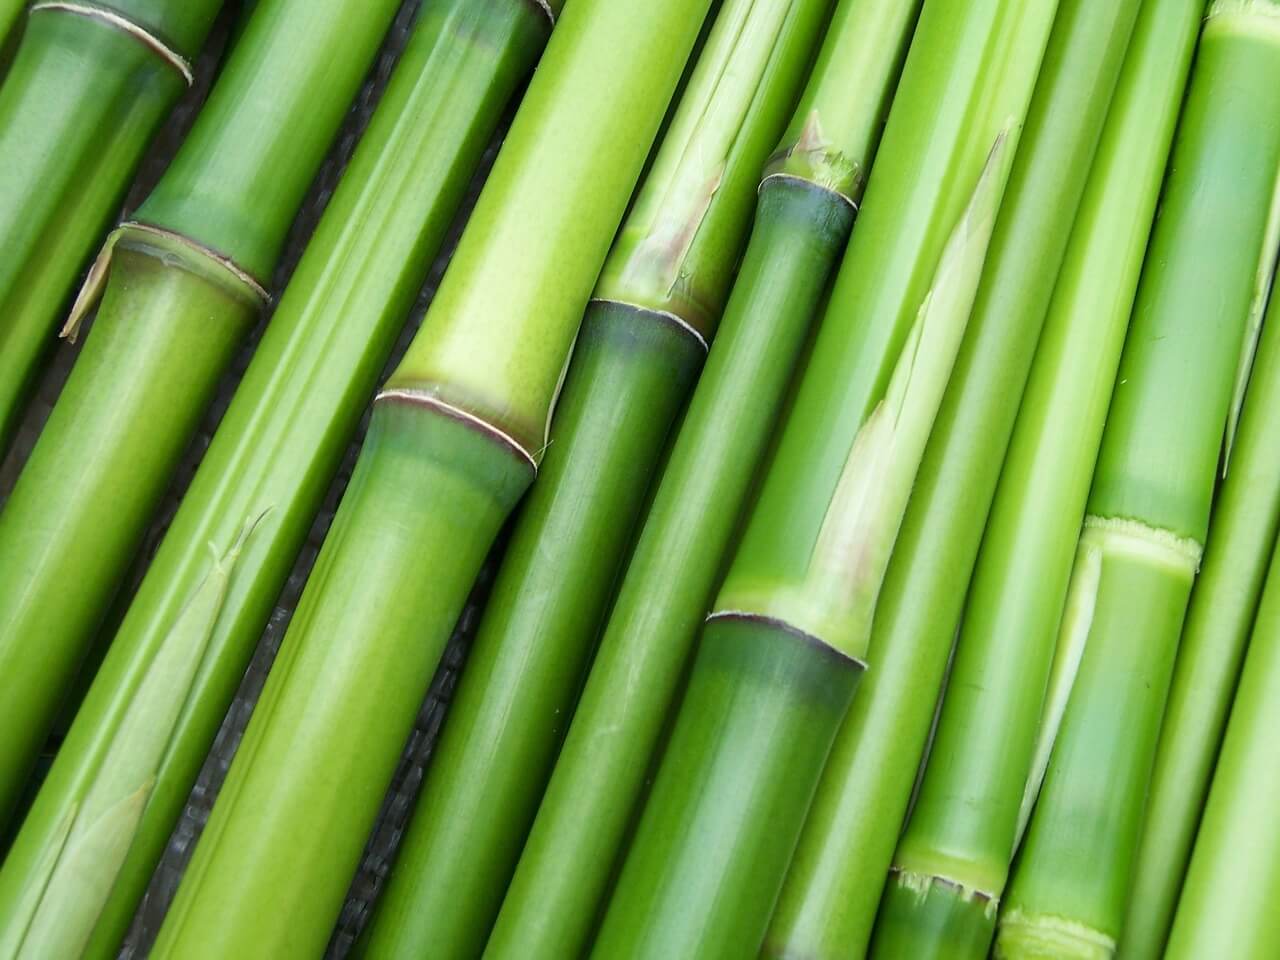
In order to create a bamboo flute, first, you’ll need the right piece of bamboo. The ideal diameter will be between ¾ inch and one inch. The length can be anywhere between one and three feet, depending on the key you wish to play in. Other things you’ll need include:
- A drill
- Drill bits (2 mm to 15 mm)
- Rotary tool (Dremel) with attachments
- Cutting wheel
- Sanding and grinding bits
- General-purpose hand-held sander
- Sandpapers
- String
- Sharp knife/box-cutter
- Ruler
- Pencil (for marking the placement of holes)
How Many Holes Does a Bamboo Flute Have?
A traditional bamboo flute will have six holes. However, a Bansuri is traditionally made from a hollow length of bamboo and can have six or seven finger holes.
A six-hole bamboo flute will cover a musical range of two and a half octaves. The length of the flute dictates the key that it plays in.
The following chart can help you decide on the length of your flute and obtain the key you desire:
| Key Required | Bamboo Length |
| A | 15 inches (40 cm) |
| G | 17 inches (43 cm) |
| F | 20 inches (50 cm) |
| E | 21 inches (53 cm) |
| D | 23 inches (58 cm) |
How Do You Make a Bamboo Flute?
Preparing the Bamboo
1. Harvesting your bamboo
Using a hacksaw, remove any branches that may be sprouting from your bamboo. Sand down all the rough patches thoroughly to avoid splinters. Using an electric sander can make this job faster and easier.
2. Cutting length of flute
Cut your bamboo to the required length. The length of your flute will have a bearing on the key that it plays in. A handy trick when cutting is to score through the outer surface but not cut all of the ways through. This will help to avoid cracking and splintering.
3. Hollowing out your flute
Your bamboo is going to need a clear passage for the air to pass through, in order for it to work (take note of the next step here). You’ll need to break through the partitioning sections, the nodes, to achieve this.
An easy way of doing this is with a thin piece of heated metal. Be sure to take all of the necessary precautions to avoid hurting yourself when doing this, especially wearing heat-resistant gloves and eye protection.
4. Leaving a sealed end
Be sure to leave one node intact. If this is impossible, you can block that end up later. You will want the node you leave to be approximately an inch in from the end that you will blow into.
5. Interior sanding
Once you have a clear passageway, wrap some sandpaper around a long stick to reach all of the ways along your bamboo tube and gently clean up the interior.
It can be useful to use double-sided tape to attach your sandpaper to a long enough stick that’s thin enough to fit inside the bamboo. A metal rod is ideal for this.
6. Exterior sanding
Using sandpaper, clean up the outside of the flute, especially where the nodes are or where you have removed any branches.
Now your bamboo is suitably prepared; you’ll need to make the finger holes and the “Embouchure” the slit for blowing into. The placement of the Embouchure is very important, so care should be taken when measuring out exactly where it’s going to be.
A very useful guide for gauging where the holes should be placed can be found on this Flutomat Tool.
Making the Holes on Your Bamboo Flute
- Firstly, measure the internal diameter of the bamboo and the thickness of the wall. Note them down for inputting into a Flutomat calculator.
- Before marking the exact placement of your holes, wrap some tape securely in the rough area that the holes will be. Then mark out where you want the holes on the tape and drill carefully through it. This will help to prevent splitting and splinters.
- Start making the holes with a small drill bit, and then gradually increase the hole size little by little with progressive drill bits until you are at the size you require.
- Remove the tape and finish the holes with a rotary tool (Dremel), carefully smoothing the rough edges.
- Test the sound of your bamboo flute to ensure you are happy with each of the notes.
Caring for your Bamboo Flute
Once finished, your bamboo flute will only need a light sanding to remove any residual dirt. You can use a bottle brush to clean the interior.
Protecting the inside of your flute is very important, as absorption of moisture that builds up inside when you play the flute can lead to it cracking. You can use various products to do this, and different products can be used to achieve the best effect on the interior and exterior.
Suitable products include:
- Bore Oil: This is a light mineral oil that can be used both internally and externally. If using on the outside of your flute, then use very sparingly as it doesn’t really dry.
- Walnut Oil: Pure and cold-pressed Walnut Oil is an excellent choice, as it can penetrate the bamboo to give deeper protection.
- Mustard Oil: This can be mixed with Walnut oil. To reduce the risk of it turning rancid, add a few drops of Vitamin E oil.
- Sweet Almond Oil: Another natural oil that can be sourced easily from your health food shop. One thing to bear in mind is the shelf life of almond oil.
When protecting your bamboo flute with oils, don’t forget to use a little in the finger holes, which can be applied with a Q-tip.
In order to ensure that the whole of the interior is protected, cover all of the holes with tape, and pour your oil inside, then leave to drain.
All of the oils mentioned can be used on the exterior of your bamboo flute but use sparingly, as not all will dry to the same extent.
Alternative finishes for the exterior include beeswax, petroleum jelly, shellac or food grade varnish.
How to Decorate Your Bamboo Flute?
You can choose to decorate your bamboo flute in various ways. A flame will help to darken the look of the flute. Gently pass it over a lit candle to lightly scorch the surface. Or, you may wish to decorate with thin strips of adhesive tape.
To help prevent cracking, it is advisable to bind your bamboo flute just below the embouchure and again at the open end. This will not only help avoid splits from forming but can also be an attractive decoration.
To bind your flute, use a strong cord, so it will not slip and looks good. To ensure a tight binding, use a piece of dowel to grasp and pull the cord tight. A detailed method for binding your bamboo flute can be found here.
How Do You Make a Native American Bamboo Flute?
The Native American Bamboo Flute is held in front of you rather than to the side, and the air is blown in from the end rather than a typical flute embouchure.
Making a Native American Bamboo flute is brilliantly explained here and on this Youtube channel.
Conclusion
Making a bamboo flute is a straightforward process. The secret to success is taking time and patience over the precise placement and size of the holes and sanding and preparing your bamboo.
When choosing a protective coating, ensure that it is something that is edible, and be careful when using nut oils due to potential allergies.
If you enjoyed this article on making a bamboo flute then we’re sure you’ll find other interesting articles on our website so why not take a look?
Happy music making!