Are you interested in learning how to make a pig waterer with a barrel? If you raise pigs, building such an automatic system is one of the best things you can do to save money, time, and of course, your sanity.
What You'll Learn Today
What Type of Waterer Do Pigs Need?
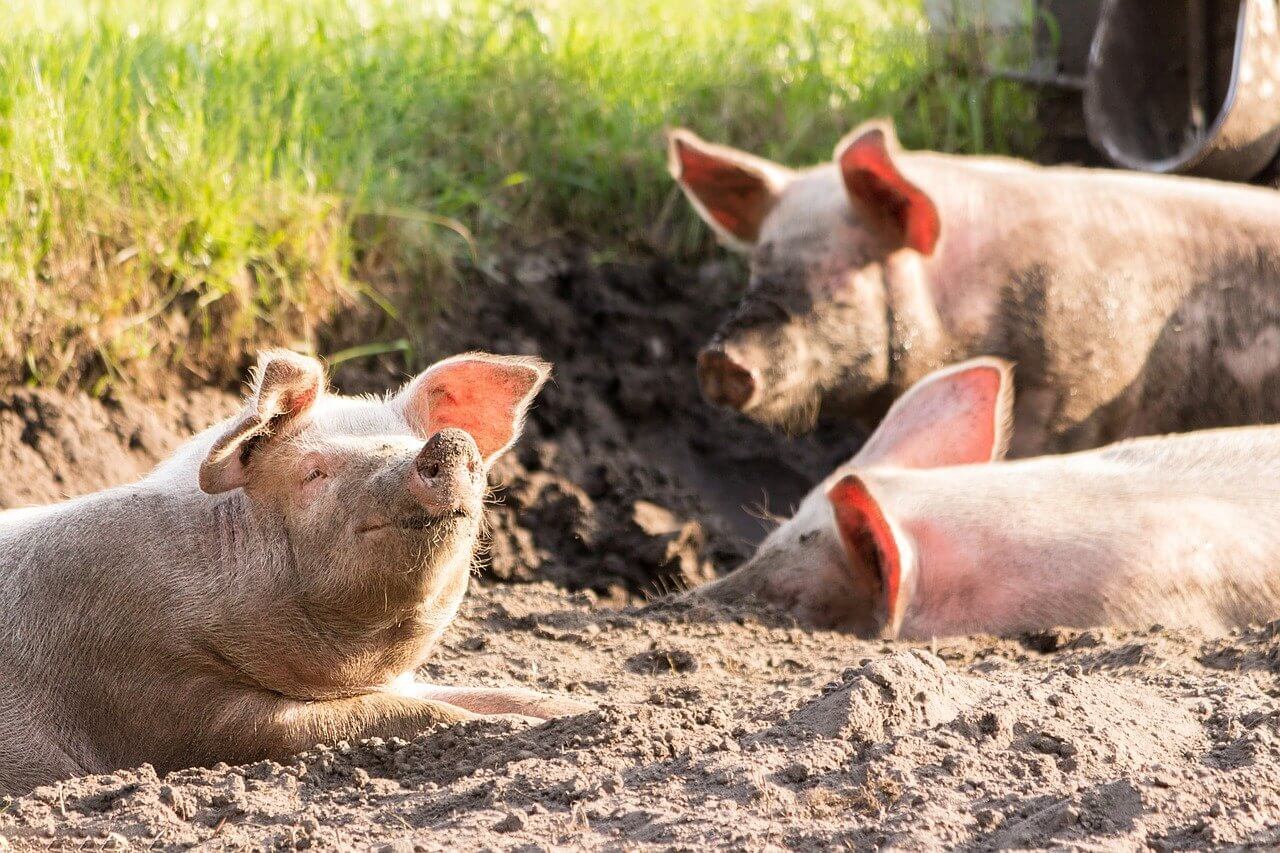
A pig needs up to 1.5 gallons of water per day (lactating sows need a bit more, while piglets need less).
Technically, you can water your pigs with just a few open pans of water.
However, this is problematic for several reasons – all of which you are likely painfully aware of if you already raise pigs.
One is that your pigs are highly likely to flip the pans whenever they are bored, hot – or really, for any reason at all. This results in water being wasted, barns being sullied, and a serious problem when the pigs flip their water first thing in the morning and have to go the rest of the day without anything to drink.
Therefore, it’s a good idea to build a waterer that is easy to refill and can’t be tipped over by the pigs. Adding nipple drinkers to the system means the pigs can’t get inside the water to get it dirty, yet can still access all the water they need.
How Do You Make an Automatic Pig Waterer? 7 Tips
1. Gather Your Materials
Building an automatic pig waterer doesn’t have to be complicated – and it also is not very expensive.
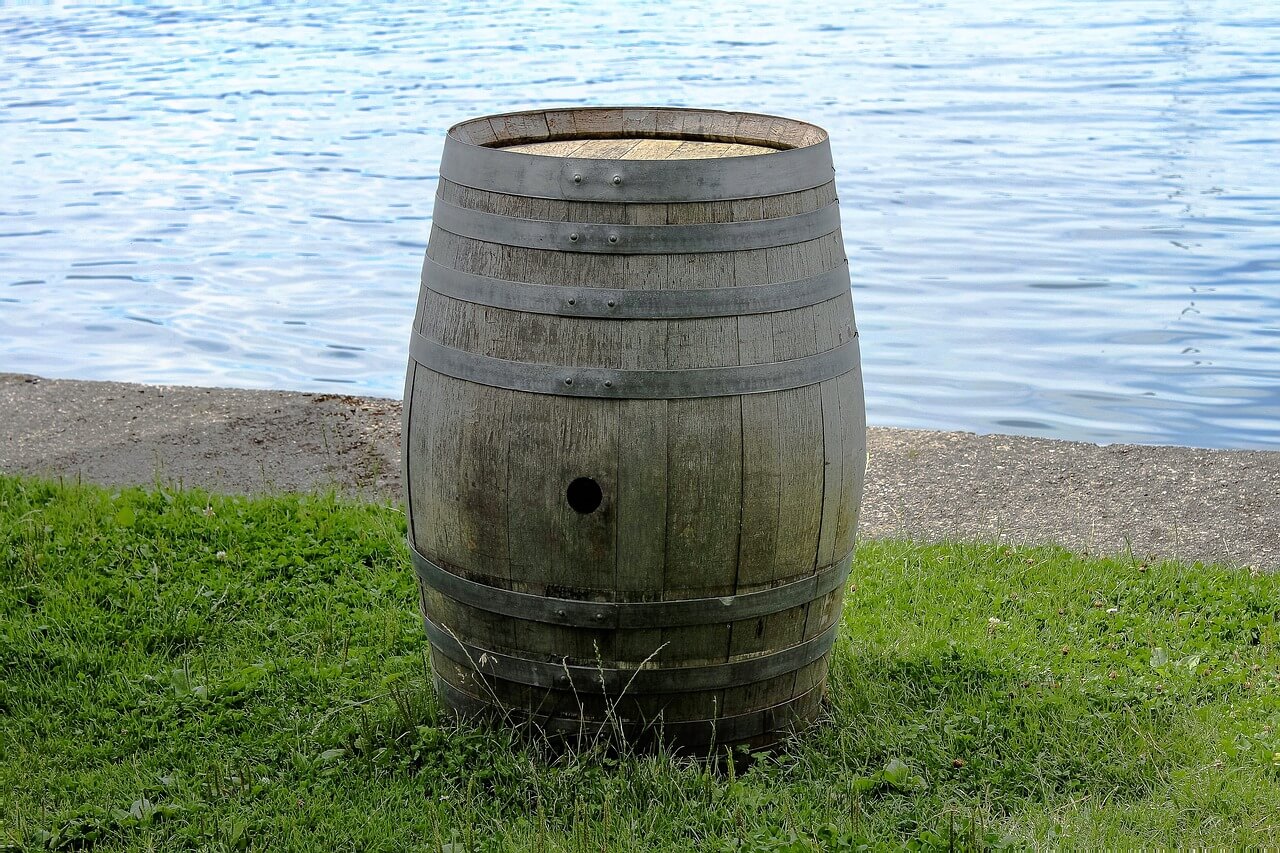
The most important component you need is a 55-gallon food-grade plastic barrel. You can often buy these for less than $50 on Facebook Marketplace or Craigslist. Just make sure it’s food grade.
You also need a 1/2″ threaded automatic pig nipple drinker. Get several of these if you have multiple pigs so that more than one animal can drink at once.
To go with the nipple, you will need a half-inch bulkhead. This will be installed toward the bottom half of the barrel and will allow the nipple to be screwed into it.
- As far as tools and other equipment go, you will also need:
- A wrench
- Circular saw
- A cordless drill with a hole saw drill bit
- Caulking (optional)
If you plan on using your automatic waterer in the winter, you may also want to add a plug-in submersible tank heater safe for plastic tanks. This will let you heat the water once the temperatures drop but keep in mind, the nipples might still freeze in very cold temperatures.
2. Cut the Barrel
Your first step is going to be to cut the barrel. You need to remove the top in order to work with it.
You can do this simply by cutting the top of the barrel with the saw. Lay the barrel down and as you make your cut, roll the barrel until the top is cut completely off.
3. Drill a Hole to Install the Bulkhead
Use a hole saw on the lower half of the barrel. Attach the bulkhead to the hole.
The back portion (the part with the screw and washer) will be installed inside the barrel. Ensure that the pieces are firmly attached and are as tight as possible so water doesn’t leak around it. You can add a bit of caulking if this is an issue.
4. Adjust the Flow
Once the bulkhead is installed, you can add your nipples. However, you might want to adjust the flow first.
Behind the nipple drinker, there is a screen that is meant to prevent sediment or other debris from clogging up the whole system. You can remove this screen, which will let you adjust the flow setting.
Use a screwdriver to turn it to one of three settings. Turning it in any direction will let you increase, maintain, or decrease the flow. In most cases, pigs prefer the fastest flow, but you can tailor this to your herd.
Flow rates are important because they affect how much water your pigs drink, how much time they spend at the nipple, and how much water is wasted.
5. Insert the Nipples
Now you need to insert the nipple drinker. This part is pretty easy. you just need to screw it to your bulkhead. Tighten it up.
Then, add water to test for any leaks and to ensure your flow’s adequate (you can test this by pressing down on the drinker with your finger).
6. Install the Waterer
Once everything has been tested and is ready to go, you can install the waterer in your pig pen.
Some people put the barrels directly in their pens. That’s an option, but you need to take some extra steps to make sure your pigs don’t knock it over. Especially once they realize there is water inside, they will spend all their free time trying to figure out how to tip the barrel over to create a splash zone for wallowing in the pen!
You can put the barrel up on a pair of cinder blocks and put a couple of T-posts around the barrel.
Another option is to build a sturdy wooden frame around the barrel to hold it in place. You could also mount the barrel outside of the pen and make only the nipples reachable to the pigs by positioning them through open slats in the fence.
The choice is yours, but make sure you think ahead about how to prevent pigs from toppling the waterer over.
7. Train Pigs to Use the Waterer
When training pigs to use an automatic waterer with nipple drinkers, it’s often easiest to do so when they are young. If you teach young pigs how to drink from such a set-up when they’re just barely weaned, they’ll have an easier time adjusting to it than if they’ve had the opportunity to use other kinds of drinkers.
If that’s not an option, you may want to wait until the weather is relatively cool to introduce the automatic pig waterer. You might need to remove all other sources of water to entice them to drink out of the barrel, which is something you won’t want to do in hot weather.
The reason why you might need to do this is because if there are other resources of water around, your pigs will be less likely to drink from the nipples.
An easy way to encourage your pigs to drink from the nipple is to apply a bit of peanut butter to the nipple. This will pique the pigs’ curiosities – they’ll want to bite down on the nipple and will learn that the pressure of their mouths is enough to get a flow of water from the nipple.
Here’s a video to show you how this technique is done:
You may need to stand by the barrel and continuously apply the peanut butter until the pigs learn, but it shouldn’t take long, especially if you’re working with young pigs.
Don’t worry if it seems like only one or two pigs seem to know what’s going on. They’ll teach the rest!
How Far Off the Ground Should a Pig Waterer Be?
One more tip as you install your pig waterer – make sure it doesn’t get tipped over!
Mounting your waterers appropriately will ensure that your pigs are able to get enough to drink while also reducing the amount of water that is wasted. If the nipples on your barrels are pointed straight out, you should put them at shoulder-height for your pigs.
If they are mounted downward, the nipplss should be about two inches above the back of the pig. Mounting any lower can increase the amount of water that is wasted but mounting nipples too high can make it difficult for smaller pigs to drink.
Refill the waterers often. When you first build your automatic waterer, you should check the water level in your barrel daily. If the level doesn’t seem to be going down at all, that could be an indication that something in the barrel is not working properly – or your pigs haven’t figured out how to drink from it yet.
If the levels are going down rapidly, it could be because your pigs are drinking a lot of water and you need to refill more often (remember that pigs drink more in hot weather). However, it could indicate that you have a leak somewhere.
Be vigilant, especially in the first few days after you install your automatic pig waterer. Although there is a bit of work involved in creating such a system, trust us when we say that it will prove to be a major timesaver later on!