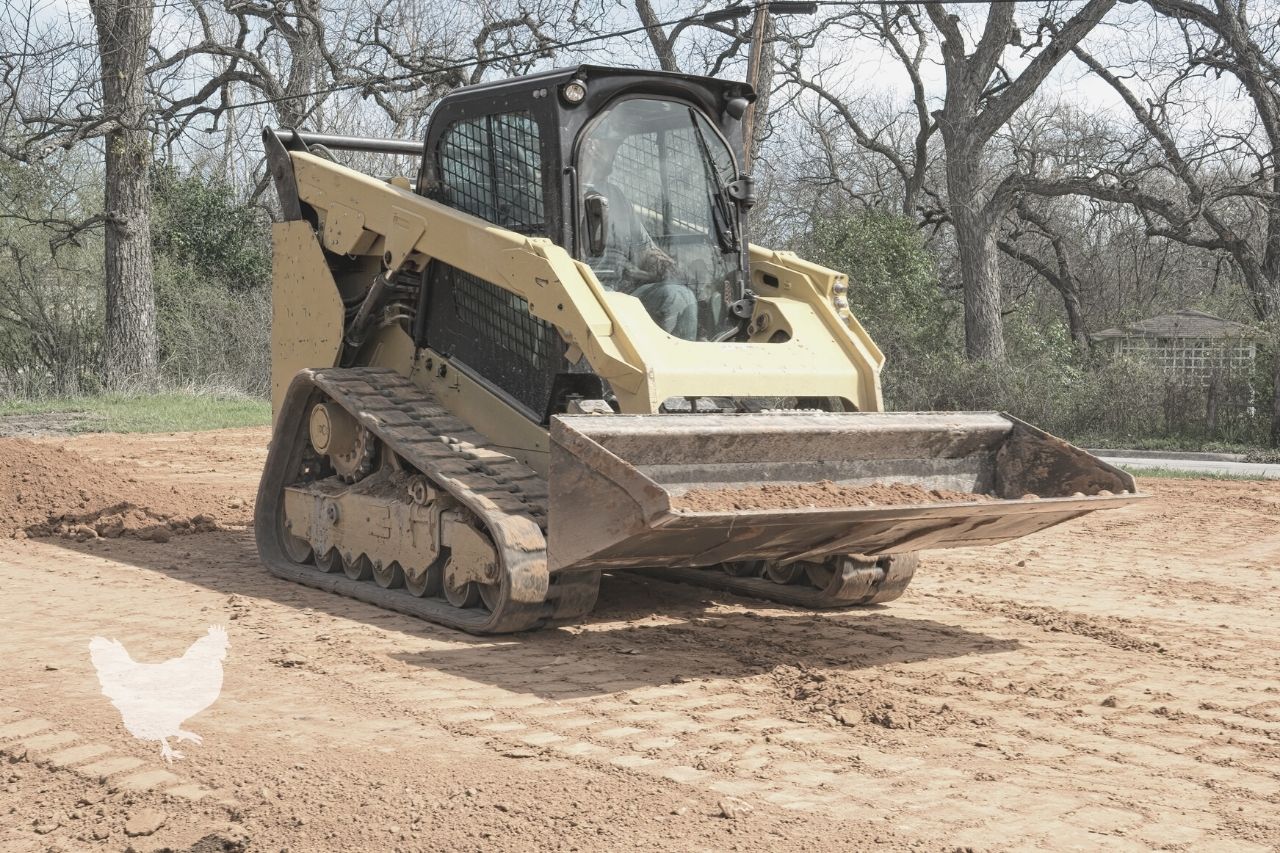
Skid steers are generally easier to operate and maneuver compared to bigger equipment like a backhoe or excavator. But you still need to learn how to operate one. A skid steer’s compact size can actually be a tipping hazard if you are not careful or skilled enough.
In this guide, we do a walkthrough on how to operate and drive a skid steer. We explain important safety measures, steering and hydraulic controls, how to switch attachments, and safe transportation of skid steer.
What You'll Learn Today
Are Skid Steers Hard to Operate?
Skid steers have fairly simple controls. This is especially the case if you are operating a newer skid steer with ISO joystick controls.
That said, unless you have some experience with other construction and farming equipment, you can’t just hop in and drive away or start lifting loads.
Knowing exactly how to control the arms and attachments takes time and practice.
You’ll need to learn how to operate multiple controls at once such as backing up while lifting a loaded bucket.
You’ll also need to practice safe steering and driving especially on challenging terrain like slopes.
The upside is that it doesn’t take long to learn all this. Give yourself a few hours of serious practice and you’ll find a skid steer is pretty easy to operate.
How To Operate A Skid Steer
While different skid steer brands will have many similarities when it comes to controls, it’s important to learn the specific controls of your skid steer.
This is just a general guide. It’s not a substitute for the operation manual.
Starting a Skid Steer
Once you get inside a skid steer, the first step is to make sure you are properly secured. Strap on the seatbelt and lower the lap bar.
Locate the button for turning on the machine. In most skid steers, you need to long press it or press it twice to start the engine.
Now, turn off the parking brake as well as the hydraulic brake. You’ll find buttons for these on the main control panel.
You are ready to start operating the skid steer. If you are familiar with the controls, you can go ahead and start your work. If not, spend some time learning various controls.
Testing The Controls (H Pattern & ISO)
Before you start turning the levers or joysticks, make sure your surroundings are clear. You don’t want to accidentally back up into something or drop the bucket on someone.
Check what kind of controls the skid steer has.
Older skid steers came standard with hand and foot controls. These are not common anymore. The two types of controls used in most modern skid steers are H pattern controls and ISO controls.
With H pattern controls the two levers or joysticks control both steering and hydraulics.
The left lever controls the left track or wheels while the right lever controls the right track or wheels, similar to a zero turn mower. This provides excellent maneuverability in tight areas.
ISO controls simplify things even further. Each joystick has its separate function: the left joystick is only for steering and the right joystick controls the arms and attachment tilt.
This eliminates the confusion some people experience with H pattern controls.
In many modern skid steers with electronic joysticks, you have the option to switch between H pattern and ISO controls by pressing a button. You can try both and see which you find most comfortable.
Move the arms up and down, then tilt the bucket (or whichever attachment is there) in and out.
For more on H pattern and ISO controls, here’s a helpful video demonstration.
Once you master those, try a bit of driving (double check your surroundings to make sure they are clear). Move forwards a bit then go back.
Also test out the throttle control. In some models, it’s a dial close to your head, in others it’s a pedal on the floor. Throttle control lets you adjust speed.
Finally, practice steering and operating the hydraulics at the same time. You’ll need to do this when lifting or dropping a load.
It’s useful to practice on an actual load like dirt or a bale of hay depending on the attachment.
Take this opportunity to test the machine’s capabilities and limits. Learn the safe height to lift a loaded bucket without tipping over. Check how fast you can safely lift and lower loads, and practice driving with a load.
Take as much time as you need to get comfortable with a skid steer. Even if you are renting one, the time spent learning is not a waste of time. It’ll keep you safe and make you more efficient when you finally get down to work.
Advanced Controls
Depending on your skid steer’s brand and model, there may be additional buttons and controls on the joysticks or control panel.
With the help of the user manual, and by testing them out, learn what they do and how to use them.
For example, many skid steers have an auto level button. When activated, auto level automatically curls the bucket outwards a bit as you lift it up. This keeps it level and prevents its contents from spilling over the cab.
A lot of the extra buttons you’ll find in a skid steer are for use with additional attachments. If you are just using a bucket, you won’t need to use them.
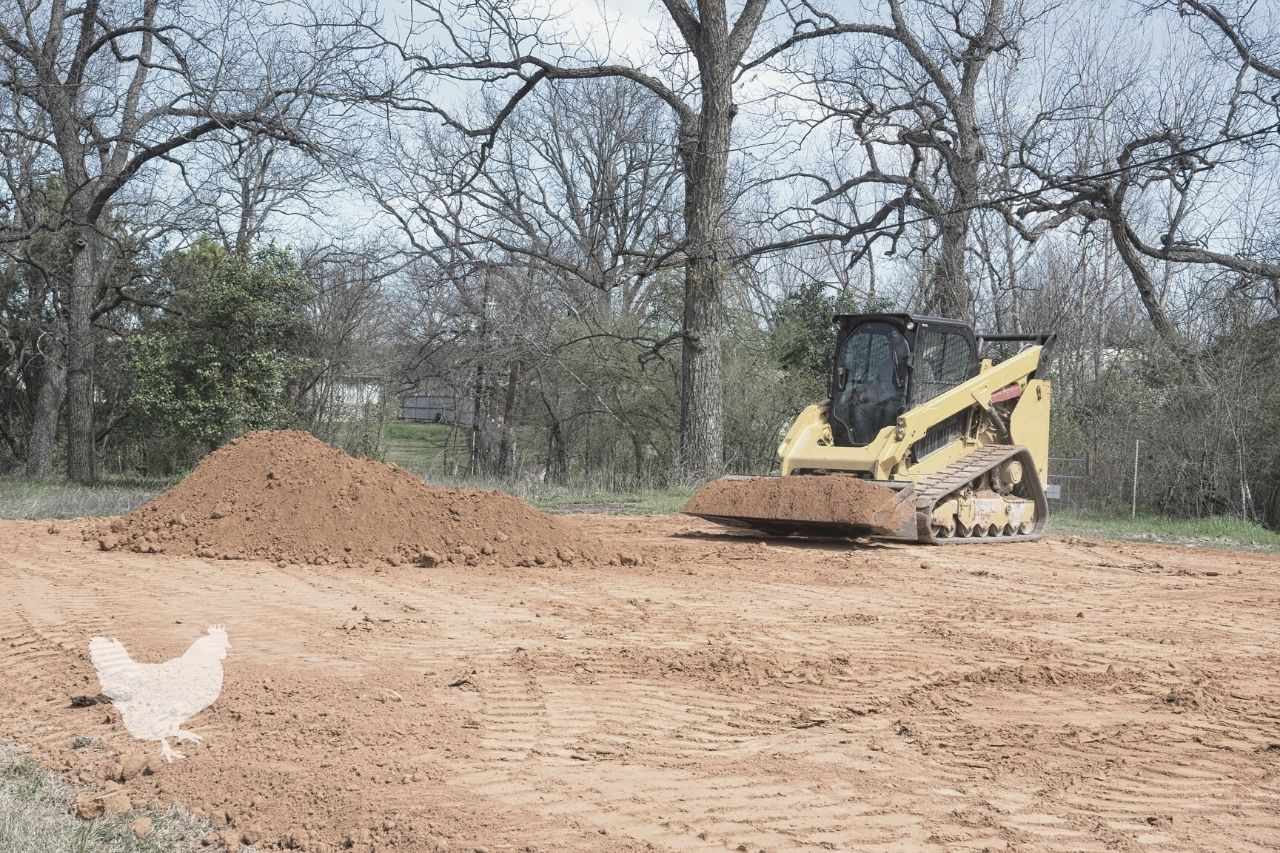
How to Drive a Skid Steer
We’ve already touched on the basic driving controls. You should be able to move the skid steer forwards and backwards, and make tight turns.
Here’s a quick summary:
- If you are using H pattern controls, pushing both levers/joysticks forwards drives the skid steer forwards. Pulling them back reverses the skid steer. Pushing the left joystick forward turns the machine left and pushing the right joystick forward turns the machine right. Pushing the two levers in opposite directions at the same time turns the skid steer around in a tight circle.
- If you are using ISO controls, use just the left lever for driving. Push the joystick forward to move forward and back to reverse. Push it left to turn left and right to turn right.
Remember you can adjust how fast the skid steer goes by controlling throttle. This will be a foot pedal or a dial.
Drive faster when the bucket is empty and you are driving a relatively long stretch. Throttle down when carrying a load, when moving over a short distance, or when driving over difficult terrain.
Talking of terrain, know how far you can push the skid steer. Slopes can be especially challenging. Make sure the bucket stays low to the ground to keep your center of gravity low and prevent tipping. Do not drive across a slope, only straight up or down.
Driving on soft soil, mud or snow can also be an issue. If you deal with this kind of surface often, consider getting a tracked skid steer or buy over the tire rubber tracks.
How to Attach and Detach Skid Steer Attachments
Another important aspect of operating a skid steer is attaching and detaching various attachments.
A loader bucket is the most common attachment, but skid steers work with tons of other attachments such as brush cutters, pallet forks, and graders.
Most modern skid steers have quick attachment systems that allow the operator to attach and detach accessories from the cab. Here’s how to go about it.
- Make sure you are on a flat area without debris and clear of people and animals.
- Lower the attachment close to the ground.
- Locate and press the release button on the control panel. Check that the locking pins have disengaged (most skid steers have brightly colored tabs that you can see from the cab that indicate whether the pins are locked or unlocked).
- Lower the accessory fully to the ground then back up. The accessory should remain on the ground and the attachment plate on the skid steer arms should now be free.
- Drive up to the new attachment and title the attachment plate forward. Align it to the back of the attachment until the plate hooks onto it. Curl the attachment inwards to ensure it sits properly. Press the lock button to fully secure the attachment (some skid steers will auto lock).
For a skid steer with a manual attachment system, you have to get out of the cab and manually remove or insert the pins to release or attach an attachment.
How To Load And Chain A Skid Steer
If you want to transport a skid steer over a long distance, the best way to do it is on a trailer. Look for a trailer that can handle the weight of the skid steer and allows easy loading and unloading.
A step deck trailer with a ramp is ideal for skid steers. Just make sure the trailer is rated for more than the weight of the skid steer, and the truck can pull the combined weight of the skid steer and trailer.
Check online or the user manual for the exact weight of the skid steer. Do not try to guess it.
You also need to make sure you have the right chains for securing the skid steer. You’ll need at least four tie down points, which means four chains.
Use chains with the proper rating, also called the working load limit. The combined rating of all the chains should be at least 50% of the weight of the skid steer.
Don’t forget about the binders. Each binder should match or exceed the capacity of the chain.
Once you have the right trailer, truck and chains, and binders, here’s the process for loading and securing the skid steer.
- Drive the truck and trailer onto flat ground. Park the truck and place blocks in front of the rear and front wheels to ensure the truck doesn’t roll forward when loading the skid steer.
- Lower the ramps and check that the bed of the trailer is free of debris and hazards like snow. It’s also a good idea to check the tires and the trailer and truck to ensure they are in good shape.
- Get into the skid steer and lower the attachment close to the ground. This will keep the machine stable as you go up the ramp.
- Slowly steer the skid steer up the ramp and onto the bed of the trailer. It’s a good idea to have a spotter guiding you.
- Position the skid steer on the trailer such that the weight is evenly distributed between the tongue and axles. Lower the attachment fully onto the floor of the trailer. Raise the ramps and check the trailer to make sure it’s balanced.
- Identify the approved tie down points on the skid steer and use these to tie down the chains. Do not use any other parts such as handles to tie down the skid steer. They are not rated to hold a lot of weight and can lead to an accident.
- Secure the chains around the tie down points and onto the trailer at a 45 degree angle. Use the binders to make sure there’s no slack on the chains.
If you are driving a long distance, stop and inspect the load after covering 50 miles, then again every 150 miles or 3 hours.
Check that the skid steer has not shifted and see if you need to tighten any of the chains.
When unloading, follow the loading process but in reverse. Park and secure the truck on flat ground and have someone around to act as a spotter. Loosen and remove the tie down chains, lower the ramps, then slowly back the skid steer off the trailer.
A Skid Steer is Versatile and Easy to Operate
Homeowners, farmers and contractors opt for a skid steer because of its versatility. Its compact size and compatibility with a wide range of attachments allows you to do a lot more with it compared to other heavy equipment.
Another reason to get a skid steer is that it’s one of the easiest equipment to operate. You just need to take time to learn how to operate it and have safety as a priority no matter how experienced you get.