Keeping the rendered fat from a goose can be very useful. It is full of flavor and doesn’t burn as easily as vegetable fats. If you want to make really crispy fried or oven-roasted potatoes with a delicious flavor, then using your rendered goose fat is ideal. Can’t find a goose? Then you can use duck breasts and render the fat from them.
What You'll Learn Today
How Do You Save Goose Fat?
Many chefs swear by goose or duck fat for cooking, as the fats are stable and can be re-used.
At room temperature, goose fat is relatively liquid and contains a similar composition of fatty acids to olive oil.
The fat content of a domestic goose can vary depending on factors such as diet, time of year, and breed of goose. Geese will carry the most fat at the beginning of winter, as it is used to keep them warm.
The fat is mostly found just under the skin, particularly on the breast of the bird. It helps to insulate their body when they are in cold water and gives them energy when used as a food reserve.
Goose fat is a by-product of roasting a goose or from intentionally rendering down raw skin and fat.
Once you have rendered your goose fat, you’ll need to separate it from the more liquid juices and bits that are also present.
The fat floats on the top, and you can drain it off fairly easily. You should then pass it through a clean cheesecloth to filter out any other impurities.
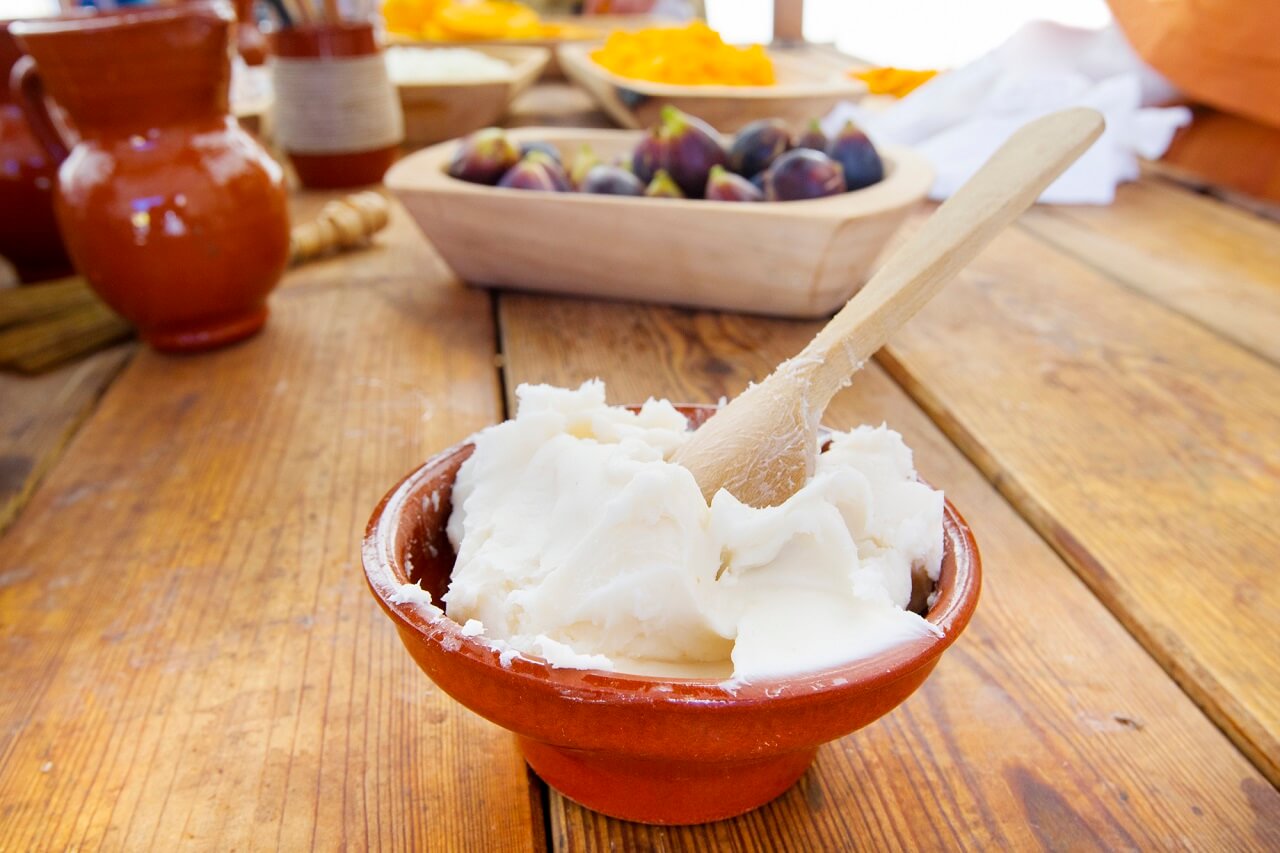
Store the fat in a sterile glass jar with a tightly fitting lid. It is best kept in the fridge and will last for six months to a year or more.
Why Do You Render Fat?
Fat is what gives meat its flavor, texture, and juiciness, and by rendering it down, you can easily store it to add flavor to lots of other foods you cook. It makes an amazing vegetable oil substitute and has a long shelf life.
Rendering basically means to break down and melt animal fats.
How Do You Render Fat?
Rendering your goose fat can be done in a number of ways, but one of the easiest is if you are roasting a whole goose.
Roasting Your Goose
Simply place the goose in a Dutch oven (metal, ovenproof casserole type dish with a lid) and roast the goose until cooked through.
As a guide, preheat your oven to 400 degrees and cook your goose in the Dutch oven for around an hour, then turn the oven down to 350 degrees until the goose is cooked for about another hour and thirty minutes to two hours for a 12 lb goose.
Remove your goose from the pot and pour off the golden fat that has accumulated in the bottom of the pan.
Rendering Skin and Fat
If you don’t want to roast a whole goose or duck, then you can just render the fat from the skin and raw fat. Here’s how:
- Remove skin and fat from goose (or duck). Be careful not to cut into the meat. Cut it into chunks of one inch
- Place the skin and fat into a Dutch oven or a heavy-based stockpot with a lid.
- Add ¾ cup of water.
- Simmer over medium to low heat, stirring occasionally for about one hour, or until all of the water has evaporated. The skin should be crispy and have released all the fat.
- Using a slotted spoon, remove all the cooked skin and bits.
- Once the fat has had a chance to cool slightly, drain it through a sieve lined with cheesecloth into a clean jar with a tightly fitting lid.
- The fat can be stored in the refrigerator and used as required. It can also be frozen for up to a year.
The skin bits can be lightly salted and are delicious to eat as a snack.
In this video, you can see how to roast a goose and remove the rendered fat:
At What Temperature Does Goose Fat Render?
In order for the fat to render (liquify), you need to heat it up to around 212°F (100°C), and it will gradually melt into a liquid.
It isn’t only goose fat that can be rendered. You can use duck fat too.
On a joint of beef or pork, it is the fat rendering over and through the meat that gives it the best flavor. That’s why beef that has a good marbling of fat through it tastes so much better than a lean joint.
How Do You Know if Your Fat is Rendered?
You’ll know when all of the fat is rendered when the bird is properly cooked through or if you’re not roasting a whole bird when the dry skin is floating in the clear liquid fat.
This generally takes between 45 minutes to one hour so that the water is fully evaporated. At this point, the fat melts, and the skin crisps. Small brown bits will start floating on the surface of the fat layer.
Conclusion
Over time the fat will start to turn rancid (go bad). It doesn’t grow mold. If you do see a mold layer growing on top of your rendered fat, then it wasn’t cooked for long enough, or it may not have been strained properly.
This is why it is an important step to pass the rendered fat through a cheesecloth and ensure that it is pure.
If your goose fat has gone bad, then the best way to tell is by smell. If it smells unpleasant, strong, sour, or in some other way off, then most likely it is rancid. It’s time to toss it in the trash and make some more.
Depending on the temperature inside your home, the rendered goose fat will normally be a thick liquid but will solidify into a soft creamy consistency in your refrigerator.
Rendered duck fat is typically more solid at room temperature.
Rendered goose fat is fantastic for enhancing the flavor and crispiness of potatoes, and you can also try using it to fry eggs, meat, or veg.
Thank you for reading this article about how to render goose fat. I hope it was helpful. There are many more great articles about geese to discover on the website, so please do take a look.