If you work on a farm or have a homestead, then having a pitchfork is essential. Pitchforks are invaluable for picking up hay, straw, manure, or piles of garden weeds. A famous painting, “American Gothic,” shows a three-tined pitchfork, although they may also have two to five tines or sometimes even more. Today pitchforks are made with metal heads, but traditional, entirely wooden pitchforks are still fabricated by artisans of the craft.
What You'll Learn Today
What Does A Pitchfork Look Like?
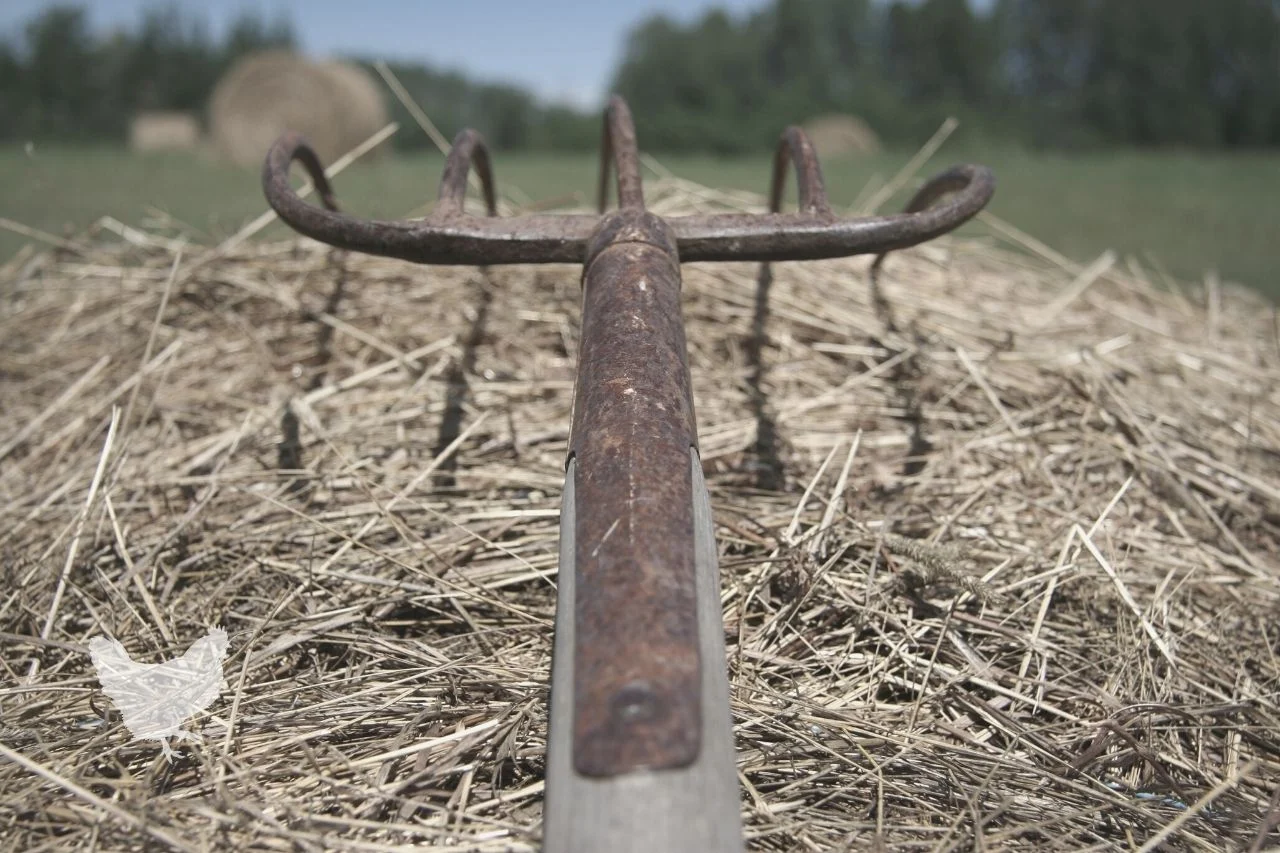
The main features of a pitchfork are its long straight handle, usually fashioned out of wood. They have a broad, usually metal fork with narrow, rounded, slightly curved tines.
Personally, I prefer a four-tined pitchfork. Having spent much of my life cleaning out stalls, fluffing up straw, and building almost architectural muck heaps!
The greater the number of tines your fork has, the larger quantities it can hold at a time, with less falling back on the floor. Too many tines will make the fork heavy and less easy to use.
History of the Pitchfork
Pitchforks were first used during the middle ages in Europe. At this time, they were made entirely of wood and often crafted from a single piece.
Wooden wedges were used to separate the tines, a delicate process as they often break.
In the late 19th century, wooden grain forks were in everyday use in the United States. Like the earlier European forks, they had wide tines and were used to pitch hay, straw, grains, and other things.
They would have been an invaluable tool during harvest time before mechanization.
How To Use A Pitchfork?
To use a pitchfork properly, you need to make the most of its long handle. It prevents the need to bend over when lifting heavy, soiled bedding from a stall, piles of weeds, or small branches in the garden. It also allows you to reach a good distance to put your load into a barrow or make a pile.
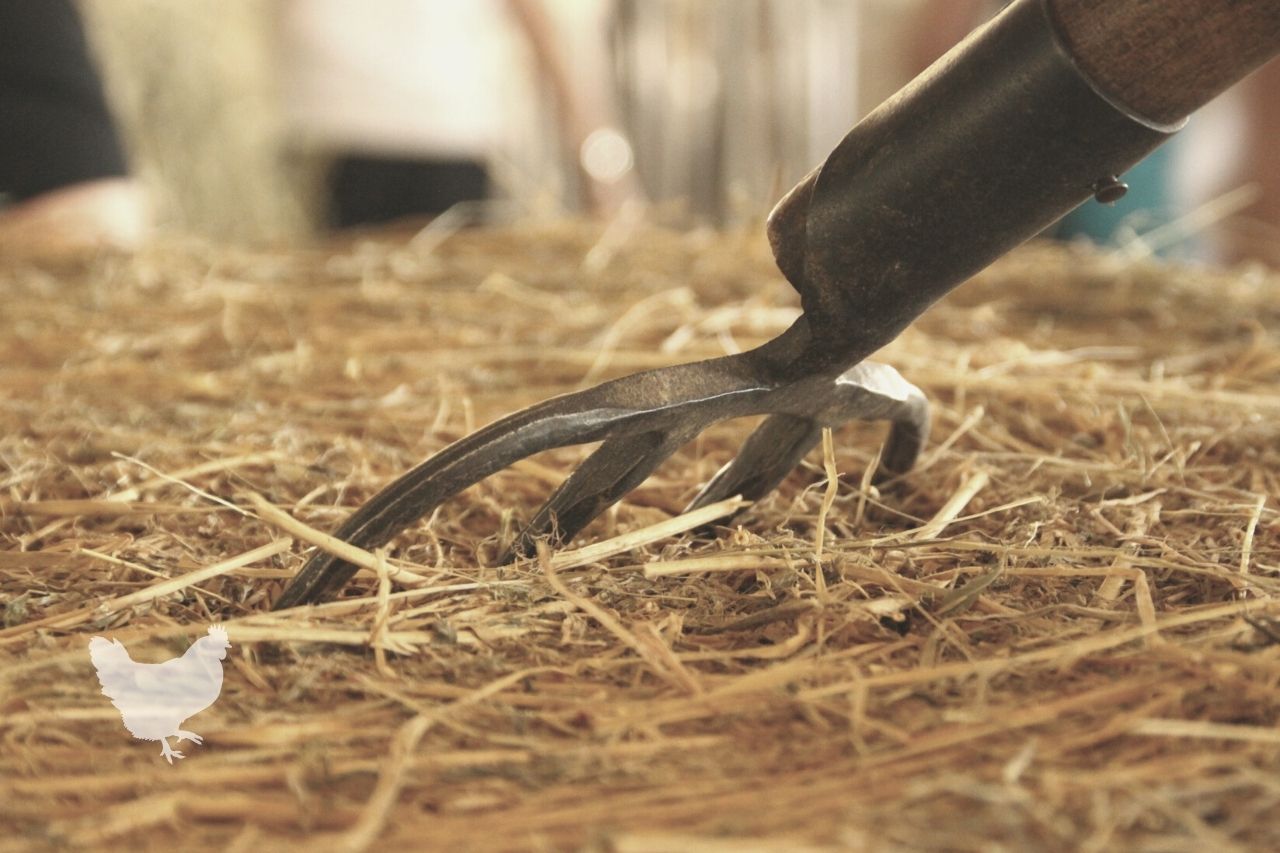
If using a pitchfork in the field to collect hay or straw, you can point the tines downwards and drag it across the ground like a rake, making larger piles before turning it back the right way to pick your heap up.
A Pitchfork may be used to fluff up a bale of hay, straw, or even a crop left to dry on the ground, although this is an arduous and time-consuming task!
I’ve often stood on the back of a trailer being pulled slowly along by a tractor flinging sections of baled hay out to livestock. A pitchfork is by far the easiest way of doing this.
How To Replace A Pitchfork Handle?
One of the annoying things with any tool with a wooden handle is that eventually, that handle will either break or rot. Luckily, this can easily be remedied by replacing the broken handle with a new one.
You’ll be able to find replacement handles at good gardening, hardware, or agricultural stores.
This is how to replace it:
- Usually, there will be a metal pin holding the head of the pitchfork onto the wooden handle. You’ll need to cut the head off of the nail and then use the tip of a metal file over it, and use a hammer to push the pin into the wooden shaft releasing the handle.
- If you can’t get the pin into the wooden handle far enough, try prying the metal apart using a flat head screwdriver.
- Once the old handle has been removed, put the new one into the metal shaft and push it down as well as you can. Turn the fork, so the tines are facing the sky and bang the end of the wooden handle hard down on the ground several times.
This needs to be done on a hard surface and will force the handle into the fork’s head. Alternatively, you can use a rubber mallet to do the job.
- To secure the new handle to the fork’s head, use a wood screw with a large top that will reach ¾ of the way through the wooden handle. With an appropriately sized wood bit, smaller than the screw, drill a hole in the handle going through the original pinhole of the forkhead.
- Insert your screw through the pinhole and into the wooden shaft and tighten with a screwdriver.
- Give the wooden handle a good sanding with fine-grit sandpaper to remove any rough patches and prevent splinters.
- Using an old, clean rag, apply a coat of raw flaxseed oil (linseed oil) and rub it well in before allowing it to dry. Now you’re ready to start using your repaired fork.
How to Make a Wooden Pitchfork?
If you’re someone who enjoys making things, then you could try creating a wooden pitchfork. These are usually made from wood such as white oak, or in Europe, sweet chestnut is often used. They do take some skill, time, and patience to perfect.
Traditionally, rather than the tines being connected to the wooden handle in some way, the entire fork was made from a single piece of wood, and the tines were split and then splayed using triangular wooden blocks that forced them apart.
A step-by-step pictorial guide can be seen here.
It is, however, possible to make a pitchfork more simply. By far, the easiest way is to find a natural tree branch that has the proper form. If you cut it from a live tree, it will need to be stripped of its bark and seasoned (put somewhere dry) to harden. It can then be sanded smooth and oiled with raw flaxseed oil to protect the wood.
Another simple method of making a pitchfork requires just a few basic ingredients:
- Wooden Pitchfork handle
- A piece of 15-inch long 2×2 (preferably oak)
- Four wooden tines – made from pieces of ½ inch round oak dowel. These can be purchased in different lengths, but you will need to cut a total of four tines, each 15 inches long. The dowel can be found at hardware stores or home depot. TIP – look for dowels that have a long straight grain down the entire length as this prevents breaking
- Exterior grade wood glue
- Wood screws
- (Optional) Steaming equipment – Wooden jig, wood clamps, steamer.
First Step: Have Curved Tines (Optional)
This first step is optional but will make a better fork. If you want to have curved tines, as is traditional, then you’re going to need to bend your dowel and fix it in its new position. This is how to do it using a jig and a steam box:
You will need:
- A piece of wood, or blocks of wood that is thicker than your dowel
- Wood screws
- A bit of heavy board to attach your jig to
- A PVC pipe
- Two end caps that fit your PVC pipe
- A selection of flexible hose (approx. 6 feet in length)
- Connectors to fit your flexible hose
- Jubilee clips to secure the hose safely in place
- A metal container with a tight-fitting lid that can be well secured
- An outside heat source (gas burner, open barbecue, etc.)
- Extra wooden dowels
First, you need to make a wooden jig (template) that you will bend your tines around to give them the curve you desire. It doesn’t have to be a big curve; just a gentle arch is fine.
The easiest way of doing this is to find something that already has the curve you desire, such as a large, round dustbin lid.
On a wooden plank (or planks) that are thicker than all your pieces of dowel when stacked one on top of the other, trace around the bin lid (or chosen object). Cut it out with a jigsaw and fix it solidly to the heavy wooden board.
Alternatively, trace the shape onto the heavy wooden board, then place your wooden blocks along the line and screw them down to your board. They may need to be shaped to fit the curve. Do this by using a jigsaw with the blocks held securely in a vice or workbench.
You now have your wooden jig ready to bend your dowel around.
Next, you need to make the steam box. This can be made with a PVC pipe. Make sure that it’s large enough to fit all your tines into it at once.
Cut the pipe so it’s a little longer than your tines (18 to 20 inches should do.)
You need to connect your metal container to the PVC pipe using the flexible plastic hose using a connector securely attached to one of the end caps for the PVC pipe.
The other end of the hose needs to go into another connector and into the metal container. Again it must be very securely fastened. Jubilee clips are an excellent way to achieve this.
This is because as steam builds up, it creates a lot of pressure and can easily blow off connections that are not strong.
Along the length of the PVC pipe, make adjacent holes where you can push one of the pieces of extra dowel right through so it comes out the other side. Make sure the dowel fits into the holes tightly. Repeat this again a little further along the pipe.
This is to create something for the pieces of dowel to sit on, so the steam can travel all around it freely.
On the underside of the PVC pipe, a few inches from the end where the flexible plastic tube is fitted, drill another hole of about ¼ inch wide. This is VERY IMPORTANT as it works as a pressure and water release and prevents your PVC pipe or metal bucket from exploding!
Ensure your PVC pipe is very slightly tilted towards the drain hole, so that water can drain out of it.
Light your heat source and place your metal container over it. Pour hot water inside. You only need enough water to create steam for a couple of hours but make sure you put sufficient water in. By putting already hot water into the metal container, it will heat up a lot more quickly.
Secure the metal container lid tightly.
Ensure all of your connections are securely fastened, and everything is stable and cannot fall over. Make sure that your metal container can allow the steam it produces to pass freely up along the flexible plastic hose and into the PVC pipe.
When you can see steam appearing out of the open end of your PVC pipe, you are ready to place your dowels inside. Rest them on the two pieces of dowel you threaded through the pipe earlier.
Place the end cap on the PVC pipe to seal it.
Allow your wood to steam for about one and a half hours.
Extinguish your heat source.
Open the end cap, and, with heat-proof gloves, remove the pieces of dowel.
Immediately place the dowels one on top of the other on the jig, using wide clamps to hold them in place, tighten each clamp one at a time to bend the dowel. Do this until it all fits snugly up against the curve of the jig.
Allow the wood to cool and dry out for 12 hours.
Once the wood tines are dry, remove them, and they will retain the curve you’ve made.
Second Step: Whittle One End Of Each Tine
If you don’t want to go to the trouble of bending your tines, that’s fine; just continue on from here.
With a sharp-bladed knife, working away from you, whittle one end of each tine so that it has a bit of a point. Don’t make it too thin, or the wood will simply break when you use it. You can just whittle the top side of the tine to help avoid this.
Give your tines a good sanding so they are smooth.
Third Step: Prepare For Drilling
Take your 12-inch long piece of 2×2 and sand it smooth all over.
With a marker pen or pencil, carefully mark out in the middle of one side of the 2×2, four central dots. One dot that is measured 1- inch from each end of the 2×2, and two dots that are measured 3.5 inches in from each of the 1- inch dots. This is where you are going to drill holes to fit your tines.
Fourth Step: Drill Holes
Using a ½ inch wood bit, carefully drill the four holes for your tines. Make sure you mark the drill bit at one and ¾ inches so that you don’t drill all the way through the 2×2.
Fifth Step: Work Tines Into The Holes
Sand around each hole and ensure the holes are clean and no debris is left inside. Carefully fill each void half full with wood glue.
Using a screwing action, work each of the tines into the holes, making sure that all curves are in the same direction along the length of the 2×2.
You can use pin tacks to further secure each tine in place by hammering one into each tine through the 2×2.
Leave it to dry for 12 hours.
Sixth Step: Prepare The Hole For The Handle
On the opposite side of your 2×2 to where you drilled the tine holes, mark 6 inches along in the center. This is where you will make the hole for your handle to fit in.
Use a spade bit the same size as the width of your handle to cut the hole. This is more easily done if you place the 2×2 into a workbench to hold it securely while you drill.
You can also use a hole saw to do this, then use a drill bit to remove the excess wood.
Make sure you mark your spade bit at one ¾ inch to not make the hole too deep. Just as with the tines, sand the area after completing the hole.
Seventh Step: Add Your Handle
Find a wood screw with a broad head that is one and ¾ inches long. On the back side of the 2×2 (the side that has no holes in it), drill a small hole 6-inches along ½ an inch from the top of the 2×2 at a 45-degree angle going downwards towards the side with the tines.
Fill the large handle hole half full of wood glue and screw the handle well in. Now screw the wood screw into the small hole you drilled to give the handle extra support. Wipe off any excess glue and allow it to dry for 12 hours.
Give your entire pitchfork a final sanding all over to smooth it completely. Then treat it by rubbing in a coat or two of raw flaxseed oil. Once dry, your pitchfork is ready to use. If you want to give it more support, you can add metal brackets that go along the handle and into the head of the pitchfork.
Conclusion
A good pitchfork can last for many years and be an invaluable tool for any farmer, homesteader, or even gardener. Its uses are not restricted to the hayfield as it can be used for many purposes that involve picking up vegetation.
Old pitchforks with broken handles can easily be mended, costing less than buying a new one, and you can even make your own wooden pitchfork if you fancy a weekend project. Be very careful when steaming wood, as hot steam can cause severe burns!
We hope you’ve enjoyed reading “What is a Pitchfork.” If you’d like to find out more about other tools or farmsteading topics, why don’t you look at our website – here is a guide to crowbars.
Funny, nowhere in the lengthy article does it explain exactly how to actually use a pitchfork (properly). Having used one for “all my life”, and taught by my dad the correct way, I can tell you there’s a “right way” and a “wrong way” to use one. You would think that it would be intuitive, but for some people, it evidently is not. They want to use it as one would a “spoon” or shovel, which completely (“and then some”) defeats the design of it, rather than as a fork, as intended.