If you have a compost pile, you’re doing yourself a disservice by not switching to a three-bin compost system. In this post, we’ll tell you everything you need to know about how to use a three-bin compost system effectively.
What You'll Learn Today
Should I Have 3 Compost Bins?
There are several advantages to using three, rather than just one, compost bins.
The biggest advantage is that it can dramatically reduce the weight of the material you have in your compost pile. If you don’t want to spend a ton of time or energy turning your compost, this is essential. Three separate bins will make for a more efficient system that requires less strength to turn.
A three-bin system will let you mix various ingredients from the garden and kitchen so you can make compost and use it when it is needed.
By breaking the compost down into three separate units, you don’t have to worry about adding material to a pile that’s nearly finished – wrecking the decomposition process for the compost that’s already done.
At the same time, you’ll have compost ready to go in a pile that you can pull from whenever it is needed in your garden.
How Do You Compost With a 3-Bin System?
Now that you know all the benefits of using a three-bin compost system, here are some tips on how to make it work for you. You can follow these guidelines regardless of whether it is your first time composting or your fiftieth!
1. Understand the Three Stages of Composting
The whole point of building a three-bin compost system is to take advantage of each of the three stages of compost development. So while you could technically have a two-bin compost system, a three-bin plan will be much more natural and efficient because it addresses each of the three composting stages.
In the first stage, you’ll work to accumulate compost ingredients. Your goal here is to build up healthy microbial activity, bacteria, and fungi.
As you add ingredients to your pile, the temperature of the pile will slowly increase. In the first stage of composting, all you need to do is turn the pile regularly and keep track of the moisture levels.
This is the most time-consuming process, with the amount of time it takes for the pile to heat up varying depending on how often you turn the pile, the ingredients you use, and the climatic conditions.
In the second stage, the material is now “cooking.” The compost pile has heated up and the microbes are hard at work decomposing all the ingredients you’ve added to your compost. Avoid disturbing the pile unless you notice a foul odor.
By the time this stage has finished, your ingredients should be a compact mass.
In the third and final stage, your compost pile has finished “cooking” and is now ready to use. The temperature will drop and once the pile has sufficiently “cooled,” you can use the finished compost in your garden.
2. Build Your Bins
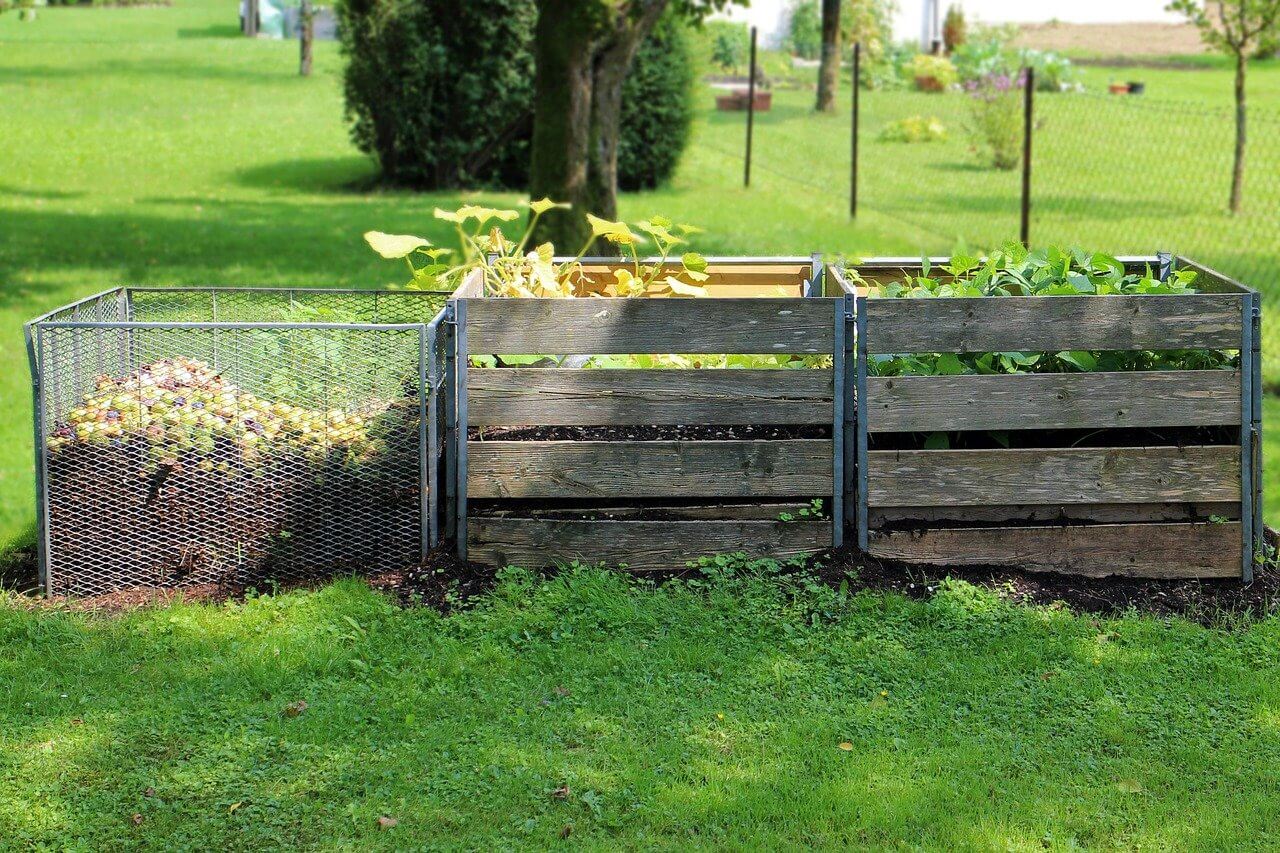
Building a three-bin compost system is surprisingly easy. You can make it out of any kind of materials you want, including cinder blocks, wood slats, or even recycled wood such as old pallets.
In fact, if you use old pallets, you don’t even have to do any cutting or measuring. Simply stand up three pallets, end to end, to create an open-faced box. You can add a fourth pallet to create a totally walled-in system and you can use a fifth to create a roof, if you’d like (though keeping the top of the compost open is a good idea to make sure your pile gets enough moisture).
You can connect the pallets using wood screws or even with zip ties, if you don’t want to spend a lot of time on your bin.
Do this three times and you’ll have your three bins. You can hook them to each other for a sturdier overall compost system or you can leave them freestanding with a bit of space in between for additional air circulation.
If you’d rather not use repurposed materials to build your bins, here’s a quick guide that will tell you how to make a wood and wire three-bin system.
Once your bins are built, it’s time to move on to preparing the first bin.
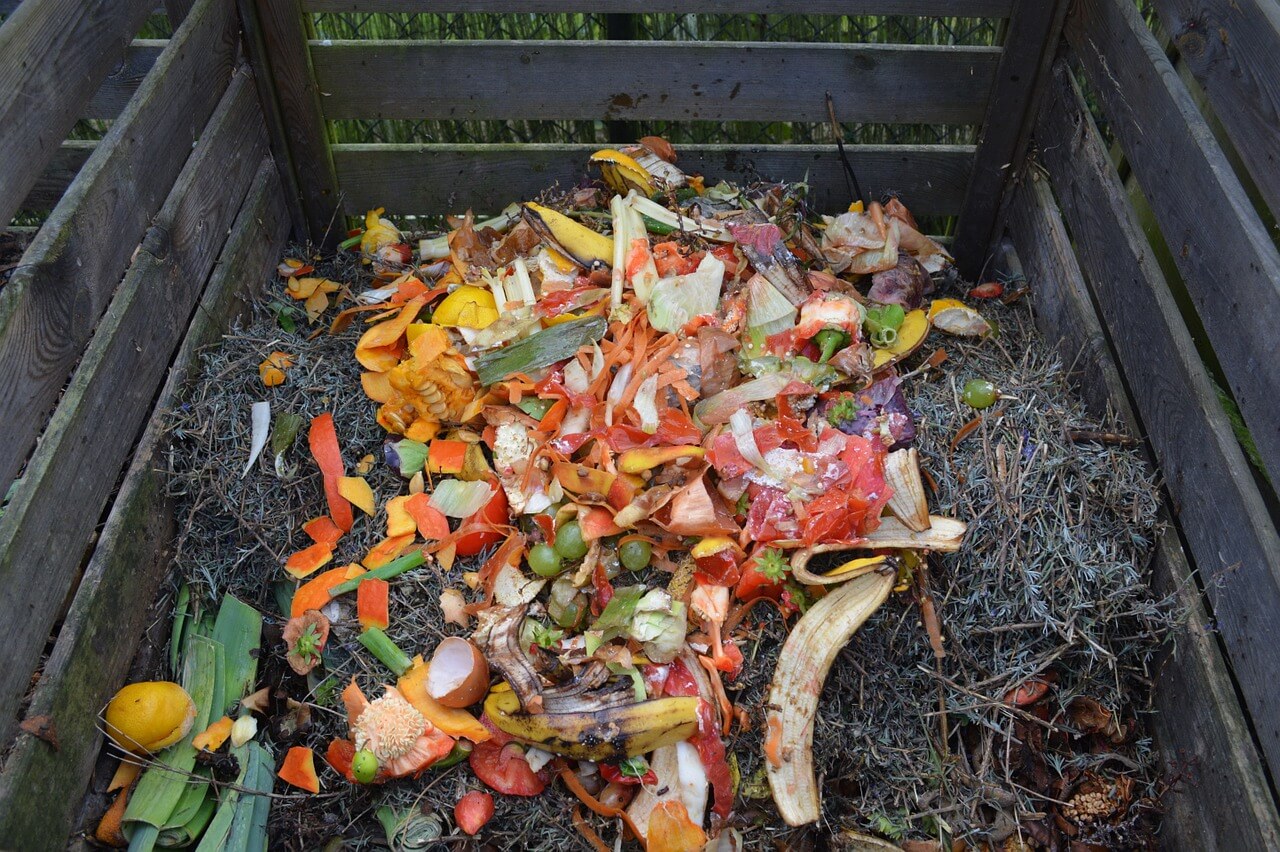
3. Loading The First Bin
The first bin of the compost system is truly where the magic happens! Here, you’ll put all the fresh organic matter to let it start to decompose.
You can add all kinds of “green” materials, or those that are high in nitrogen, such as:
- Grass clippings and other lawn waste
- Tea bags and coffee grounds
- Kitchen scraps
- Weeds
- Seaweed
- Eggshells
- Animal manures (avoid pig, cat, and dog manure)
Of course, to balance out the nitrogen, you’ll also need plenty of carbon-rich ingredients, too, including:
- Dried leaves
- Corn stalks
- Wood chips
- Shredded branches
- Hay and straw
Be moderate with the ingredients you add to your compost bin. A smaller compost pile will decompose faster and be easier to work with. Keep the pile moist as the materials are breaking down. It should resemble a sponge when it is squeezed.
3. Managing The Second Bin
After all of the material in the first bin reaches a temperature of around 140 to 150 degrees Fahrenheit, you can switch it to the second bin.
Moving this material has a big advantage. By moving it, you’ll be able to mix it in a way you can’t do all at once with the big bundle in the first bin. you’ll also aerate it a bit better, letting your compost cook more efficiently.
Here’s a video explaining why it is so important to turn and aerate your compost pile:
Now your first compost bin is empty, so you can keep adding fresh new ingredients to it. This second bin is a transition area where ingredients are still breaking down and aren’t quite ready to be used.
You should never add fresh ingredients to the second bin – this is just where the compost is breaking down.
4. What to Do With The Third Bin
After the second bin has been entirely filled with material, you can move it to the third bin to finish decomposing. By the time bin number one is full for the third time, the material in bin three should be ready to use.
Other Tips for Using a Three Bin Compost System
Here are a few more tips to follow when you’re using a three-bin compost system.
How Do You Activate a Compost Bin?
When you add your first batch of ingredients to your compost bin and are trying to get it started, you may want to consider activating it.
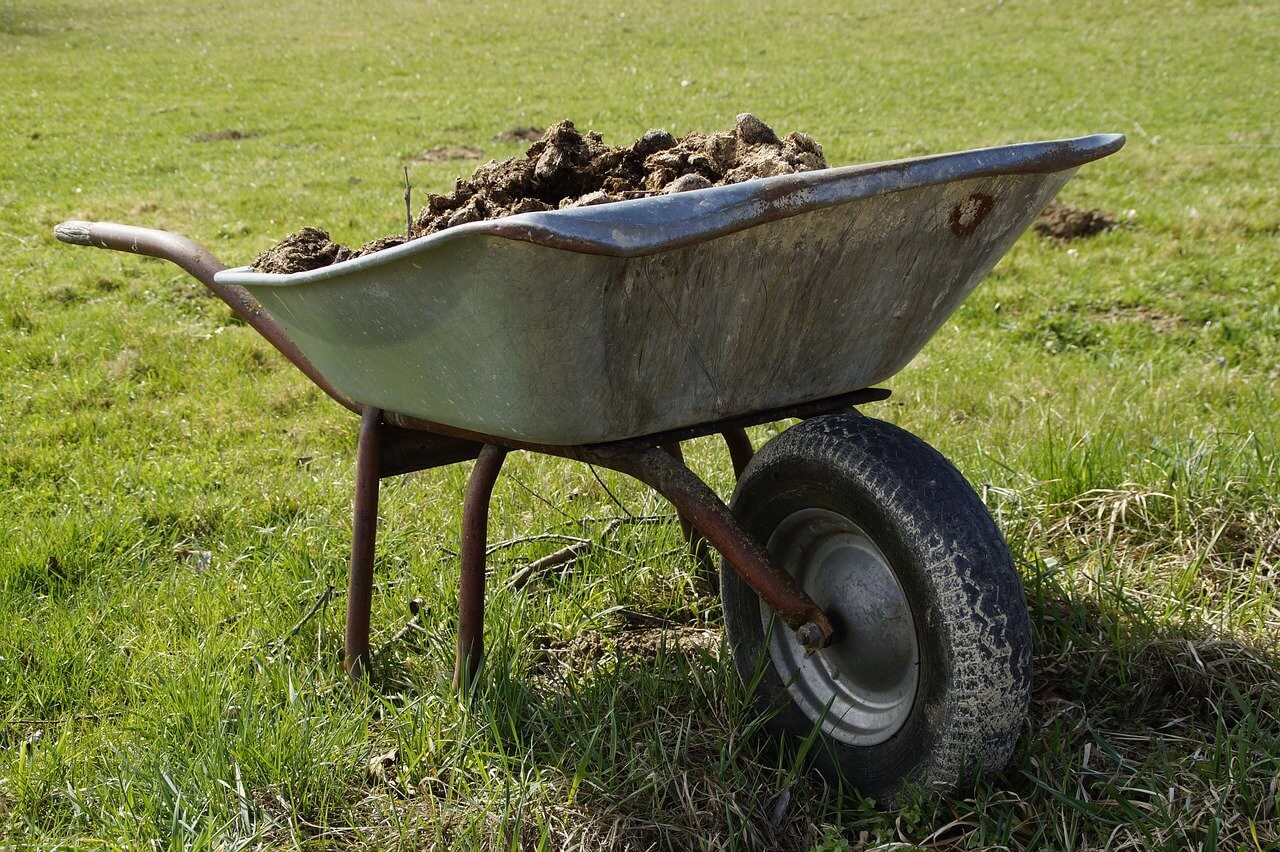
While this isn’t necessary in all cases, it can help speed up what’s going on inside your compost to help you get from point A to point B faster. Simply scoop a shovelful of dirt onto your compost pile and mix it in a bit.
The bacteria that are naturally found in the dirt will multiply and help the material in the pile break down more quickly.
Managing Moisture
As we mentioned earlier, managing moisture in the compost bin is essential. When squeezed, compost should resemble a sponge.
If it’s too dry, simply add water. Otherwise, it’s probably too wet. Turning the pile can mitigate moisture while improving airflow. You can also add material like seed-free chopped straw or cardboard to help soak up some of the excess water.
How Do You Know When Your Compost is Ready to Use?
Compost is ready to be used when the finished product looks dark brown, smells like earth, and crumbles easily in your hand.
If you can still identify some of the ingredients in the pile (such as food scraps), it’s probably not ready to go. You may be able to use compost if it’s still warm, but in most cases, any heat is an indication that the pile is still cooking.
Once your compost is ready, you can use it anywhere in your garden that needs a bit of a nutritional boost. You’ll love the results – and how easy a three-bin compost system is to manage!