If you like the thought of trying a wine not made from grapes with a fruity flavor, then mulberry wine could be for you. In this article about how to make mulberry wine, I’ve included two recipes, one a little more complex but likely to produce something which should be very drinkable and one much simpler and quicker, but a lot more pot luck!
What You'll Learn Today
Are Mulberries Good For Wine?
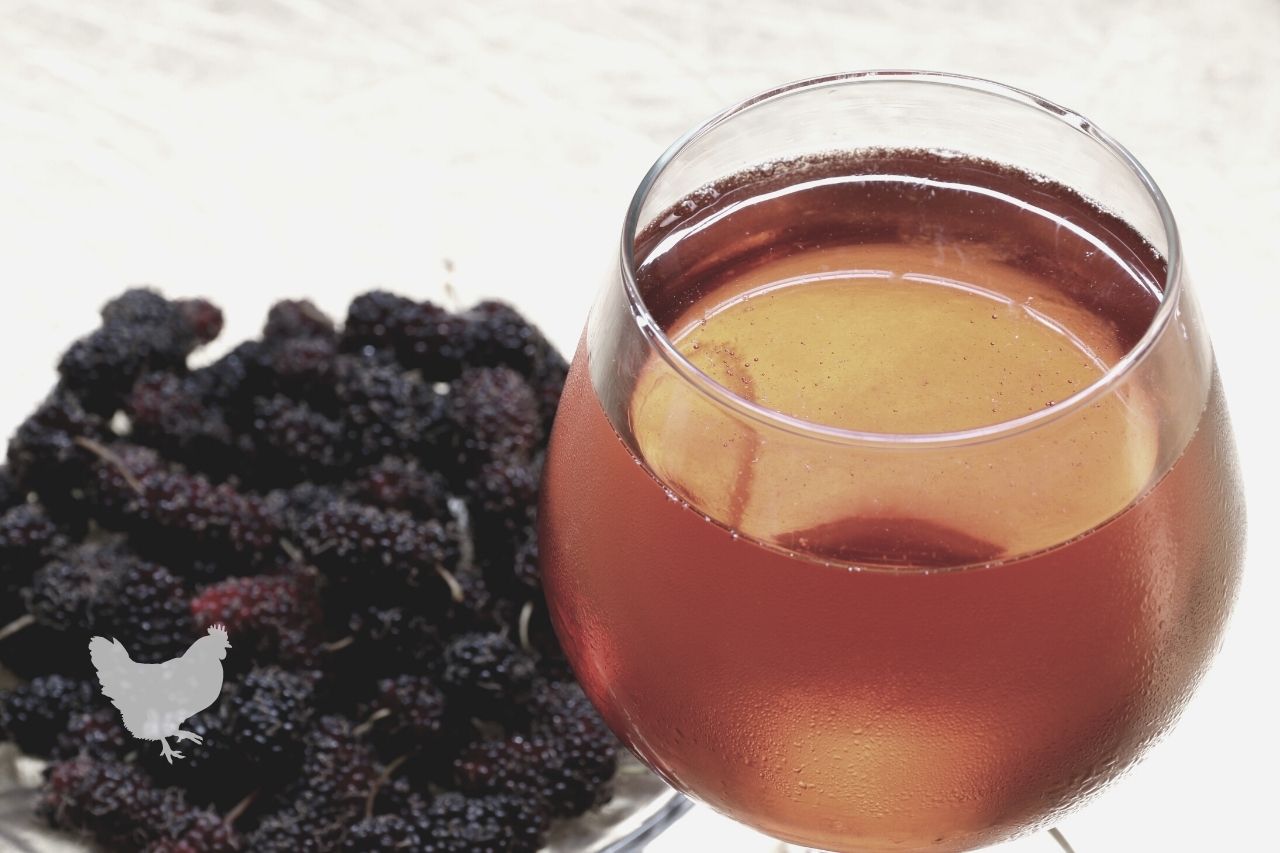
Mulberries are excellent for producing a deliciously fruity red wine. They ferment well because they are full of natural wild yeast, so when ripe, they almost ferment themselves.
The downside to this is that it’s difficult to stop the acid production, and the wine can end up tasting more like vinegar which isn’t so great! However, don’t fear; there are ways to overcome this.
How to Make Mulberry Fruit Wine Recipe
The following recipe is for those who don’t mind waiting for something which should be very pleasant to drink with a good body and full flavor. It will make approximately one gallon of mulberry wine.
Equipment and ingredients will be available online or from wine-making retailers.
Ingredients
- 4 lbs of ripe but not overripe mulberries. The fruits should hold together and not be too mushy
- 2 ½ lbs sugar
- Wine yeast – something like a Bordeaux variety is good
- 1 teaspoon of yeast nutrient
- 1 teaspoon of pectic enzyme
- 1 teaspoon of acid blend
- 1 Campden tablet
- 1 gallon of filtered water
Equipment
- A winemaking bucket
- 2 glass demijohns complete with fitted airlocks and bungs. Two demijohns are needed because, during secondary fermentation, the wine requires siphoning into a clean vessel a few times.
- Potato masher or another object with which to mash the fruit into a pulp
- A fine mesh strainer
- A clean cheesecloth
- A funnel
- A siphoning tube for exchanging the wine from one container to another
- Glass bottles and corks for keeping and storing the finished wine
Sterilize all equipment before starting and as required during the wine-making process. How to do this correctly is shown in this handy video!
Method
- Prepare the fruit by carefully removing all the stems from the mulberries and then giving them a good wash.
- Place the fruit into the winemaking bucket.
- Boil the water and allow it to cool.
- Use the potato masher or other implement to mash the mulberries down to a fine pulpy consistency. This should release a lot of the juice from the berries.
- In with the fruit, add the water, sugar, yeast nutrient, pectic enzyme, and acid blend.
- With the back of a spoon, crush the Campden tablet until it becomes a fine powder and add to your mixture. The tablet helps remove bacteria and wild yeast present in the fruit and prevents the wine from spoiling.
- Stir everything together thoroughly until the sugar is dissolved and all ingredients are well combined.
- Cover loosely to stop anything falling in and leave it to stand overnight or for around 12 hours.
- Now add the yeast. You now have what is technically known as “Must,” which needs to be covered loosely again and allowed to sit for a further five days. Give the Must a good stir once a day.
- Once the five days have passed, you’ll need to discard all of the fruit pulp. Take your freshly sterilized, fine mesh strainer, funnel, and cheesecloth (which you should boil for five minutes). Line the funnel with the cheesecloth and pop it into a sterilized demijohn. Ask someone to hold the strainer over the funnel while you pour the bucket’s contents carefully and slowly through the strainer.
- With a sterile spoon, push the pulp through the strainer into the cheesecloth and then squeeze the cheesecloth so all of the juice runs out into your demijohn.
- Secure the airlock in place and put the demijohn out of direct sunlight. You can cover it to keep it dark.
- Leave the demijohn to ferment the juice for one month.
- Now you need to rack the wine. This is the process of separating the liquid from the fermentation sediment. Sterilize the clean demijohn and the siphon, then transfer the liquid in the other demijohn into the clean one. Be careful not to disturb the sediment or to suck up any with the tubing as you siphon.
- To fully ferment, your mulberry wine will require a further 12 months of sitting time. You should rack your wine every three months to remove sediment during this period.
- At the end of the 12 months, the wine should be clear, not cloudy, and the process of fermentation should have stopped naturally. You will know if it has if there are no bubbles in the airlock. If bubbles are still present, wait until they stop before putting the wine into bottles.
- Glass bottles are the best choice for bottling your wine. Ensure you sterilize all bottles and equipment used during bottling first. Otherwise, you will throw away all of your hard work so far. Use a funnel to help pour the wine from the demijohns into the bottles.
- Cork your bottles firmly.
- Now you need to let your mulberry wine mature. This will take at least six months, ideally longer, up to two years without opening the bottles is recommended. They should be kept in a cool, dark place to prevent oxidization. This helps develop a richer, fuller flavor.
How Do You Make Mulberry Wine Without Yeast?
Yeast is a fungus, just like a mushroom, only on a microscopic scale. Colonies of yeast look a lot like bacteria, and they are the crucial component for making alcoholic beverages like wine and beer.
However, there are ways of making wine without adding yeast… By following the simple recipe given below, you’ll be able to make a slightly alcoholic mulberry wine.
As I mentioned earlier, mulberries already have a lot of natural yeast on the fruits when you pick them. In regular fermentation recipes like the one above, this wild yeast is purposefully destroyed, and a different yeast is added.
In this recipe, rather than adding a different yeast, we make use of the yeast nature, so kindly provided with the berries. So there’s no need to add any extra yeast at all.
The mulberries start fermenting when the wild yeast begins consuming the natural sugars present in the juice of the mulberry.
The yeast colony will grow, and as it becomes larger and the sugars are being consumed, growth slows down, and the yeast starts to turn the sugars into alcohol. Well, this is the basic principle anyway.
Why Don’t More People Just Make Wine Using The Natural Yeast On The Fruit?
The reason most wines are made by destroying the natural yeast and providing standardized ones is to do with control of the fermentation process. This allows you to get a similar flavor with each batch you make.
Natural yeasts have thousands of different strains, each with its own biological makeup. As you never know which strains of natural, wild yeast are present in your fruit, you don’t know how they will affect the wine. Different strains of yeast all add their own unique qualities to the wine, influencing flavor.
Making Mulberry Wine Without Yeast Process
By following the process laid out below, you will end up with your own unique mulberry wine. If it’s all a bit too much of a gamble, you may prefer to use the recipe given above, which will produce a superior wine, but the wait to taste the finished product is much longer!
Just as in the previous recipe, ensure you sterilize everything that comes into contact with the wine as you go along.
- Step 1. Pick approximately 3 lbs. of fresh mulberries.
- Step 2. Remove any stems and debris from the mulberries.
- Step 3. Wash your mulberries under cool running water to remove dirt.
- Step 4. Place the fruit into a large bowl.
- Step 5. Pour one gallon of boiling water over the berries and give them a good mashing with a potato masher.
- Step 6. Cover the bowl with a clean towel and set it aside for ten days in a dry place, out of direct sunlight and at room temperature.
- Step 7. After ten days, remove the towel and carefully peel off the layer of mold that will have formed on the top of the mixture and discard it.
- Step 8. With a cheesecloth or muslin over the bowl, pour the contents through it into another clean bowl, straining the liquid.
- Step 9. Put 3 lbs. of sugar in with the strained mulberry juice. Stir the mixture until the sugar has completely dissolved. This can take a couple of minutes.
- Step 10. Pour the liquid into old wine bottles and put fresh corks in them. Make sure to leave a gap of a couple of inches from the top.
- Step 11. Put the wine in a cool dark place for at least three months, then sample a bottle of your yeast-free mulberry wine.
This very simple mulberry wine recipe is easy to do by anyone, as there are few ingredients and little equipment needed.
Always make sure you fully sterilize any equipment or utensils used, as these can make the wine turn into vinegar.
Conclusion
These two wine recipes are ideal for anyone who is just starting out with winemaking. For fun, why not try both methods and see which one you prefer?
The wild yeast recipe at the bottom is likely to produce a much sharper wine, think vin-nouveau, while the first recipe should give you something with more complex flavors and a smoother, fuller body. The main problem is you’ll have to wait a long time before you can drink it!
If you’re impatient like me, make some of each and keep a couple of the wild yeast wines aside so you can open them when you try your introduced yeast wine for a little taste test.
If you’d like to learn more about mulberry trees, or a vast number of other gardening, farming, and food growth and production articles, you’re bound to find something worth a read on our website. Here’s our guide to making mulberry tea.
Mulberries ripe now in Belize.
Shrub only. No Burberry trees.
Hummingbird village.
Let me correct you:
Mulberries ripe now.
Shrub only. No berry trees.
Hummingbird village.
There, now it’s a haiku.
Thanks Scott and Michael, I hope you have fun turning your Mulberries into some delicious wine!